There’s just something about lighting a candle that instantly makes a space feel warm and inviting. And when that candle is homemade and pine-scented? Even better! This DIY homemade pine candle with fresh pine needles is not only stunning (seriously, it looks like something you’d find at a high-end store), but it also burns clean and lasts forever. The soft glow, the crisp pine scent, and the non-toxic ingredients make this the perfect cozy candle for any season.
Here’s how you can make your own pine candle from scratch.

I got this cute candle jar at the Dollar Tree, and honestly, it turned out beautiful, perfect for gifting or illuminating your home!
Homemade Pine Candle Recipe
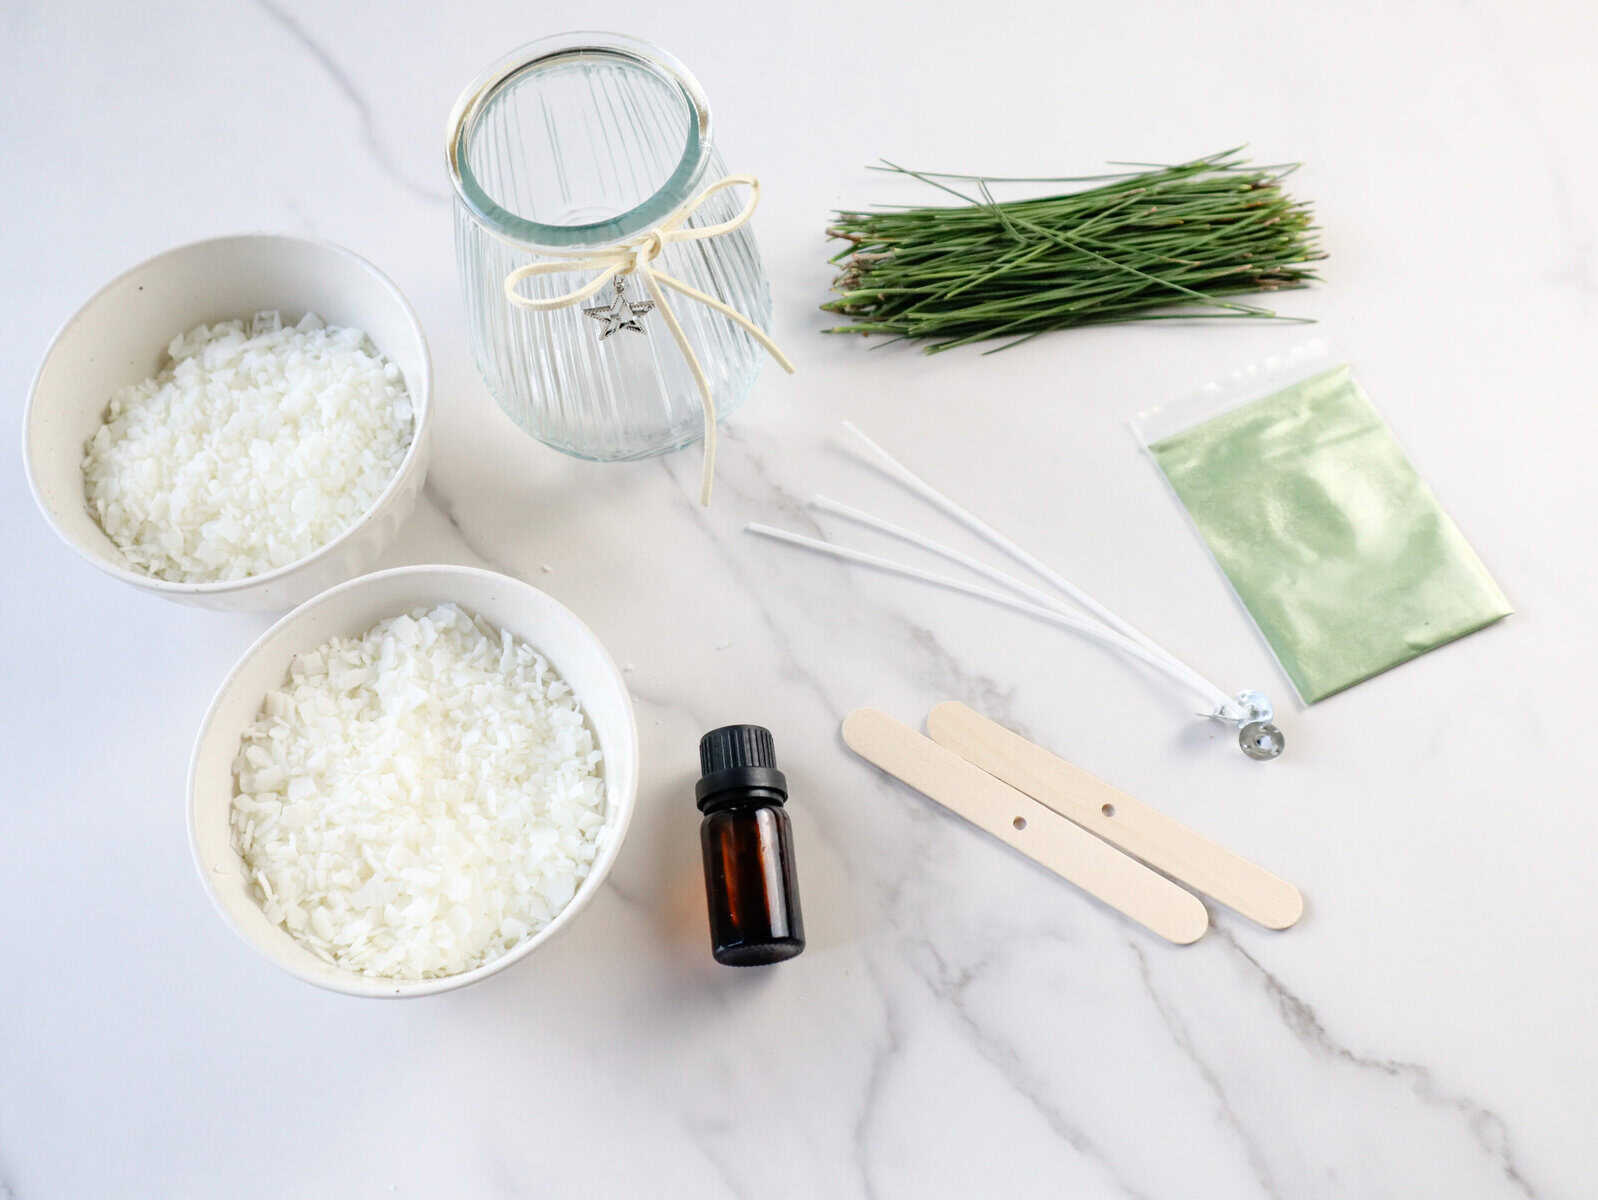
Ingredients:
- Soy wax or beeswax (I used soy wax)
- Pine needles
- Pine essential oil (15 drops)
- Candle wick
- Candle jar
- Hot glue gun or candle wick stickers (to secure the wick)
- Green candle coloring (optional)
- Wooden candle wick holder
Instructions:
1. Melt the Wax
Start by adding your soy wax (or beeswax) to a heat-safe bowl. Use a double boiler method to melt it completely until it’s a smooth, liquid consistency. This will be the base of your candle.
Featured Product
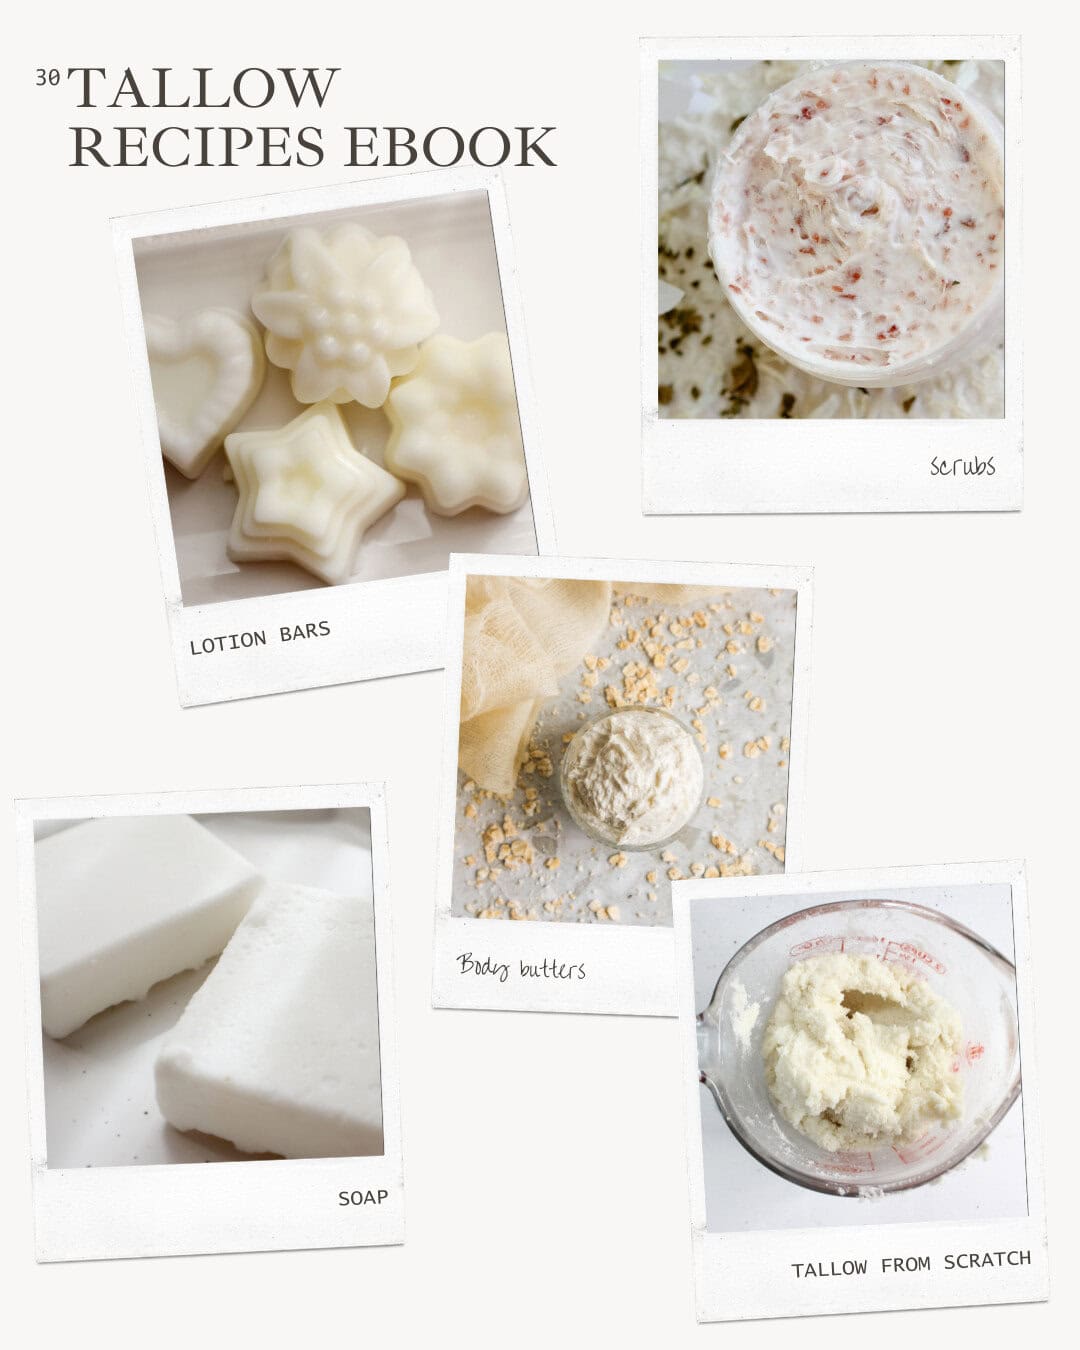
30 Homemade Tallow Recipes Ebook
Discover 30 simple, nourishing recipes designed to help you make beautiful homemade products naturally.

2. Prepare the Wick
While the wax is melting, secure your wick to the center of your candle jar using a hot glue or candle wick stickers.


3. Optional Coloring
If you want to add some color to your candle, you can mix in a bit of candle dye. I used a little bit of green, and it turned out beautiful!
At first, I wanted to create layers, and I kind of did, but it’s not very noticeable and takes much longer.


4. First Wax Pour
Carefully pour the first layer of melted wax into your candle jar, filling it about halfway.

5. Add Pine Needles
Add fresh pine needles into the wax, making sure they stay away from the wick. Before the wax hardens completely, gently push the needles towards the sides of the jar.
At first, I added them randomly, but then I started pushing them toward the sides to ensure the wick wouldn’t touch the pine needles. You’ll see this in the final result.


6. Add the Essential Oils
Add 15 drops of pine essential oil into the melted wax.
Want to save this for later?

7. Secure the Wick
To keep your wick straight and centered, place a wick holder or use two chopsticks to hold it in place while the wax sets.

8. Final Wax Pour
If necessary, re-melt your remaining wax and carefully pour it into the jar until full. If you added color earlier, this will create a beautiful two-toned effect.
I melted the wax in parts, starting with a small amount and then gradually adding more as it melted. I realized my jar was larger than I thought, so it required a lot more soy wax.

9. Let It Set
Allow your candle to harden completely. This can take a few hours.
In this image, you can see how the pine needles are pushed completely to the sides, ensuring they don’t touch the wick.

10. Trim & Finish
Once the wax is fully set, trim the wick down to about 1/4 inch. Trim the pine needles for a clean, polished look. For an extra touch, you can sprinkle a bit of green candle coloring powder or non-toxic candle glitter on top.


Notes:
- Beeswax can be used instead of soy wax.
- Let the candle cure for at least 24 hours before burning for the best scent throw.
- Use a wooden wick for a slow, more even burn, as it burns more naturally.
How to Light Your Homemade Pine Candle Properly
- First Burn Matters: Light your candle and let it burn long enough for the entire top layer of wax to melt evenly (usually 1-2 hours). This prevents tunneling and helps your candle last longer. Especially with natural waxes like soy or beeswax.
- Let It Cool Before Relighting: Always let the wax solidify before trimming the wick and relighting.
- Infuse with Essential Oils After Extinguishing: For a stronger scent, add a drop of pine essential oil to the melted wax after blowing out the candle. It refreshes the fragrance for the next burn.


Homemade Pine Candle
Ingredients
- Soy wax or beeswax
- Pine needles trimmed
- 15 Drops Pine essential oil 15 drops
- 1 Candle wick
- 1 Candle jar
- Heat gun or wax sticker dots to secure the wick
- Green candle coloring optional
- 1 Wick holder or chopsticks
Instructions
- Melt the Wax: Add soy wax to a heat-safe bowl and use a double boiler to melt it completely.
- Prepare the Wick: While the wax melts, use hot glue or wick stickers to secure the wick to the center of your candle jar.
- Optional Coloring: If you want a layered look, separate the melted wax into two containers and add green candle coloring to one.
- First Wax Pour: Fill the jar halfway with melted wax. Add pine needles, ensuring they stay away from the wick. Before the wax fully hardens, gently push the needles to the sides.
- Add Scent: Mix 15 drops of pine essential oil into the wax.
- Secure the Wick: Place a wick holder or two chopsticks across the jar to keep the wick centered.
- Final Wax Pour: Continue melting and pouring wax until the jar is full.
- Let It Set: Allow the candle to harden completely. This may take a few hours.
- Trim & Finish: Use scissors to trim the wick, leaving about 1/4 inch. Trim the pine needles sticking out. For an extra touch, sprinkle some candle coloring powder on top.
Notes
- Beeswax can be used instead of soy wax.
- Let the candle cure for at least 24 hours before burning for the best scent throw.
- Use a wooden wick for a slow, more even burn, as it burns more naturally.