This post is all about how to declutter your closet.
I’m starting this decluttering series in 2025 and plan to go back to it every year. I don’t know about you, but I always feel super motivated to declutter my house at the beginning of the year. I’ll be sharing my decluttering schedule with simple, manageable tasks along with a free printable to help you stay on track.
This week, we’re starting light to build some momentum, and then we’ll move on to the bigger tasks, like the garage (if you have one like me). You can follow the same schedule I created for myself, which I find more manageable with my work schedule and other responsibilities. But you can also choose to tackle one space per week or even do them in a different order, it’s totally up to you!
Without further chatting, today I’m decluttering the closet, which includes my dresser and walk-in closet. Keep in mind this isn’t about creating a Pinterest-perfect closet. It’s about having a functional space filled with pieces you love, that fit you, and that you actually wear. A closet that doesn’t stress you out and lets you do chores like laundry without losing your mind, does that sound appealing to you? It definitely does to me!
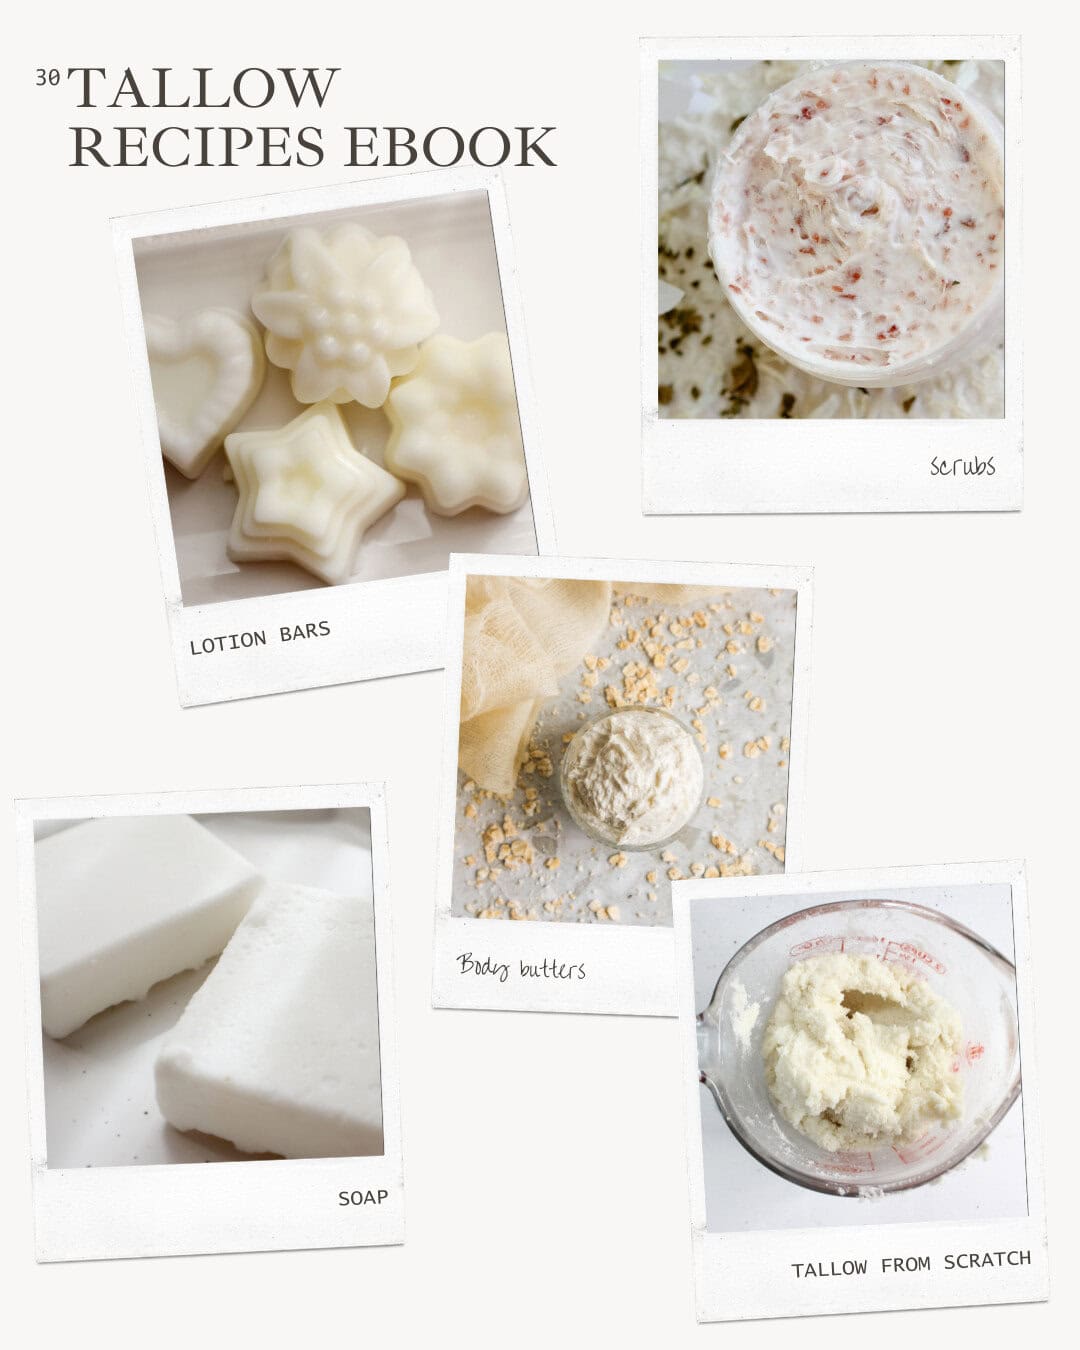
Featured Product
30 Homemade Tallow Recipes Ebook
Discover 30 simple, nourishing recipes designed to help you make beautiful homemade products naturally.


How to Declutter Your Closet
Decluttering your closet and drawers can feel like a huge task, but once you break it down, it becomes a manageable, even rewarding process. I’ve developed a system (if we can call it that, it sounds fancier than it really is) that worked for me, and I want to share it with you.
My main advice? even if you lose motivation, because trust me, you will halfway through pulling everything out, just keep going! Find a way to push through, whether that means finishing the next morning, grabbing a coffee, taking a break, or watching a show while you declutter. It’s up to you, just get it done!
Here’s how to declutter your closet step-by-step:
Step 1: Take Everything Out
The first thing you need to do is take all your clothes out of your closet and drawers. This includes everything, yes, even the things you shoved in the back because you were too busy to deal with them. Lay it all out so you can see exactly what you’re working with.
You don’t need to worry about the clothes that are currently dirty or in the laundry basket, ready to be folded. If they’re in the laundry, that means you’re using them, so there’s no need to declutter those. Focus on the clothes that are already clean and in your closet or drawers.
You’ll also need a few essentials to get started:
- A trash bag (for anything that’s worn out or no longer usable)
- A donation bag or box (for clothes you no longer wear or need)
- Hangers (I personally love having all my hangers the same color and sleek, so they look more organized. I purchased 100 nude hangers on sale at Target, and they worked perfectly for me.)

Step 2: Set Your Clothing Limit
Here’s where I get a little personal: I made a commitment to myself that I wouldn’t have more than 100 pieces of clothing in my closet, because that’s the number of hangers I have. This number includes everything, jeans, jackets, and all other pieces of clothing.
It might sound like a lot to some, but it’s manageable for me. You don’t have to follow this exact number, but it’s helpful to set a limit that makes sense for you. You could start with 80, 50, or whatever feels right. The goal isn’t about hitting a specific number, it’s about owning what you love and actually wear.
I feel like having a hanger limit really helps keep your closet decluttered. That way, you know that if you’re out of hangers, you can’t (or shouldn’t) bring anything new in without first getting one out. The good thing is, you can find sets of 30, 50, 60, or 100 hangers to match your limits.

Step 3: Go Through Your Clothes One by One
Now that everything is out, it’s time to go through it. Take each piece and ask yourself:
- Do I love it?
- Does it fit me well?
- Have I worn it in the past year?
If you answer “no” to any of these, it’s time to add that item to the donation bag or trash bag.
Step 4: Separate the “Maybe” Pile
For the things you’re unsure about, here’s what I do: I put them in a basket and set them aside. If I find myself reaching for those items throughout the year, I’ll give them a permanent place in my closet or dresser. If I never touch them again, they go to donation at the end of the year. This helps keep the process stress-free.

Step 5: Keep Everything Visible
One of my golden rules is to keep everything visible. I don’t put things above my reach or hide them in boxes or organizers I can’t see. Why? Because if I can’t see it, I forget I even have it. And if I forget about it, I end up wanting to buy more. So, everything needs to be out in the open, neatly organized, and ready for me to grab when I need it.
Step 6: Separate Seasonal Clothes
Now, that personal rule I just mentioned doesn’t apply to seasonal clothing.
Since I live in a part of California where there’s not a lot of seasonality, I keep my boots and jackets mostly visible, even though I know I’ll wear them more during certain times of the year.
If you do have seasons and can’t fit everything or don’t want everything visible, it’s totally okay to use organizer bins to separate winter from summer clothes, or any other seasonal items. This way, you can keep your closet organized and still have easy access to what you need when the season changes.
But for everything else, the goal is to keep it visible and organized.
Want to save this for later?
Step 7: Enjoy Your Simplified Closet
Once everything is sorted, you’ll find that your closet feels lighter, more organized, and much easier to manage. You’ll be able to find what you need, and you won’t feel stressed about all the clutter. Plus, you’ll know exactly what you have and love, which means no more buying things you don’t need!
The reason I don’t recommend keeping your “maybes” visible is that it won’t help with the feeling of clutter, and you really need that clear space to make this process worthwhile. By putting the “maybes” aside, you avoid the guilt or the hard decision of donating something you’re unsure about and then regretting. Plus, you give yourself that clear space you want, making the process feel less overwhelming.
How to Declutter Your Dresser:
I have a dresser, and I decluttered it today as well, so I’m adding this section here. Keep in mind, today is all about YOUR clothes, not your kids’, not your husband’s, yours. If you have a closet and feel like tackling it now, go ahead and declutter it too.
But if you’d rather save that for another time, that’s perfectly fine. You can always come back here later to follow these steps when you’re ready.
Here’s how to declutter your dresser:
Step 1: Empty the Drawers
Just like with your closet, start by taking everything out of your dresser. Lay it all out so you can see exactly what you’re working with. This will help you assess what you have and make it easier to decide what to keep.
Step 2: Sort Through Everything
Go through each item and ask yourself:
- Do I wear this regularly?
- Is it in good condition?
- Do I love it, or does it just take up space?
Sort your clothes into three piles:
- Keep: Items you wear often and love.
- Donate: Clothes that no longer fit, are worn out, or you just don’t wear.
- Maybe: Things you’re unsure about but don’t want to part with just yet.
Step 3: Deal with the “Maybe” Pile
For the “Maybe” pile, don’t stress about it. Put these items in a box or basket out of sight. If you find yourself reaching for any of them over the next few months, return them to your dresser. If you haven’t worn them after that, it’s time to donate them.
Step 4: Fold and Organize
Now that you have your “Keep” pile, it’s time to fold and organize your clothes neatly. You can use dividers, drawer organizers, or simple folding techniques to make everything fit and stay organized. I recommend folding clothes in a way that allows you to see everything you have at a glance.
I also recommend, if possible, to divide each drawer by category for better organization. For example, I have:
- Underwear and socks in the first drawer,
- T-shirts and blouses in the second drawer, and
- PJs in the third drawer.
For the rest of my clothes, I hang them in the closet. I keep jeans and pants folded and arranged in a way that’s both reachable and visible.

I know it’s tempting sometimes to just buy organizers or those plastic drawer closets from Target to fit more clothing. But honestly, unless you have a very tiny closet with no shelves, you should prioritize decluttering first. Trying to organize and fit everything in can quickly become overwhelming if you have too much stuff.
Step 5: Maintain the System
Once everything is organized, try to keep your dresser tidy by doing small touch-ups regularly. Every time you do laundry, make sure to put things back neatly, and don’t let your dresser get overcrowded again.
I know laundry is a chore most of us don’t enjoy, so here are a few tips to make it easier and more manageable:
- Don’t have a lot to wash – The less you own, the less you need to clean. By decluttering your closet and dresser and only keeping what you truly wear, you’ll automatically reduce the laundry load.
- Be forced to do laundry – This might sound odd, but sometimes the best motivator is running out of clean clothes! By keeping a smaller, well-organized wardrobe, you’ll quickly realize when you need to do laundry, and it’ll force you to stay on top of it.
- Stick to a laundry schedule – Try to do a little laundry each week rather than letting it pile up. Set a day or two to tackle it so it doesn’t feel overwhelming. Regular laundry days will keep the chore from feeling like an all-day event.
- Invest in quality, easy-care fabrics – The easier your clothes are to care for, the less time you’ll spend doing laundry. Look for fabrics that are machine washable and need little to no ironing. This keeps your laundry routine simple and stress-free.
Step 6: Be Mindful of New Items
To avoid clutter building up again, be mindful of new clothing purchases. Only buy items that truly add value to your wardrobe and make sure everything in your dresser fits and is something you actually wear.
Decluttering your dresser doesn’t have to be overwhelming. By following these simple steps, you can keep your drawers neat and make getting dressed every day a breeze!

This post was all about how to declutter your closet and dresser.


