I don’t know who first came up with the idea of loofah soap bars… but whoever it was, I owe them a big thank you because it’s honestly genius. A bar of soap and a built-in exfoliator? Say less.
These pretty little soaps have been popping up on my Pinterest and TikTok, and I’ve been wanting to try making my own and I finally did, with a little help from Simply Earth’s Loofah Soap Kit.

Simply Earth’s Loofah Soap Kit. It’s a ready-to-go box that includes everything you need, from the soap base and essential oils to the loofahs, color powders, and even wraps for gifting.
Whether you’re doing it for yourself or making cute handmade gifts, it’s fun, simple, and smells amazing.
Featured Product
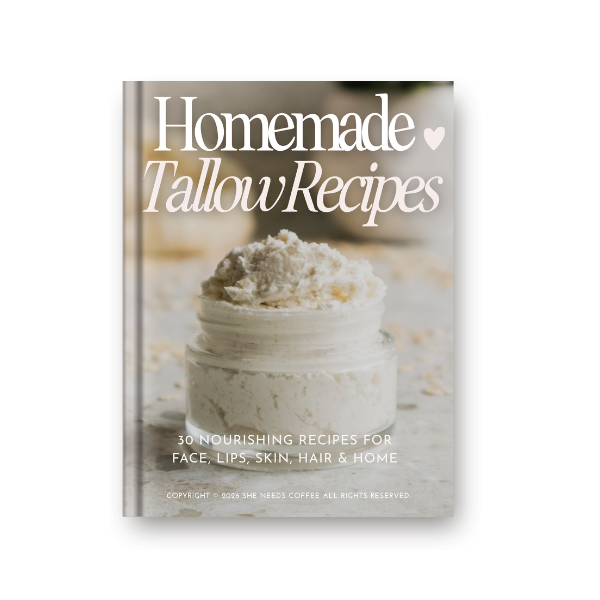
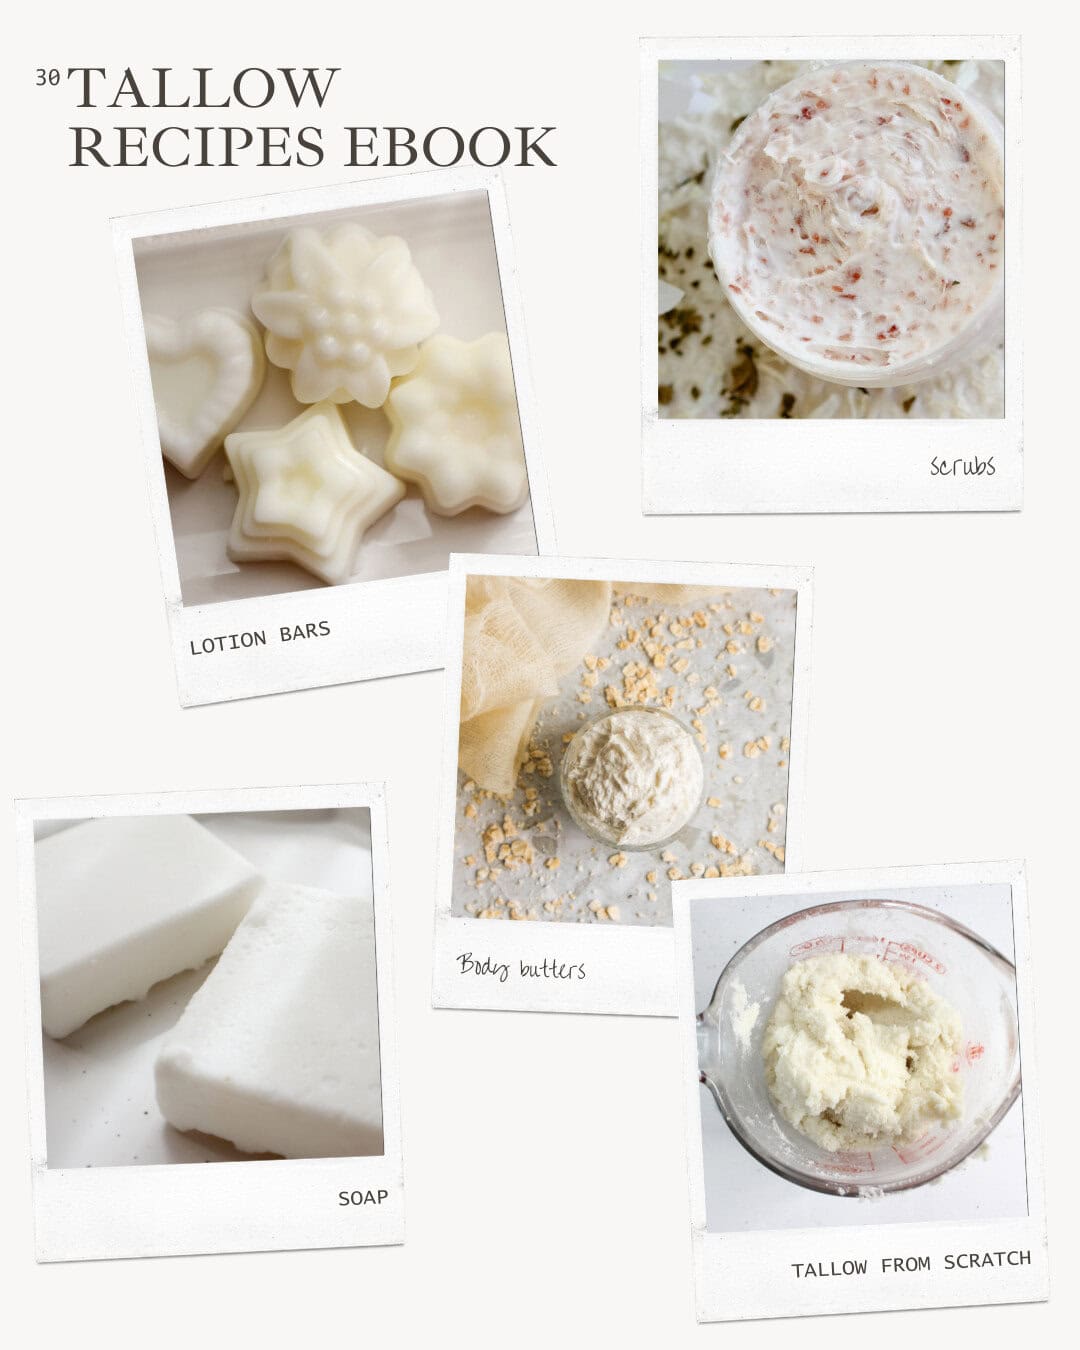
30 Homemade Tallow Recipes Ebook
Discover 30 simple, nourishing recipes designed to help you make beautiful homemade products naturally.

The soaps turned out so good, like gift-worthy good. And I made them in my kitchen in under an hour.
Aside from being really cute, these loofah soaps are actually very practical. The loofah inside the bar helps exfoliate your skin gently while you wash, so you’re cleansing and buffing off dry skin at the same time. Plus, they’re way less wasteful.
I’m going to use them for my elbows, heels, and to keep my skin soft.
What Are Loofahs:
If you’ve never used a loofah before (doubt it), you might be surprised to learn they’re actually made from a plant! “Loofahs come from the luffa gourd, which is part of the pumpkin, squash and cucurbitaceae family.” When the gourd is dried out, it turns into that natural sponge-like texture that’s perfect for exfoliating skin.
They’re completely natural, biodegradable, and a great alternative to synthetic and plastic scrubbers. When used in soap, loofah slices help gently exfoliate your skin while you wash, removing dead skin cells, improving circulation, and leaving you with that soft, clean feeling (without any harsh scrubbing).
Loofah Soap Bars Recipe:
Ingredients:
Everything I used to make these loofah soap bars came from the Simply Earth Loofah Soap Kit. The soap base, the loofah slices, the essential oils, even the mold and labels. I didn’t buy anything extra.
They give you full-size products. Not tiny samples that barely get you through the recipe. I still have plenty of essential oils and mica powder left over for future projects.
Honestly, just the soap block and oils alone are worth what the box costs. So the fact that you get everything else on top of that is kind of amazing.
- Ylang Ylang Essential Oil (15mL)
- Blood Orange Essential Oil (15mL)
- Loofah Sponges (12 rounds)
- Glycerin Melt & Pour Soap Base (2lb) – no lye handling necessary
- Tiger Orange, Pearl, and Fuchsia Mica Powders (15g each)
- Perfumer’s Alcohol (1oz)
- Fine Mist Spray Nozzle (for the alcohol)
- 12 Cavity Round Silicone Soap Mold
- Soap Wraps and Recipe Labels (12 each)

I also used my microwave to melt the soap base, glass containers, a couple of spoons for stirring everything together, and a little bit of tape for the wraps.
Instructions:
1. Prep the Mold
Pop one loofah sponge round into each cavity of the silicone soap mold. If any loofah doesn’t fit just right, trim it down with scissors.

Then, attach the fine mist spray nozzle to the bottle of Perfumer’s Alcohol and lightly spritz each cavity. This helps the soap stick to the loofah and gets rid of air bubbles.

2. Cut and Melt the Soap Base
Cut about 20 oz of the glycerin melt & pour soap base into small 1-inch cubes (I just eyeballed it).
Then melt the cubes in the microwave or using a double boiler, stirring every 30 seconds until fully melted.
Want to save this for later?


3. Add Essential Oils and Mica Powder
Once the soap is fully melted, remove it from the heat and stir in your essential oils.
Then add the mica powder. I loved the the fucsia but you can mix the colors too for a swirl effect.


4. Pour, Spray, and Set
Carefully pour the soap mixture into each mold cavity, right over the loofah sponges. Fill them up to the top.
Spritz the tops again with Perfumer’s Alcohol to pop any bubbles and help everything set smoothly.


Let the soap cool completely, this usually takes about 1-2 hours at room temp.
5. Unmold and Wrap
Once fully set, gently pop each soap out of the mold.
I wrapped a few using the provided wraps and labels.

These homemade loofah soap bars are cute, exfoliating, and super easy to make, perfect for gifting or treating yourself after a long week.
Why I Genuinely Love Simply Earth
This was actually my very first Simply Earth box, and the moment I opened it I felt so happy, I literally texted my friend to tell her how good it was. I was honestly just impressed. The packaging was beautiful, everything was well thought out, and the sizes of the products are generous. It feels rare these days to find a brand that’s genuinely unique and actually gives real value to their customers.
I’ve seen some subscription boxes before, and most of them are just not worth the price. But Simply Earth is different. Their kits are made for people who love natural living, DIYs, and creating things from scratch.
With the first box, you also get access to their Essential Oil Hero Course for free, to learn more about essential oils and how to actually use them safely, it’s really helpful.
You can use code SHENEEDSCOFFEE10 to get:
- A free Big Bonus Box worth $47.84 containing carrier oils, natural ingredients, and containers for your recipes.
- Free Essential Oil Hero Course
- 10% off add-ons
- Exclusive Community (through Facebook group)
I still have essential oils, mica powder, and soap base left even after making the full batch, and now I just want to keep making more of their recipes because it’s actually fun.
I had a super long week at work, and making these DIY loofah soap bars was the perfect way to unwind. It was relaxing and creative in the best way. Plus, I seriously love the labels and packaging, they make everything feel so special and put-together.