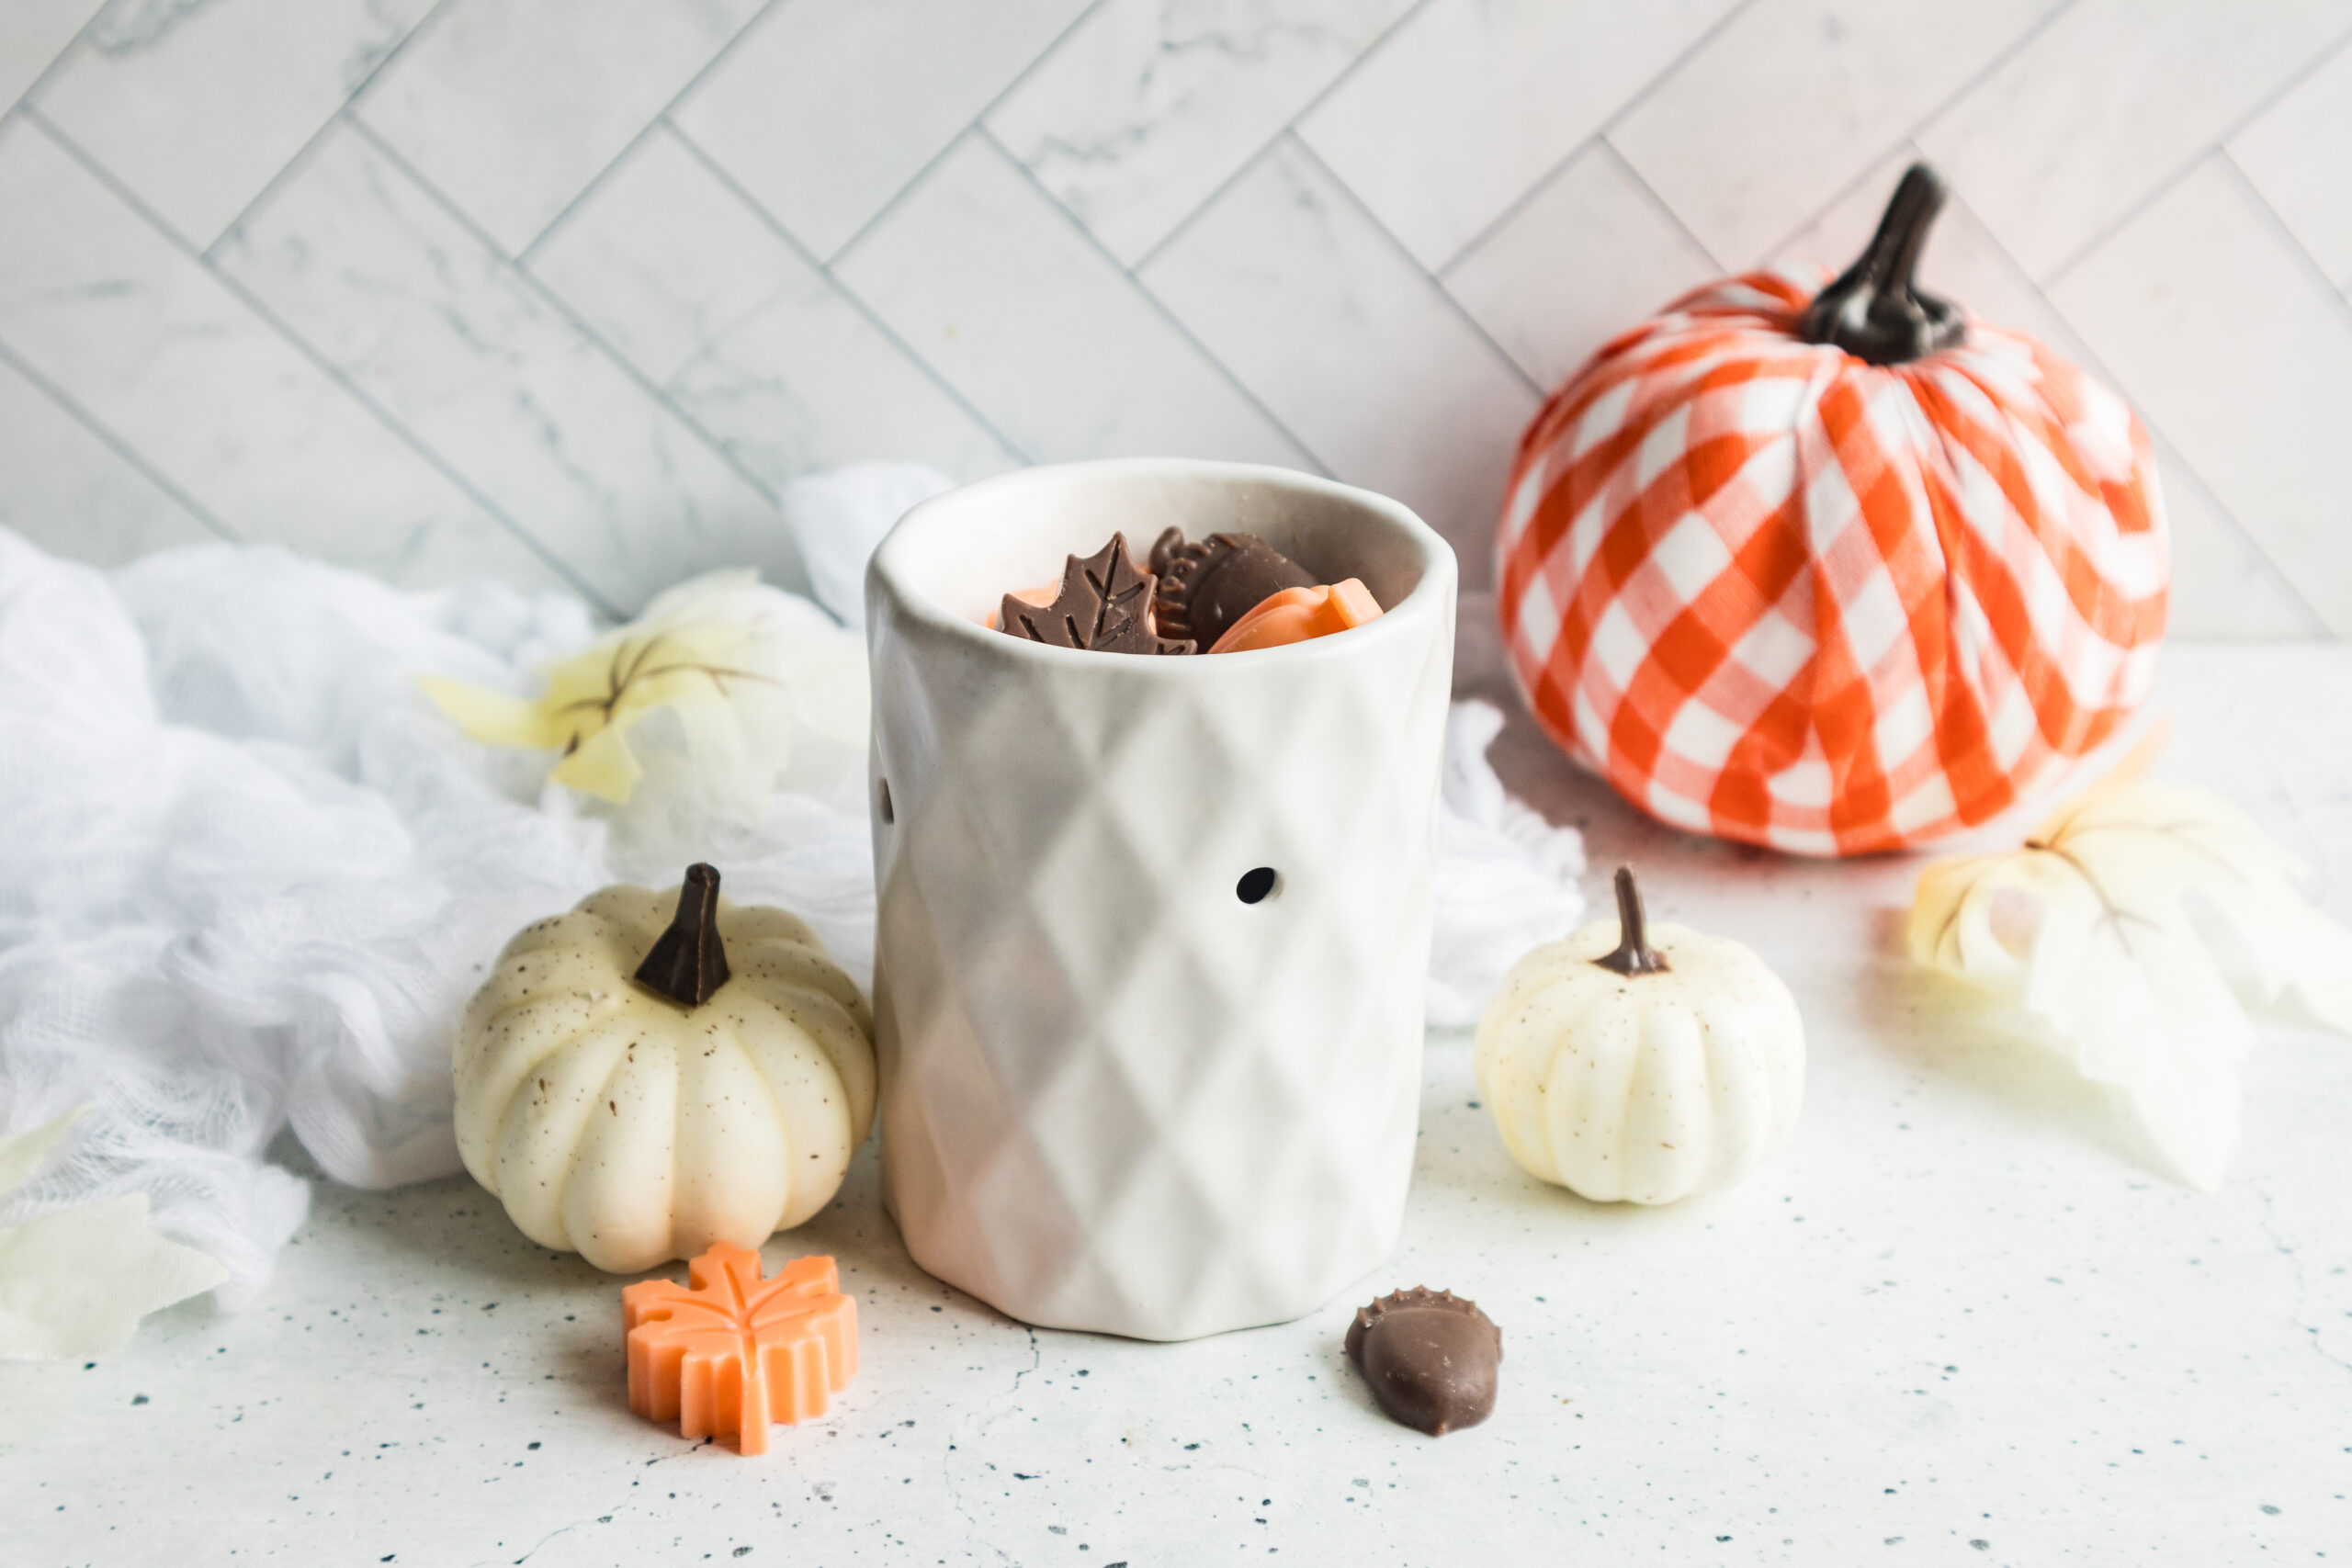
I’m already mentally in fall mode. These homemade Fall Wax Melts are such an easy way to bring that cozy autumn feeling into your home.
They’re made with simple soy wax and scented with a blend of cinnamon bark, clove bud, sweet orange, and cedarwood essential oils. The combination is warm, spicy, slightly citrusy, and woodsy basically everything I want my home to smell like from September through Thanksgiving.
I also love making them in cute fall-shaped silicone molds and using two different colors. They look adorable sitting in a little glass jar, and honestly, they’re almost too pretty to melt.
Featured Product
30 Homemade Tallow Recipes Ebook
Discover 30 simple, nourishing recipes designed to help you make beautiful homemade products naturally.
Fall Wax Melts Recipe
Makes approximately 19–20 wax melts when using the same mold
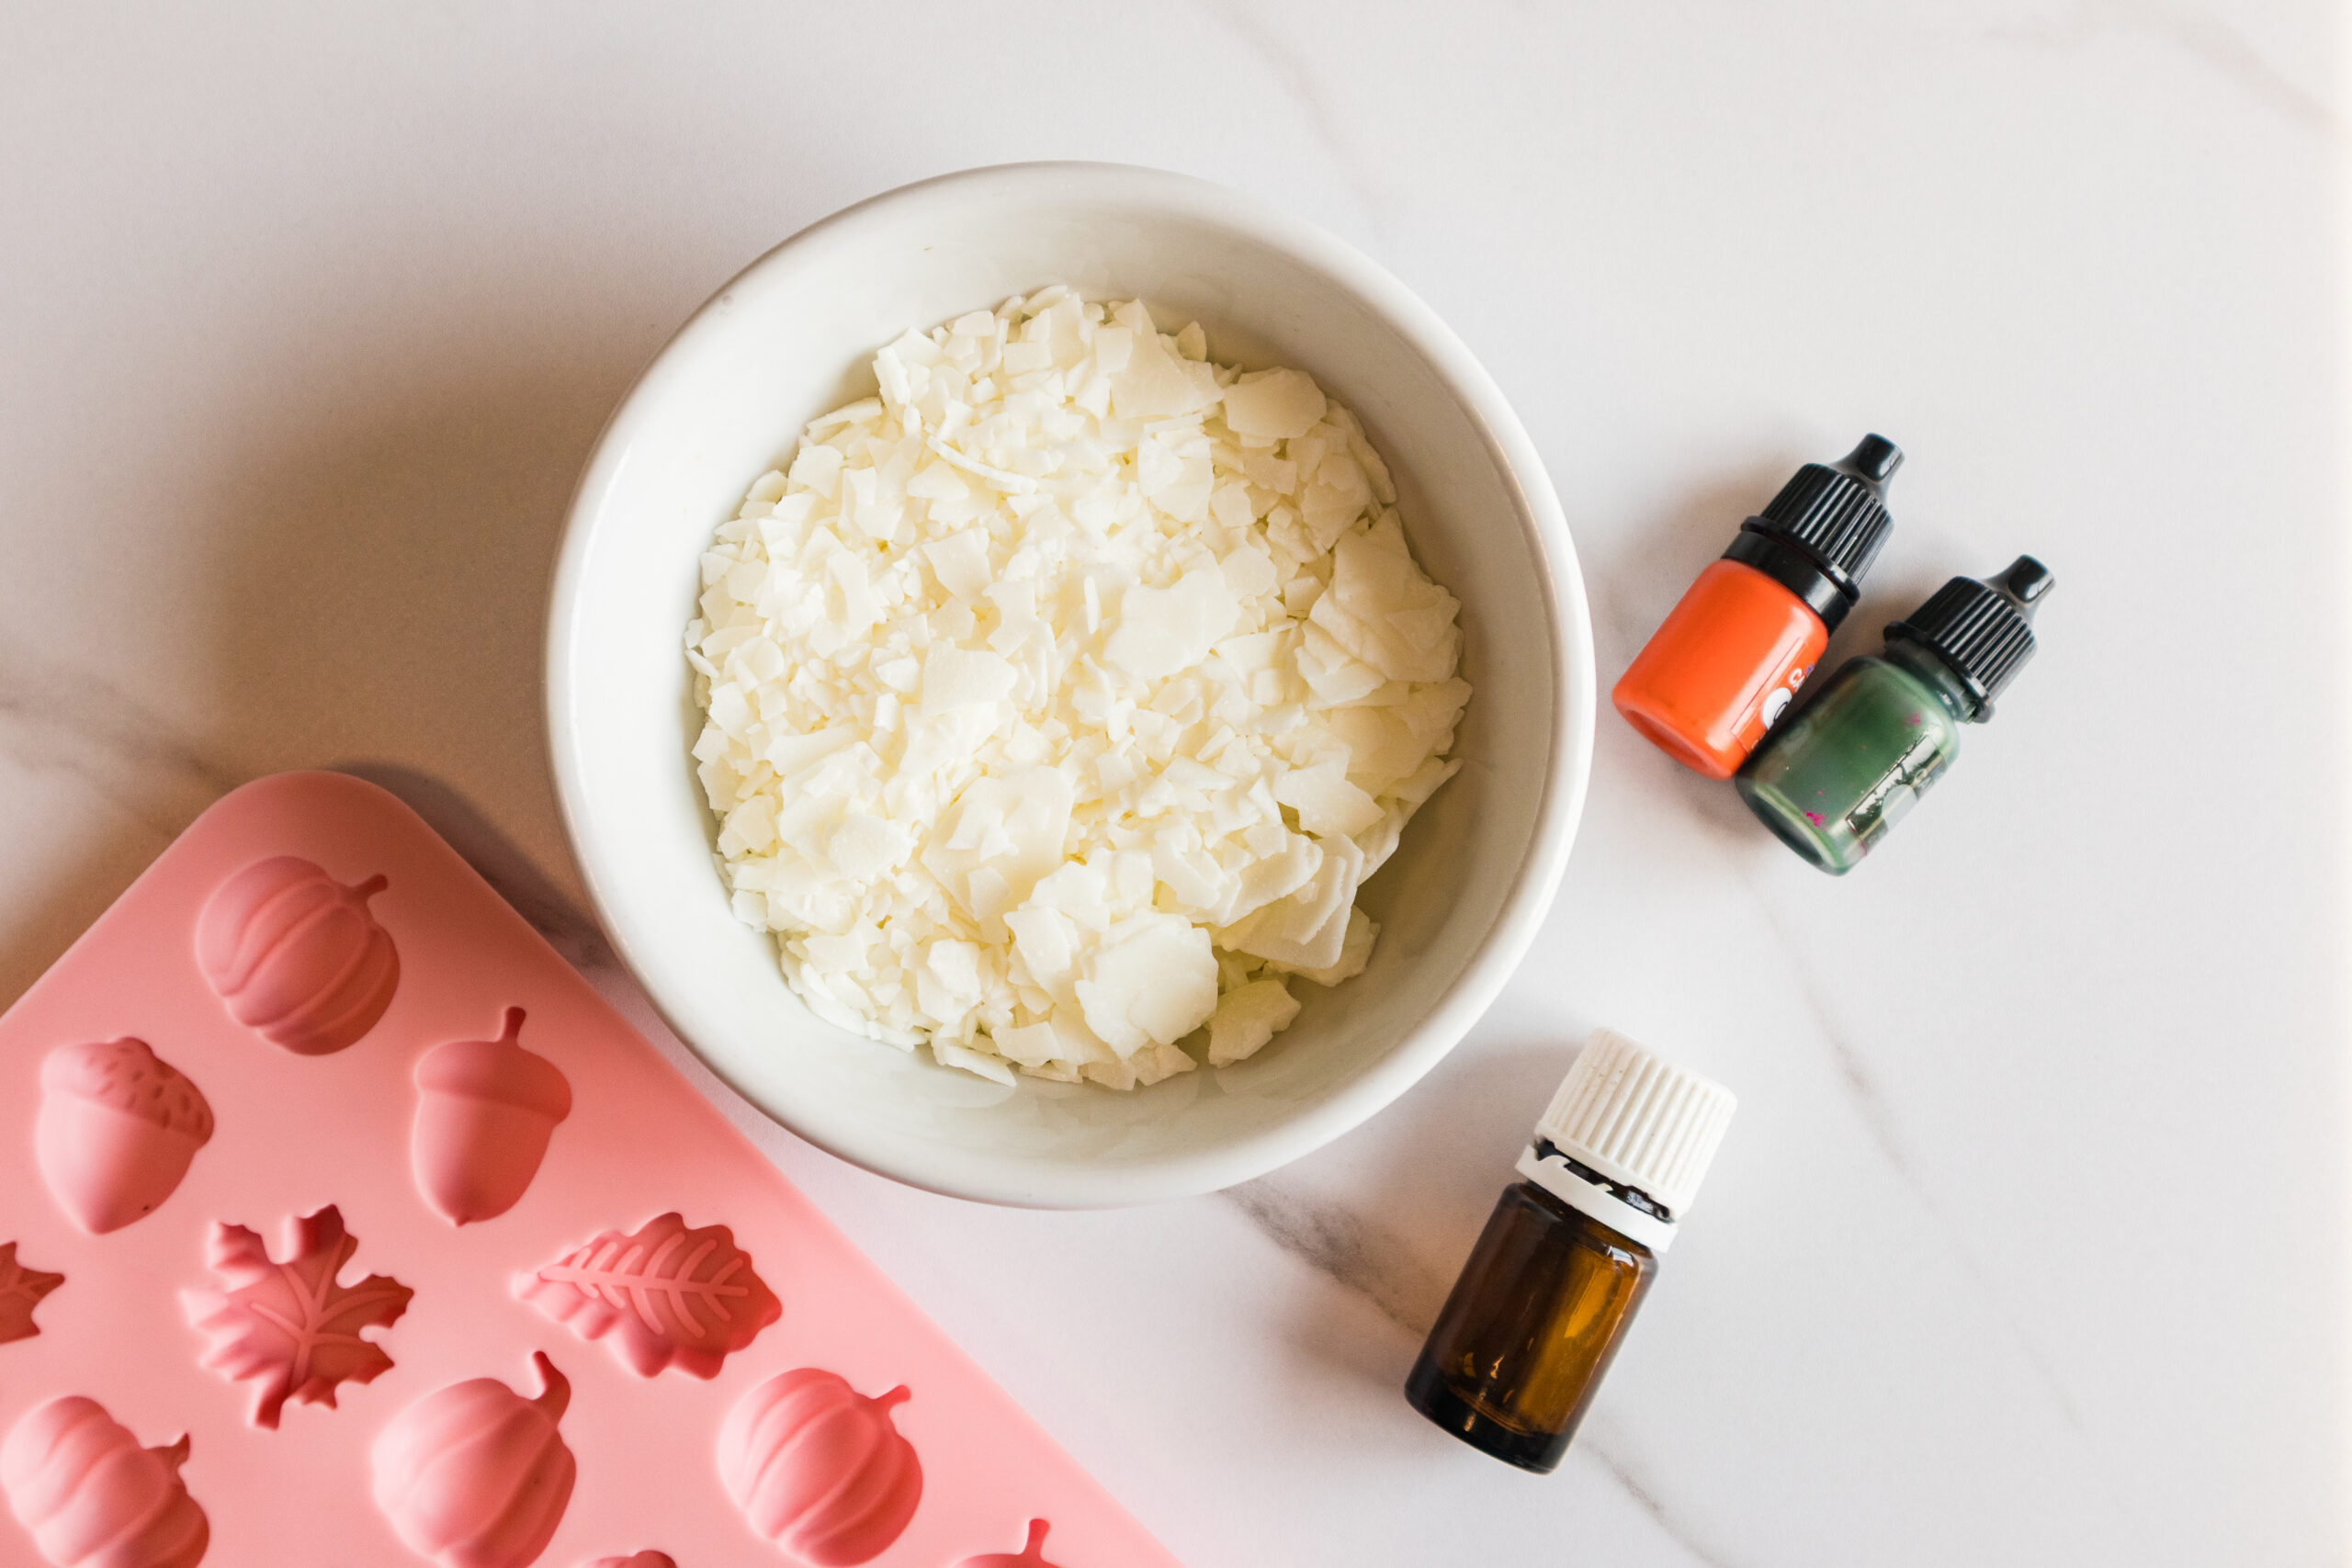
Ingredients:
- 1 cup soy wax
- 2–3 drops candle dye
- 30 drops cinnamon bark essential oil
- 30 drops clove bud essential oil
- 20 drops sweet orange essential oil
- 20 drops cedarwood essential oil
- Silicone mold
Instructions:
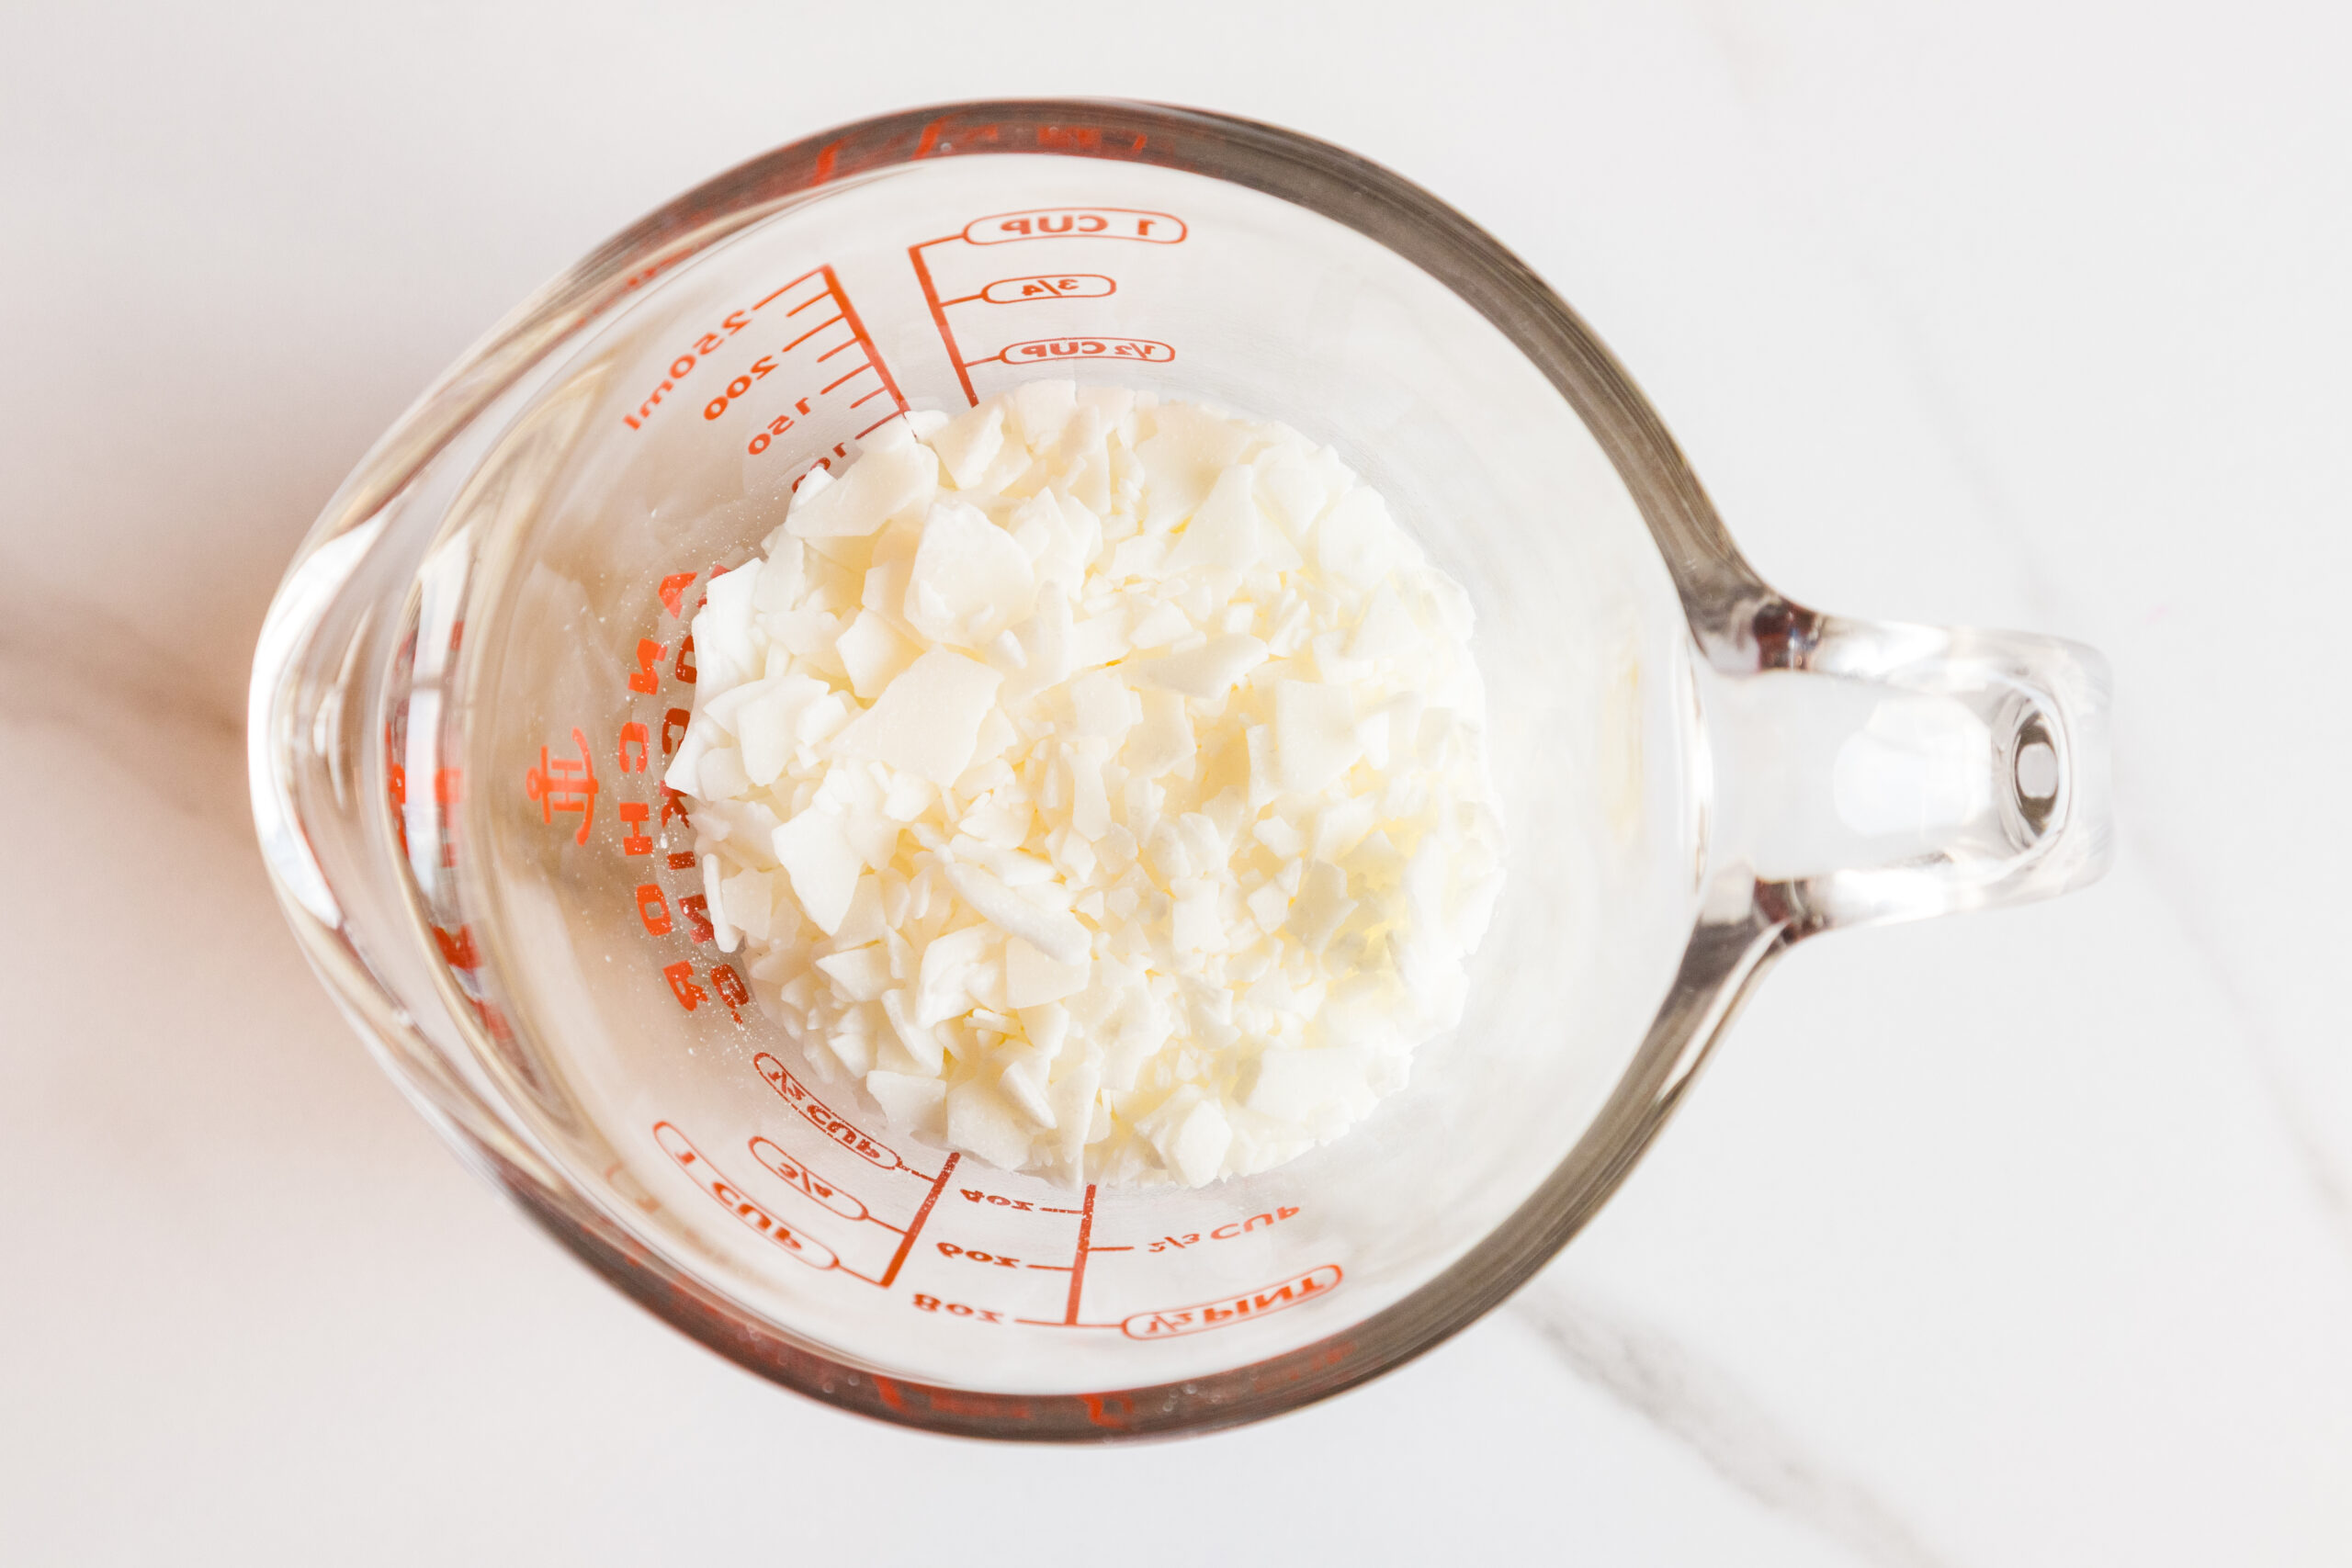
1. Melt the Soy Wax
Add your soy wax to a double boiler and gently heat it until it is completely melted. Stir occasionally to help everything melt evenly.
2. Divide the Wax for Different Colors
Once the wax is completely melted, divide it evenly between two heat-safe containers if you want to make two different colors.
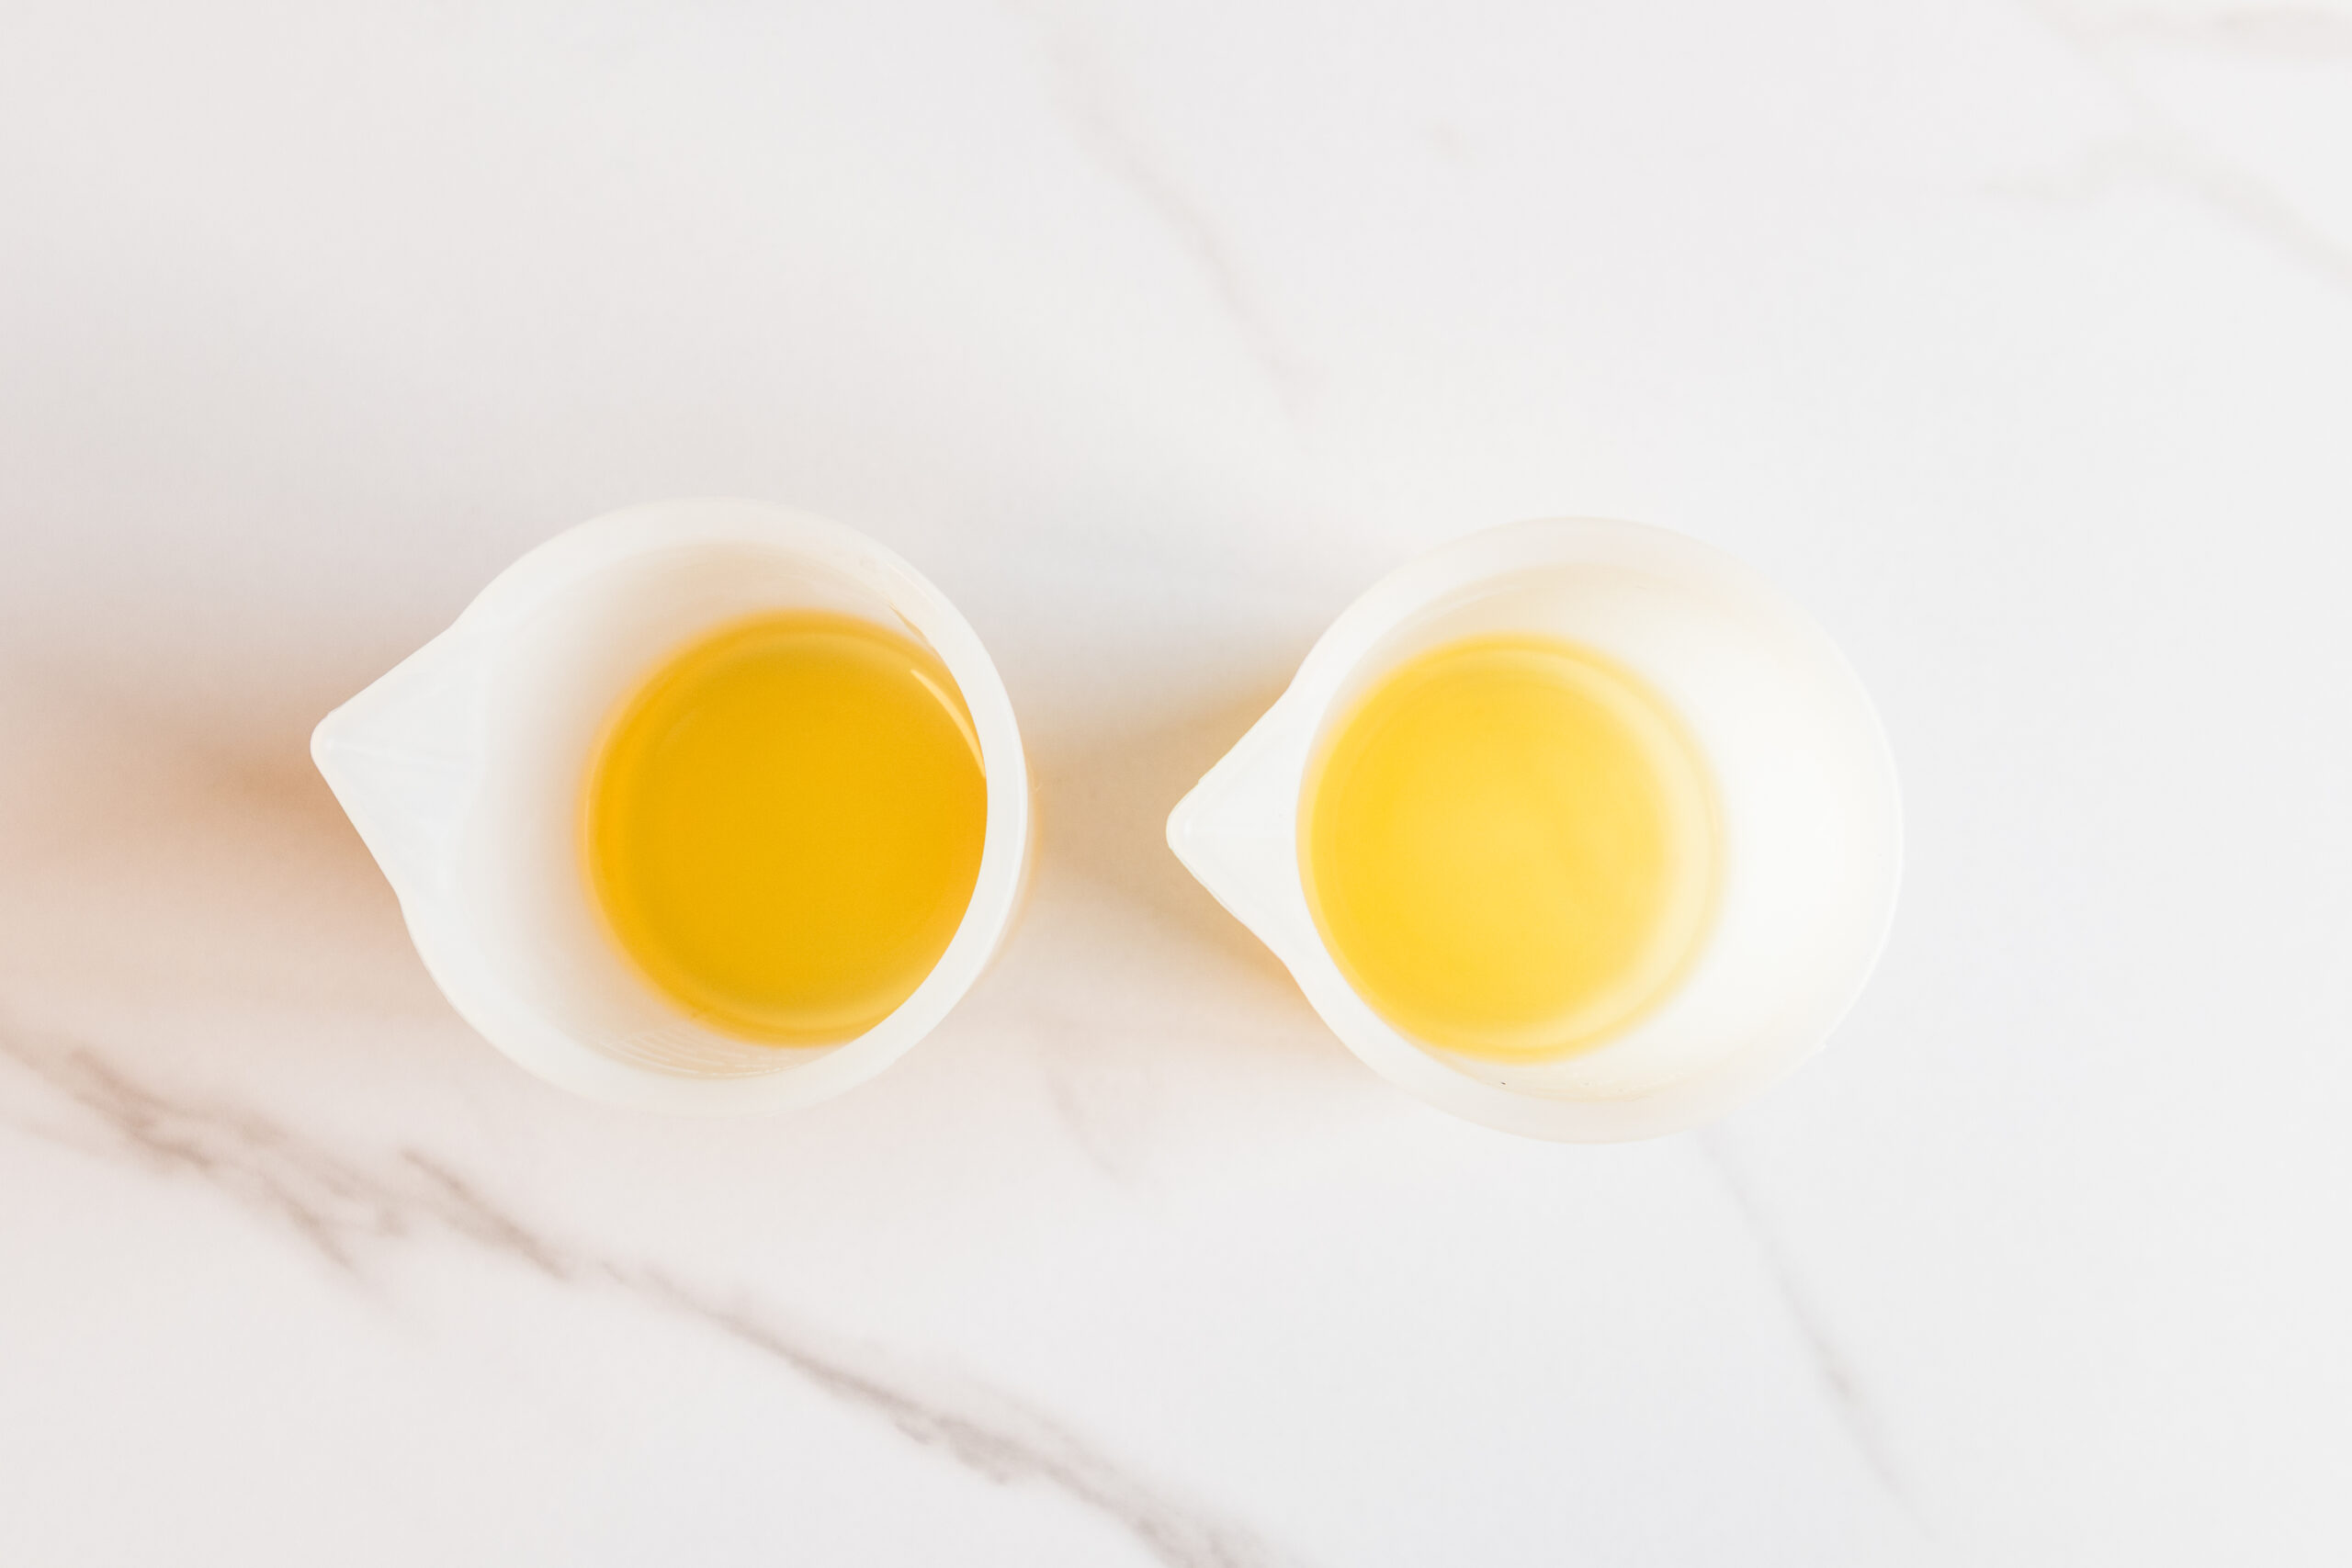
You can absolutely keep everything one color if you prefer, but I love using two autumn shades because it makes the finished melts look extra cute and seasonal.
3. Add Your Fall Colors
Add your candle dye one drop at a time and stir until you reach the color you want.
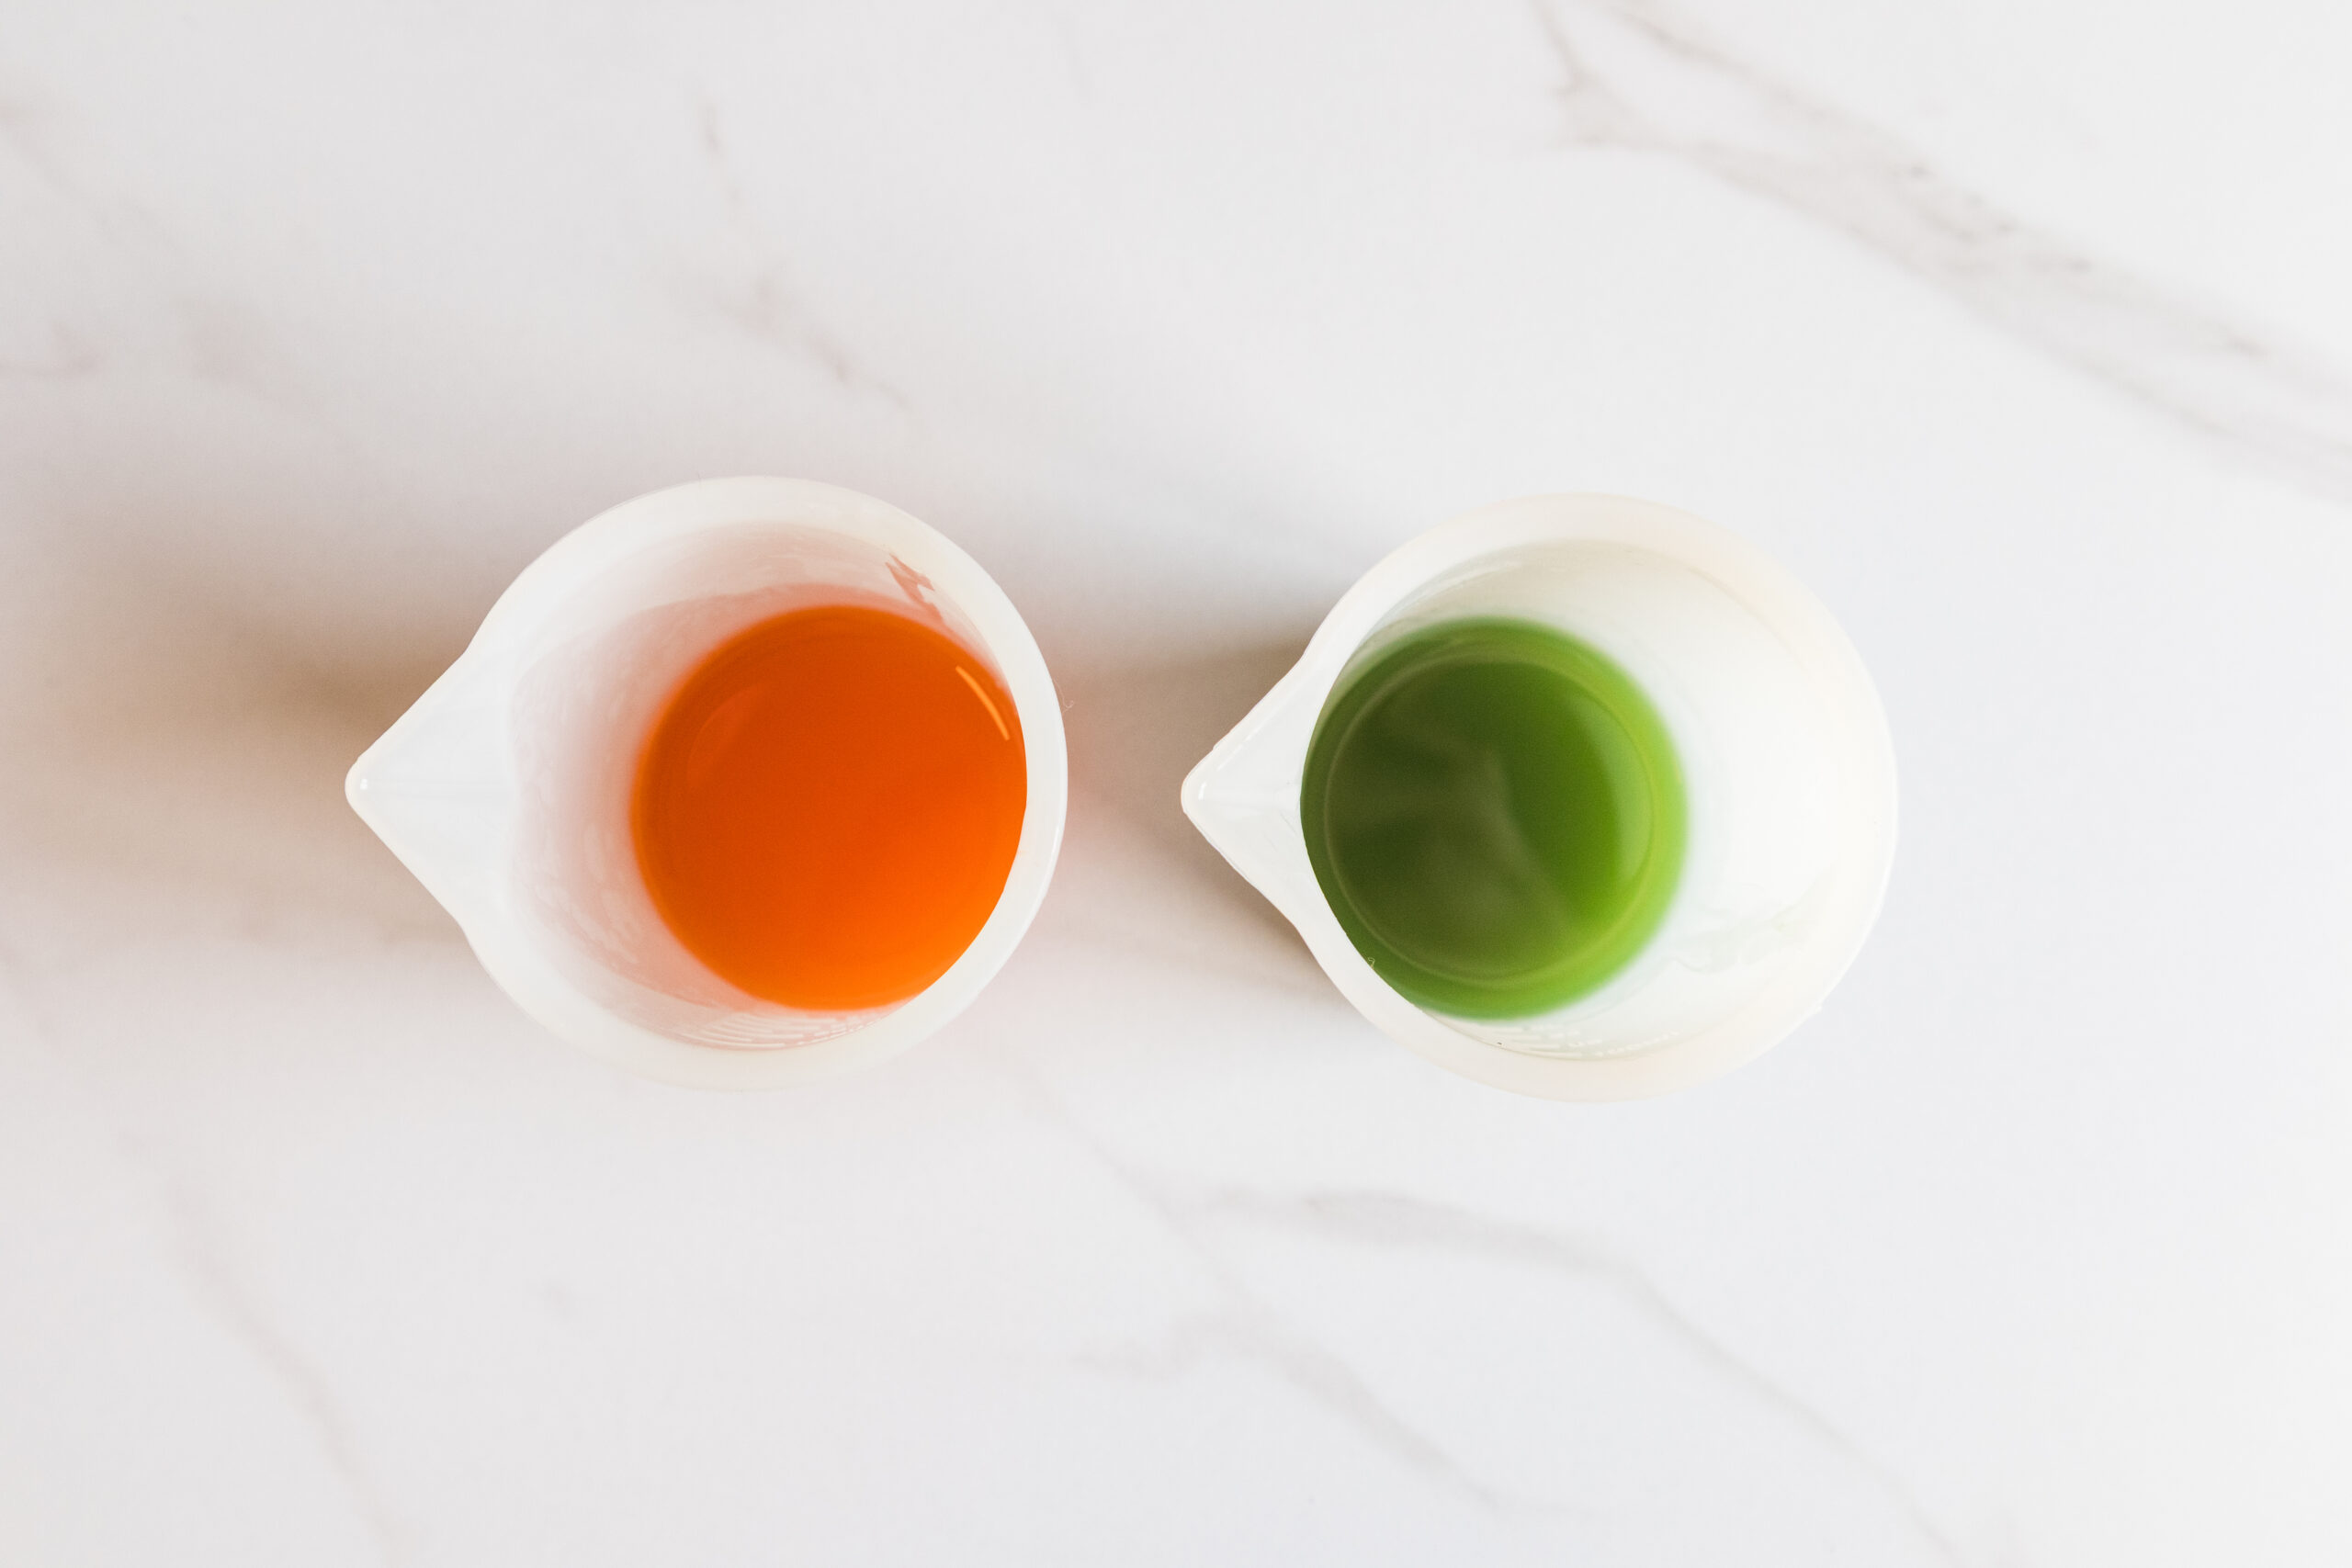
A little dye can go a long way, so start small! Warm oranges, rusty reds, golden yellows, browns, and creamy neutral shades are all so pretty for fall.
4. Let the Wax Cool Slightly
Allow the melted wax to cool to approximately 120–130°F before adding your essential oils.
Want to save this for later?
This little waiting period is important. Adding essential oils when the wax is extremely hot can cause the scent to evaporate before your melts even make it into the warmer.
5. Add the Essential Oil Blend
Once the wax has cooled slightly, stir in the cinnamon bark, clove bud, sweet orange, and cedarwood essential oils.
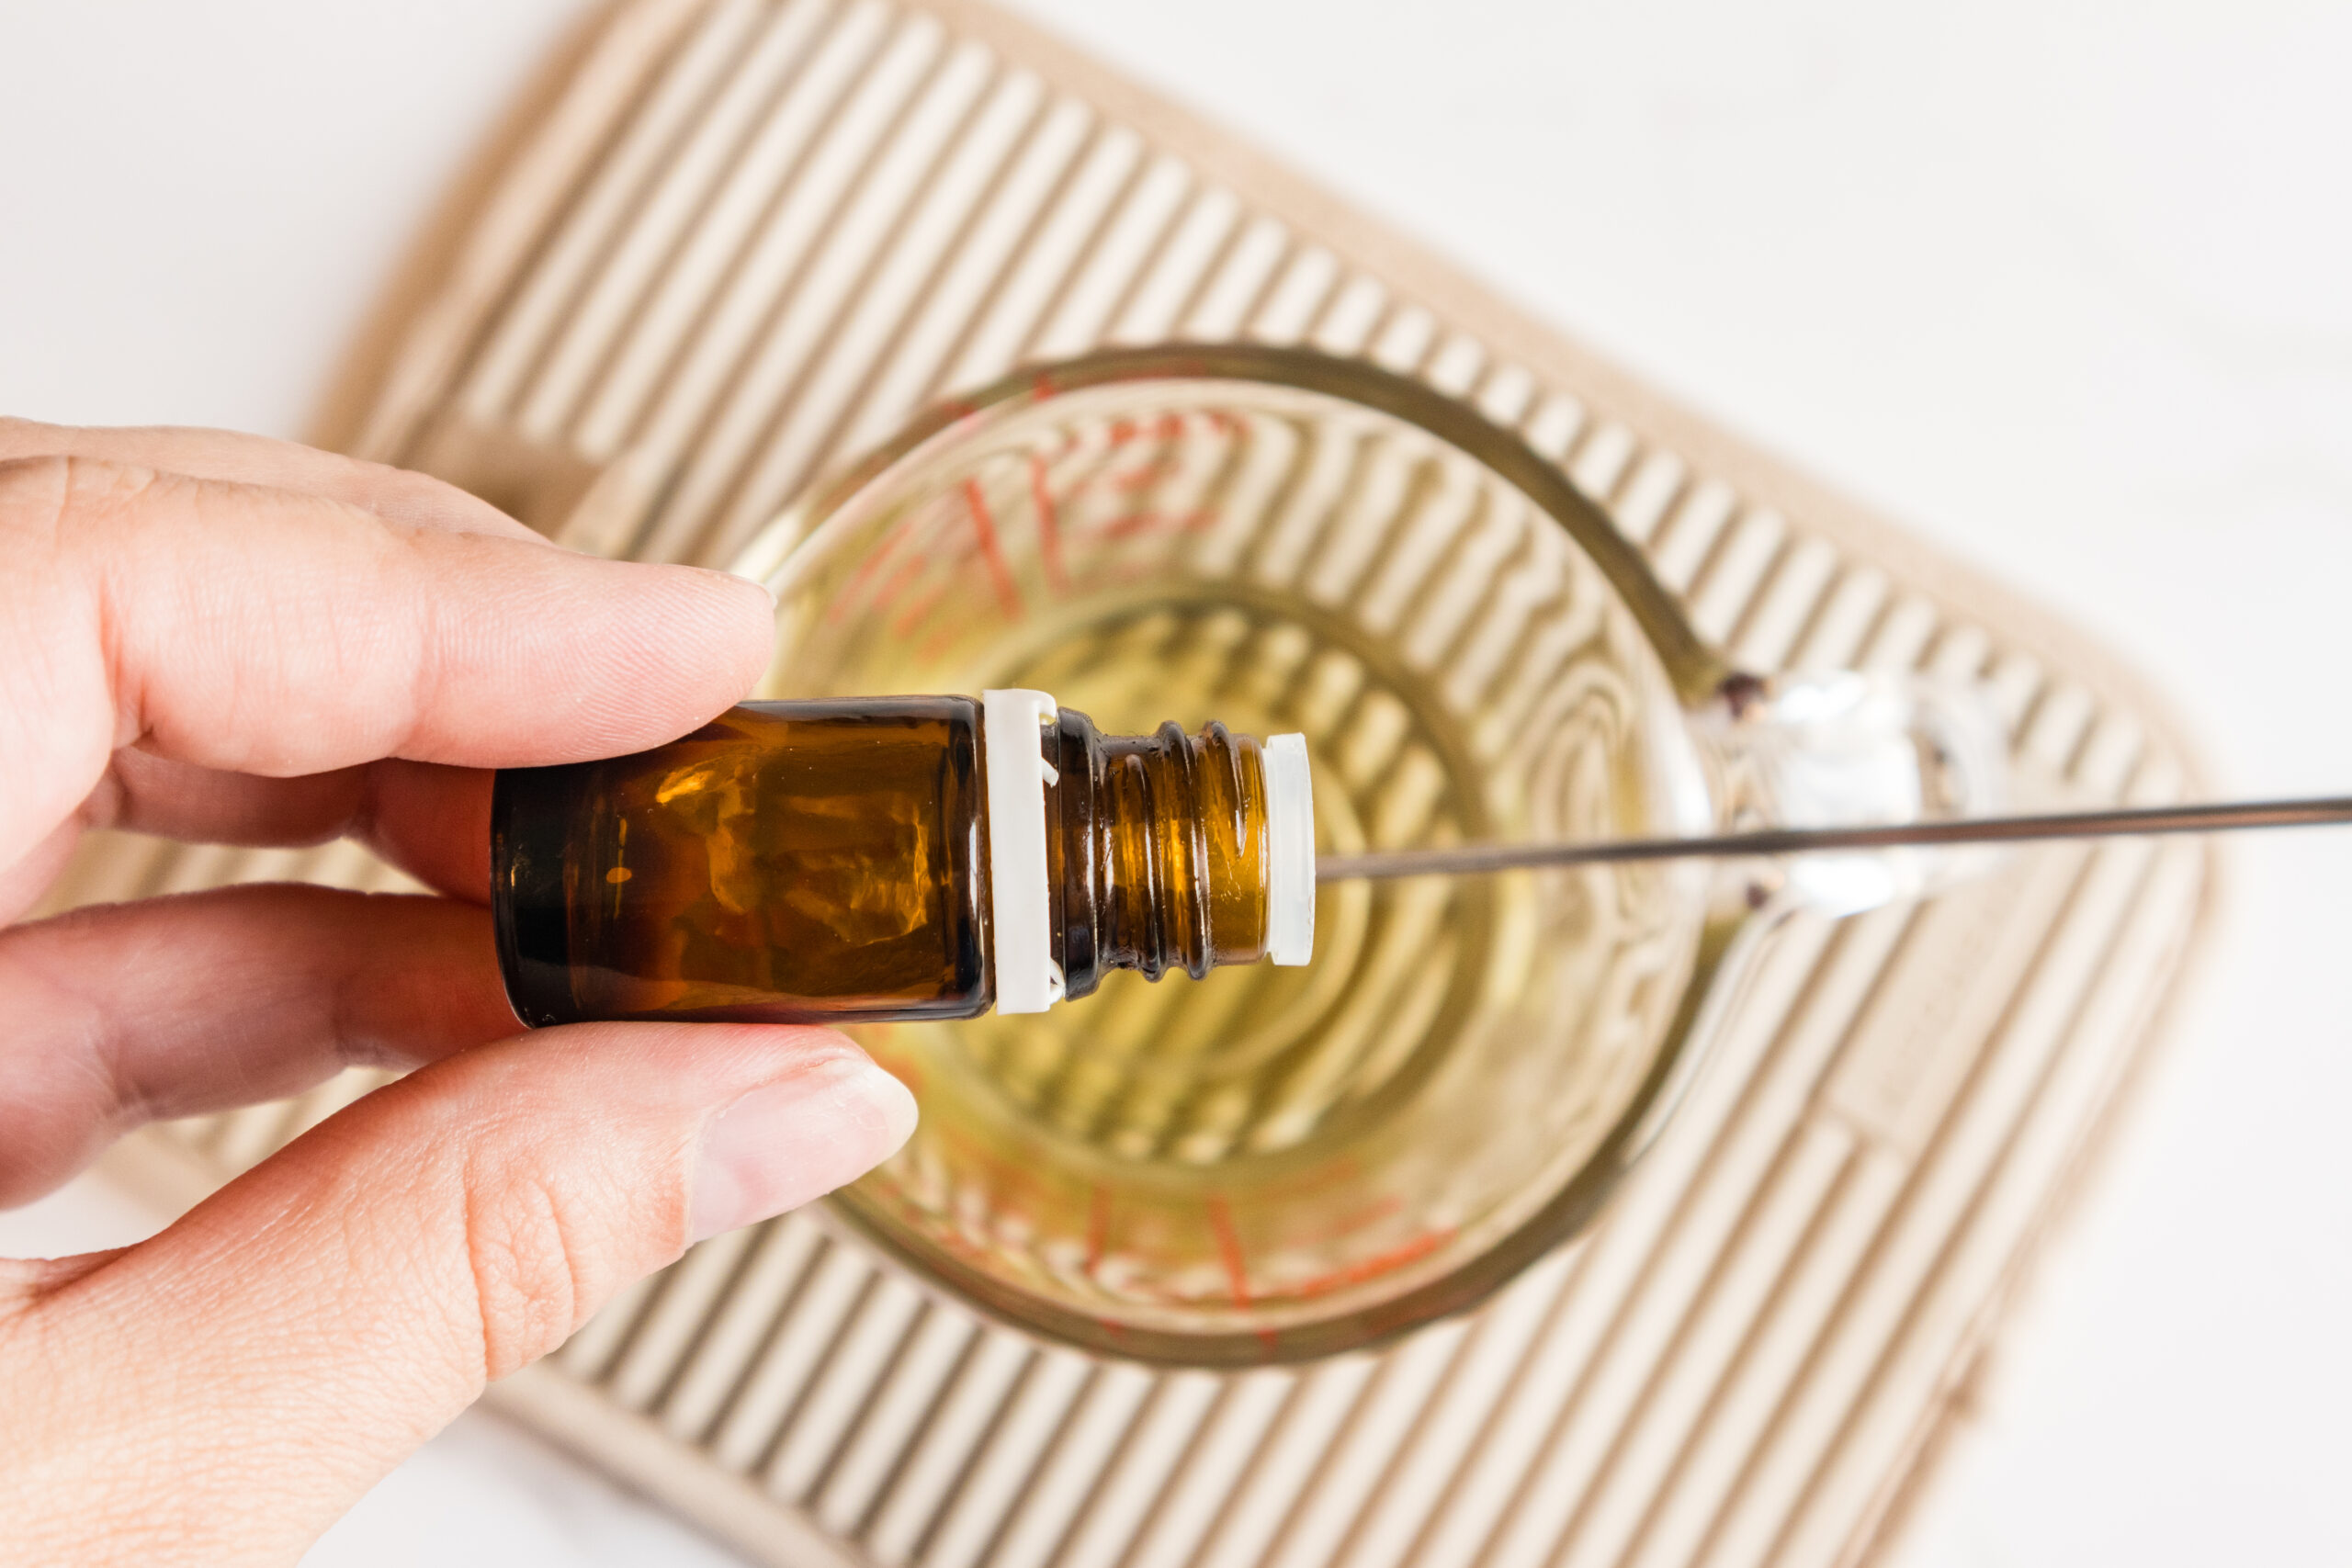
The cinnamon and clove give the blend that classic warm fall spice, while sweet orange brightens everything up and cedarwood adds a cozy, woodsy base.
It smells like fall without being overly sweet.
6. Pour Into Your Fall Molds
Carefully pour the scented wax into your silicone mold.
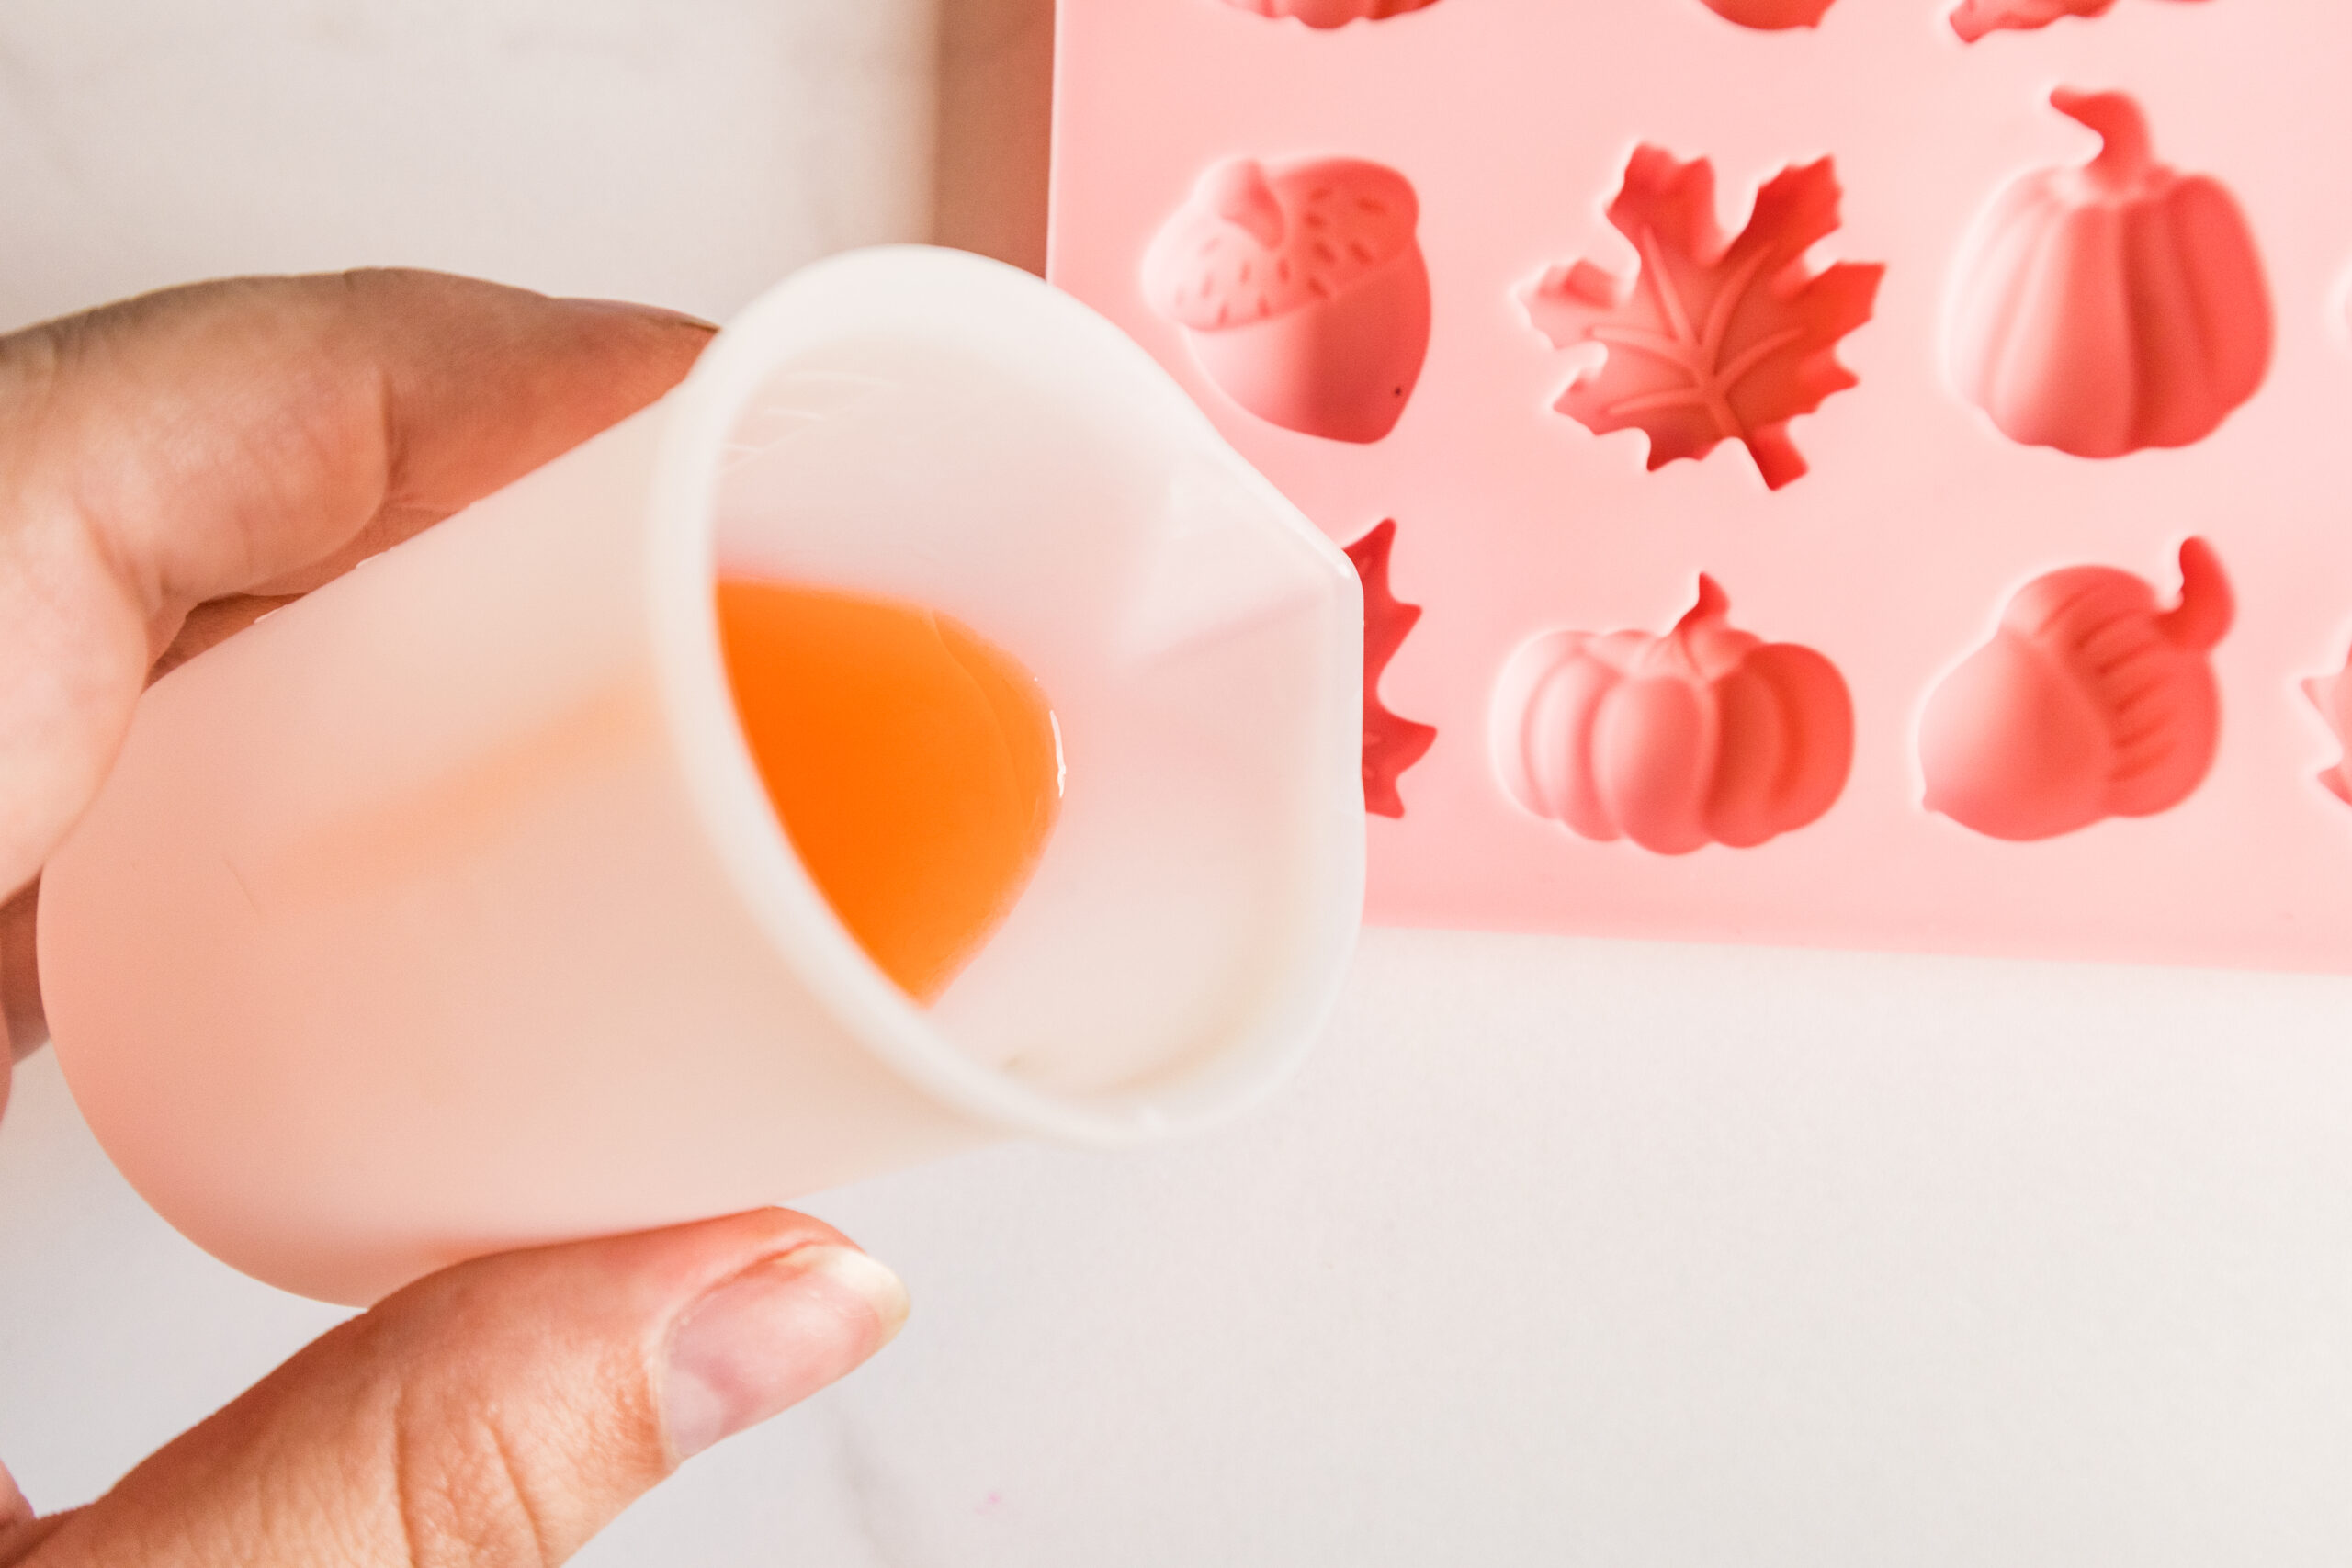
If you made two colors, you can alternate them between the different shapes or play around with the colors however you like. This is the fun part, so there really aren’t any rules!
7. Let Them Cool and Harden
Leave the wax melts undisturbed at room temperature until they are completely cool and hardened. This usually takes around one to two hours.
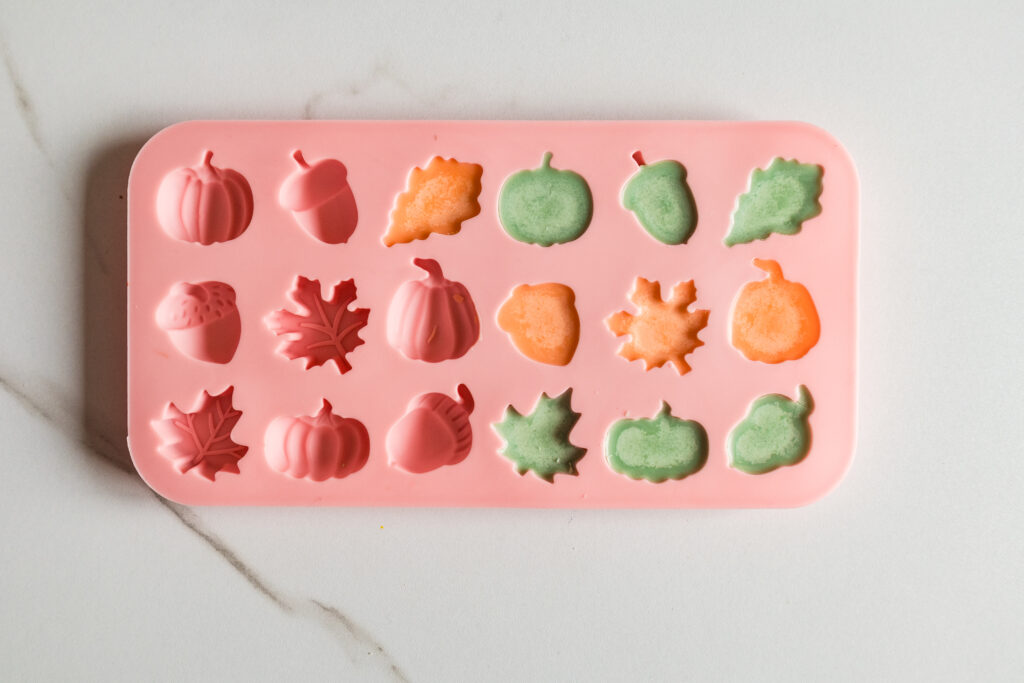
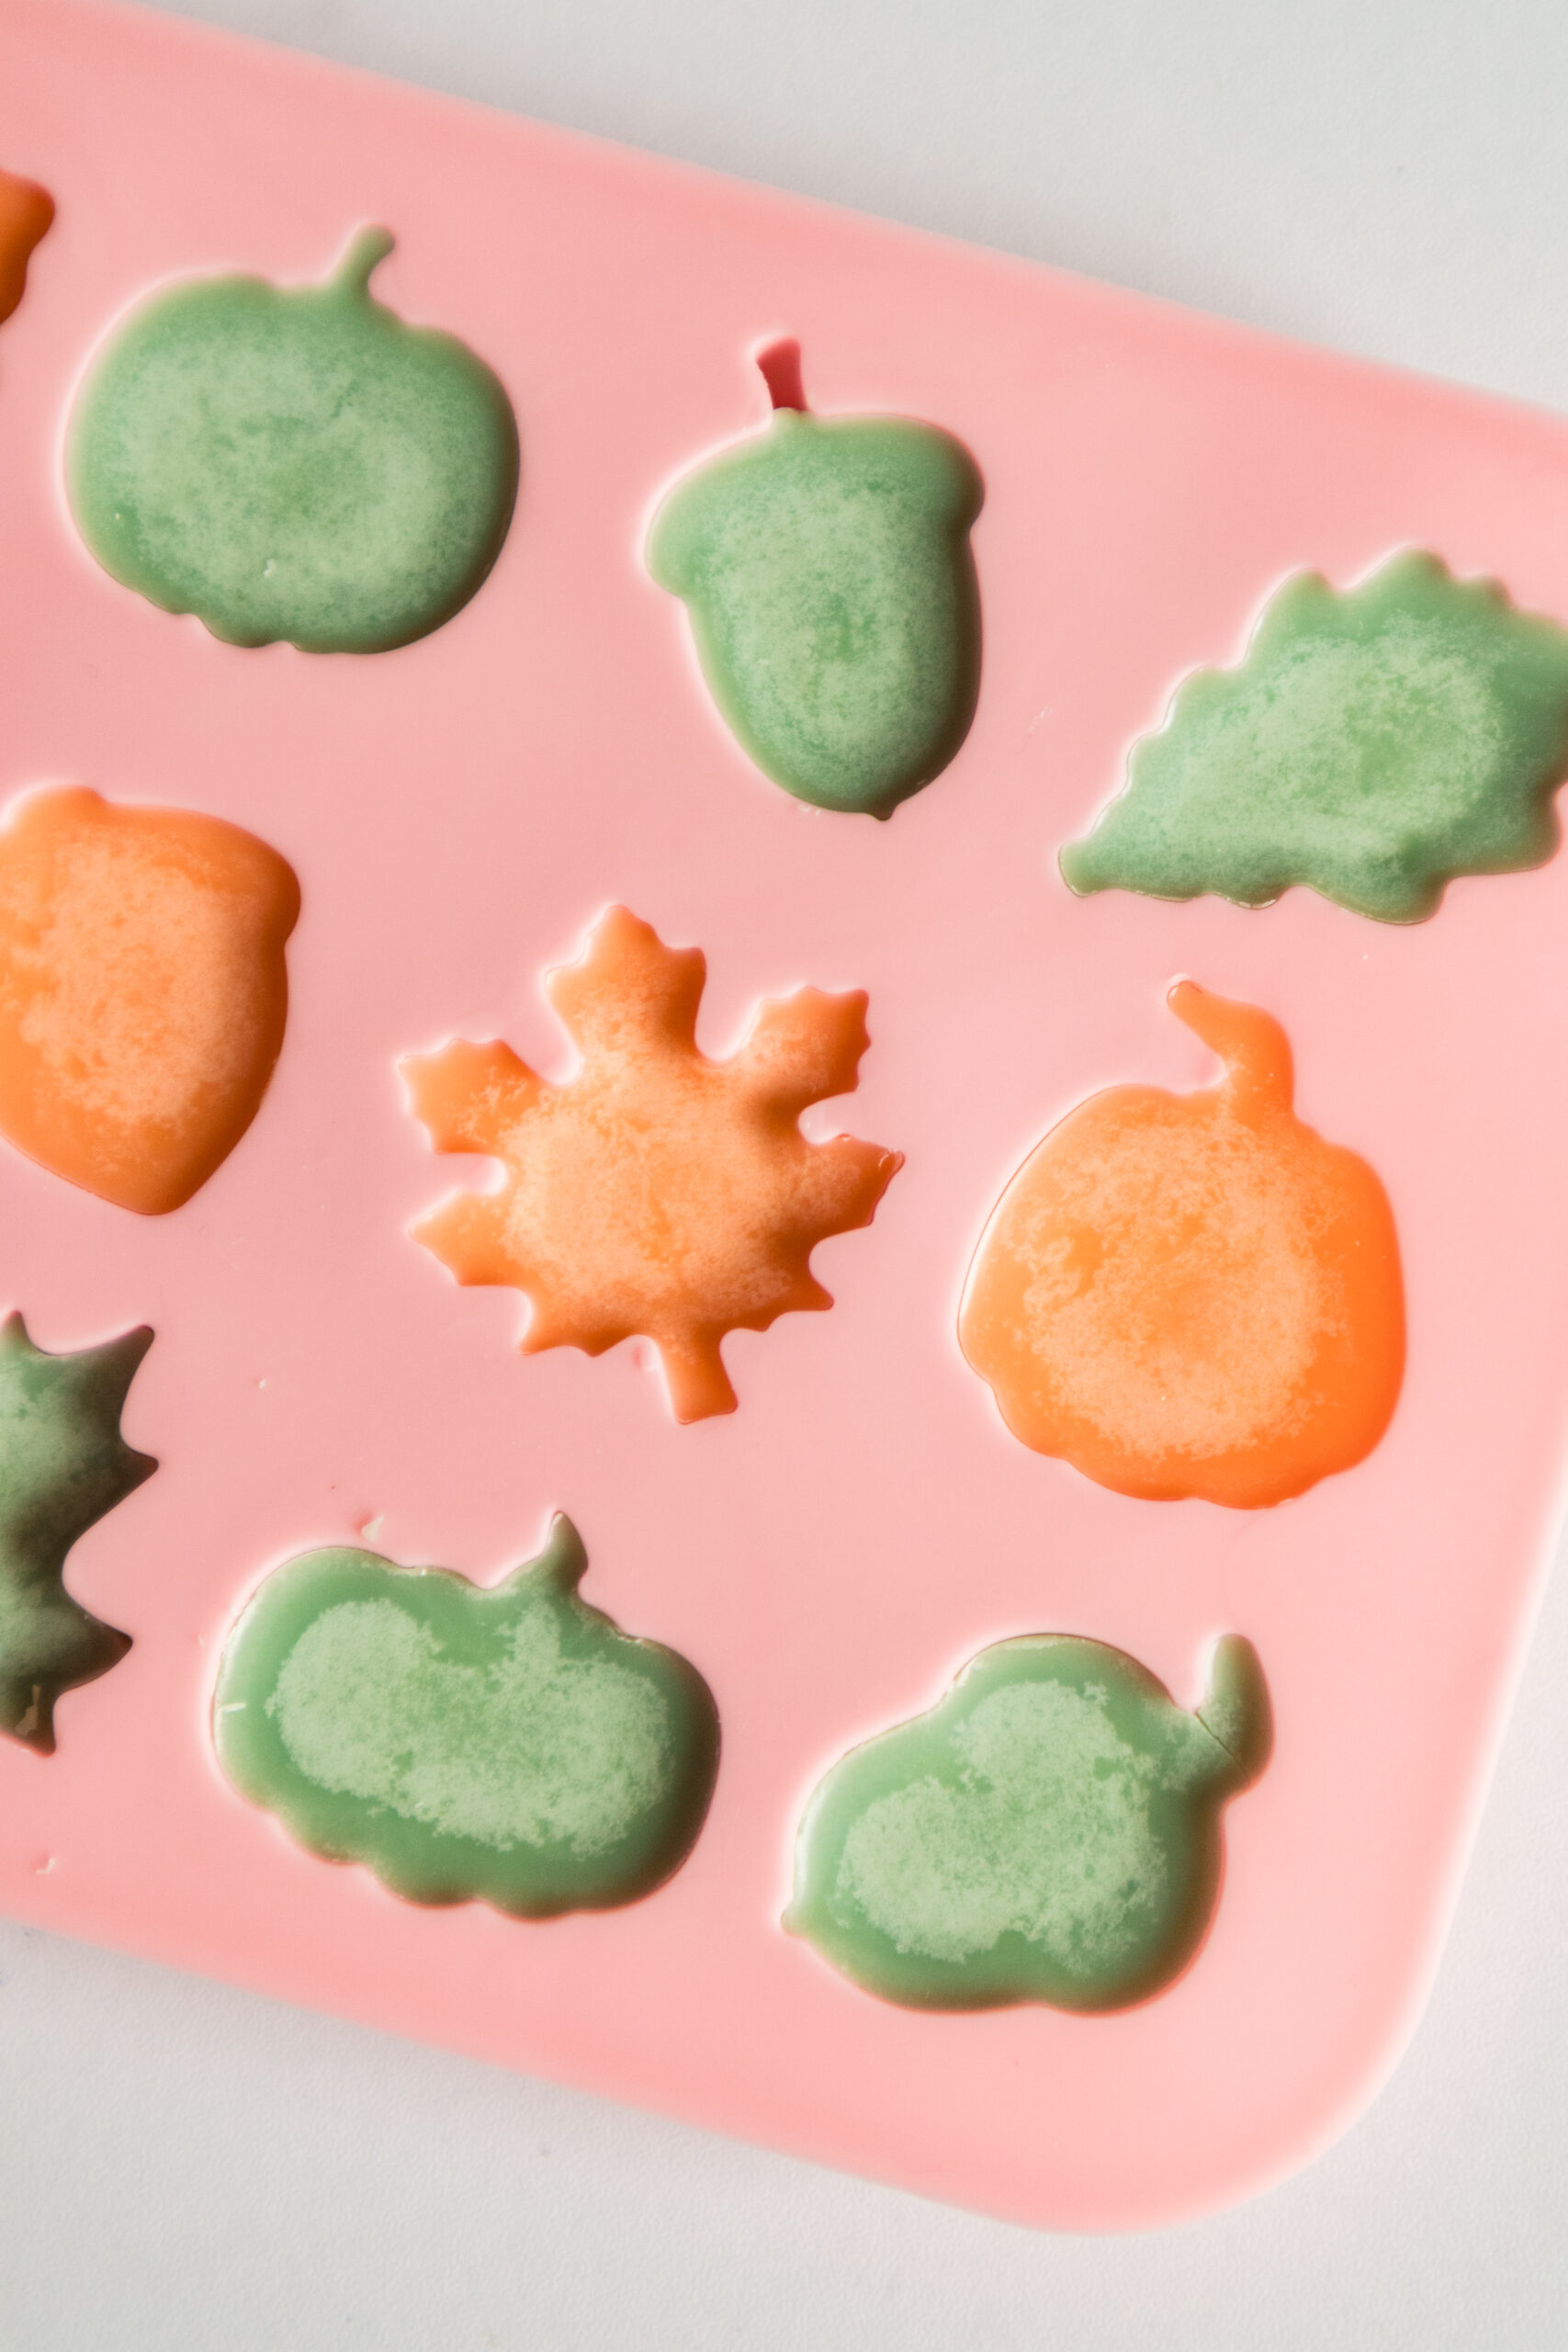
Try not to pop them out early, even though it is very tempting.
8. Pop Them Out & Enjoy
Once completely set, gently pop each wax melt out of the silicone mold.
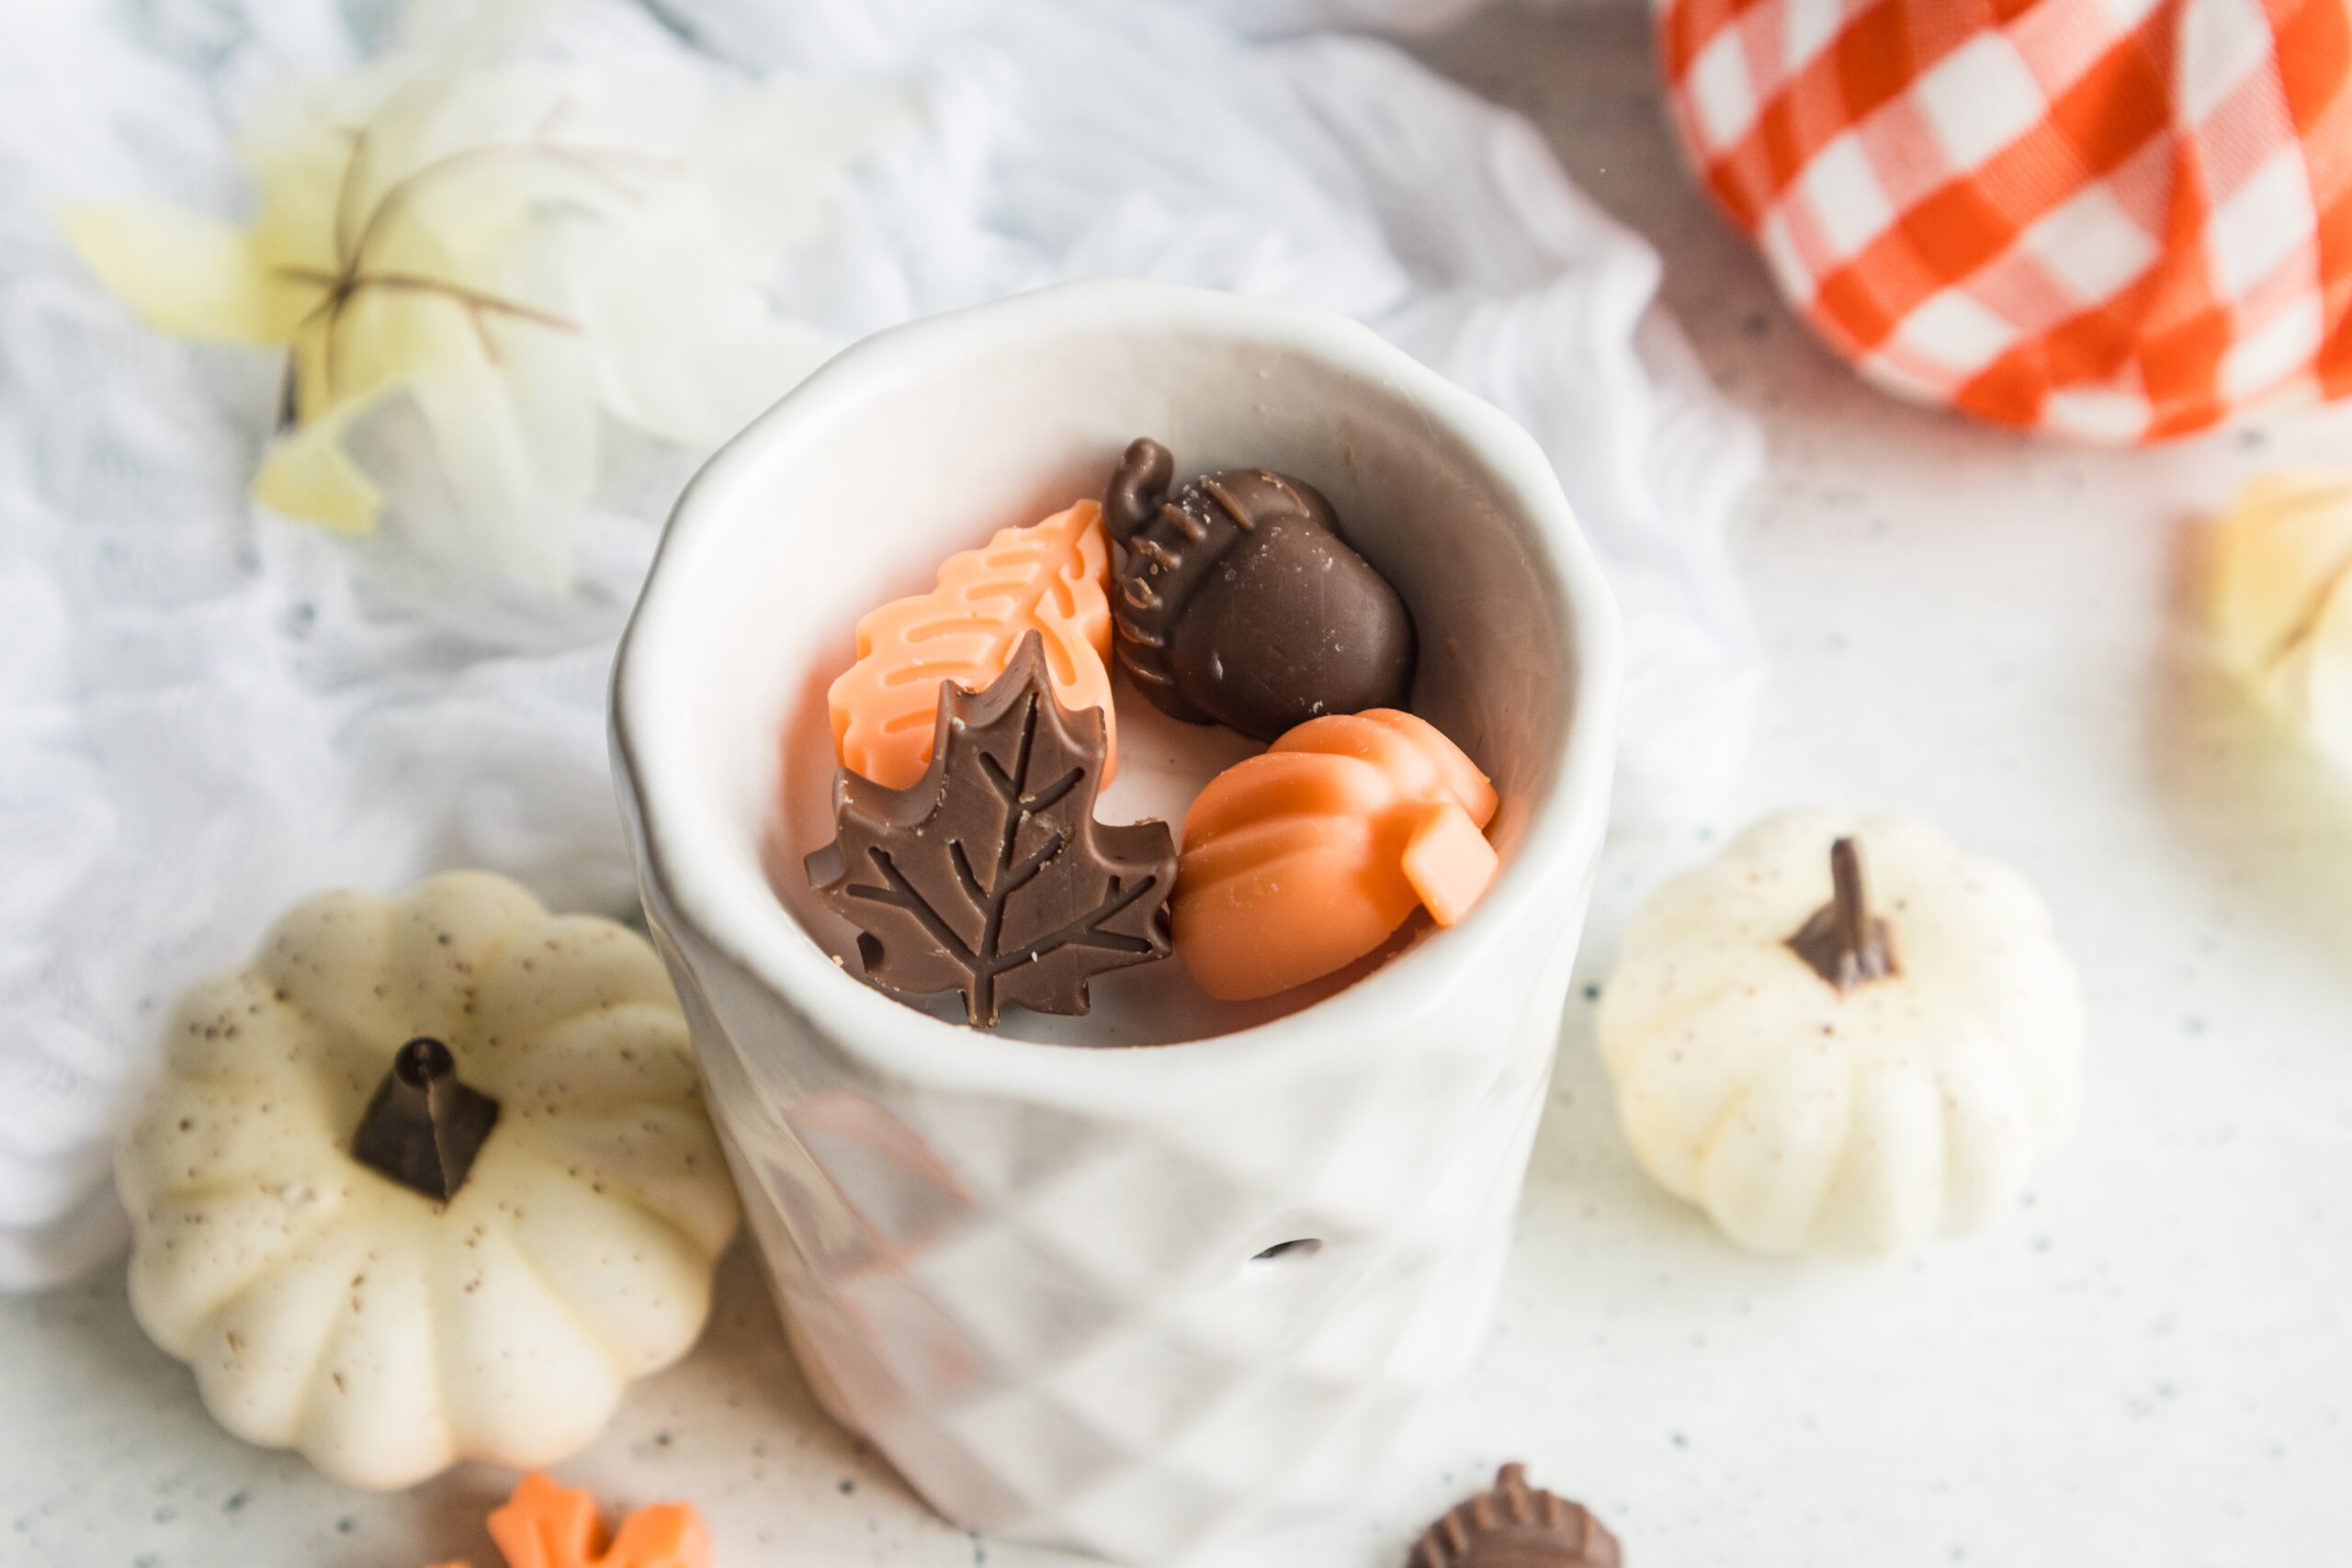
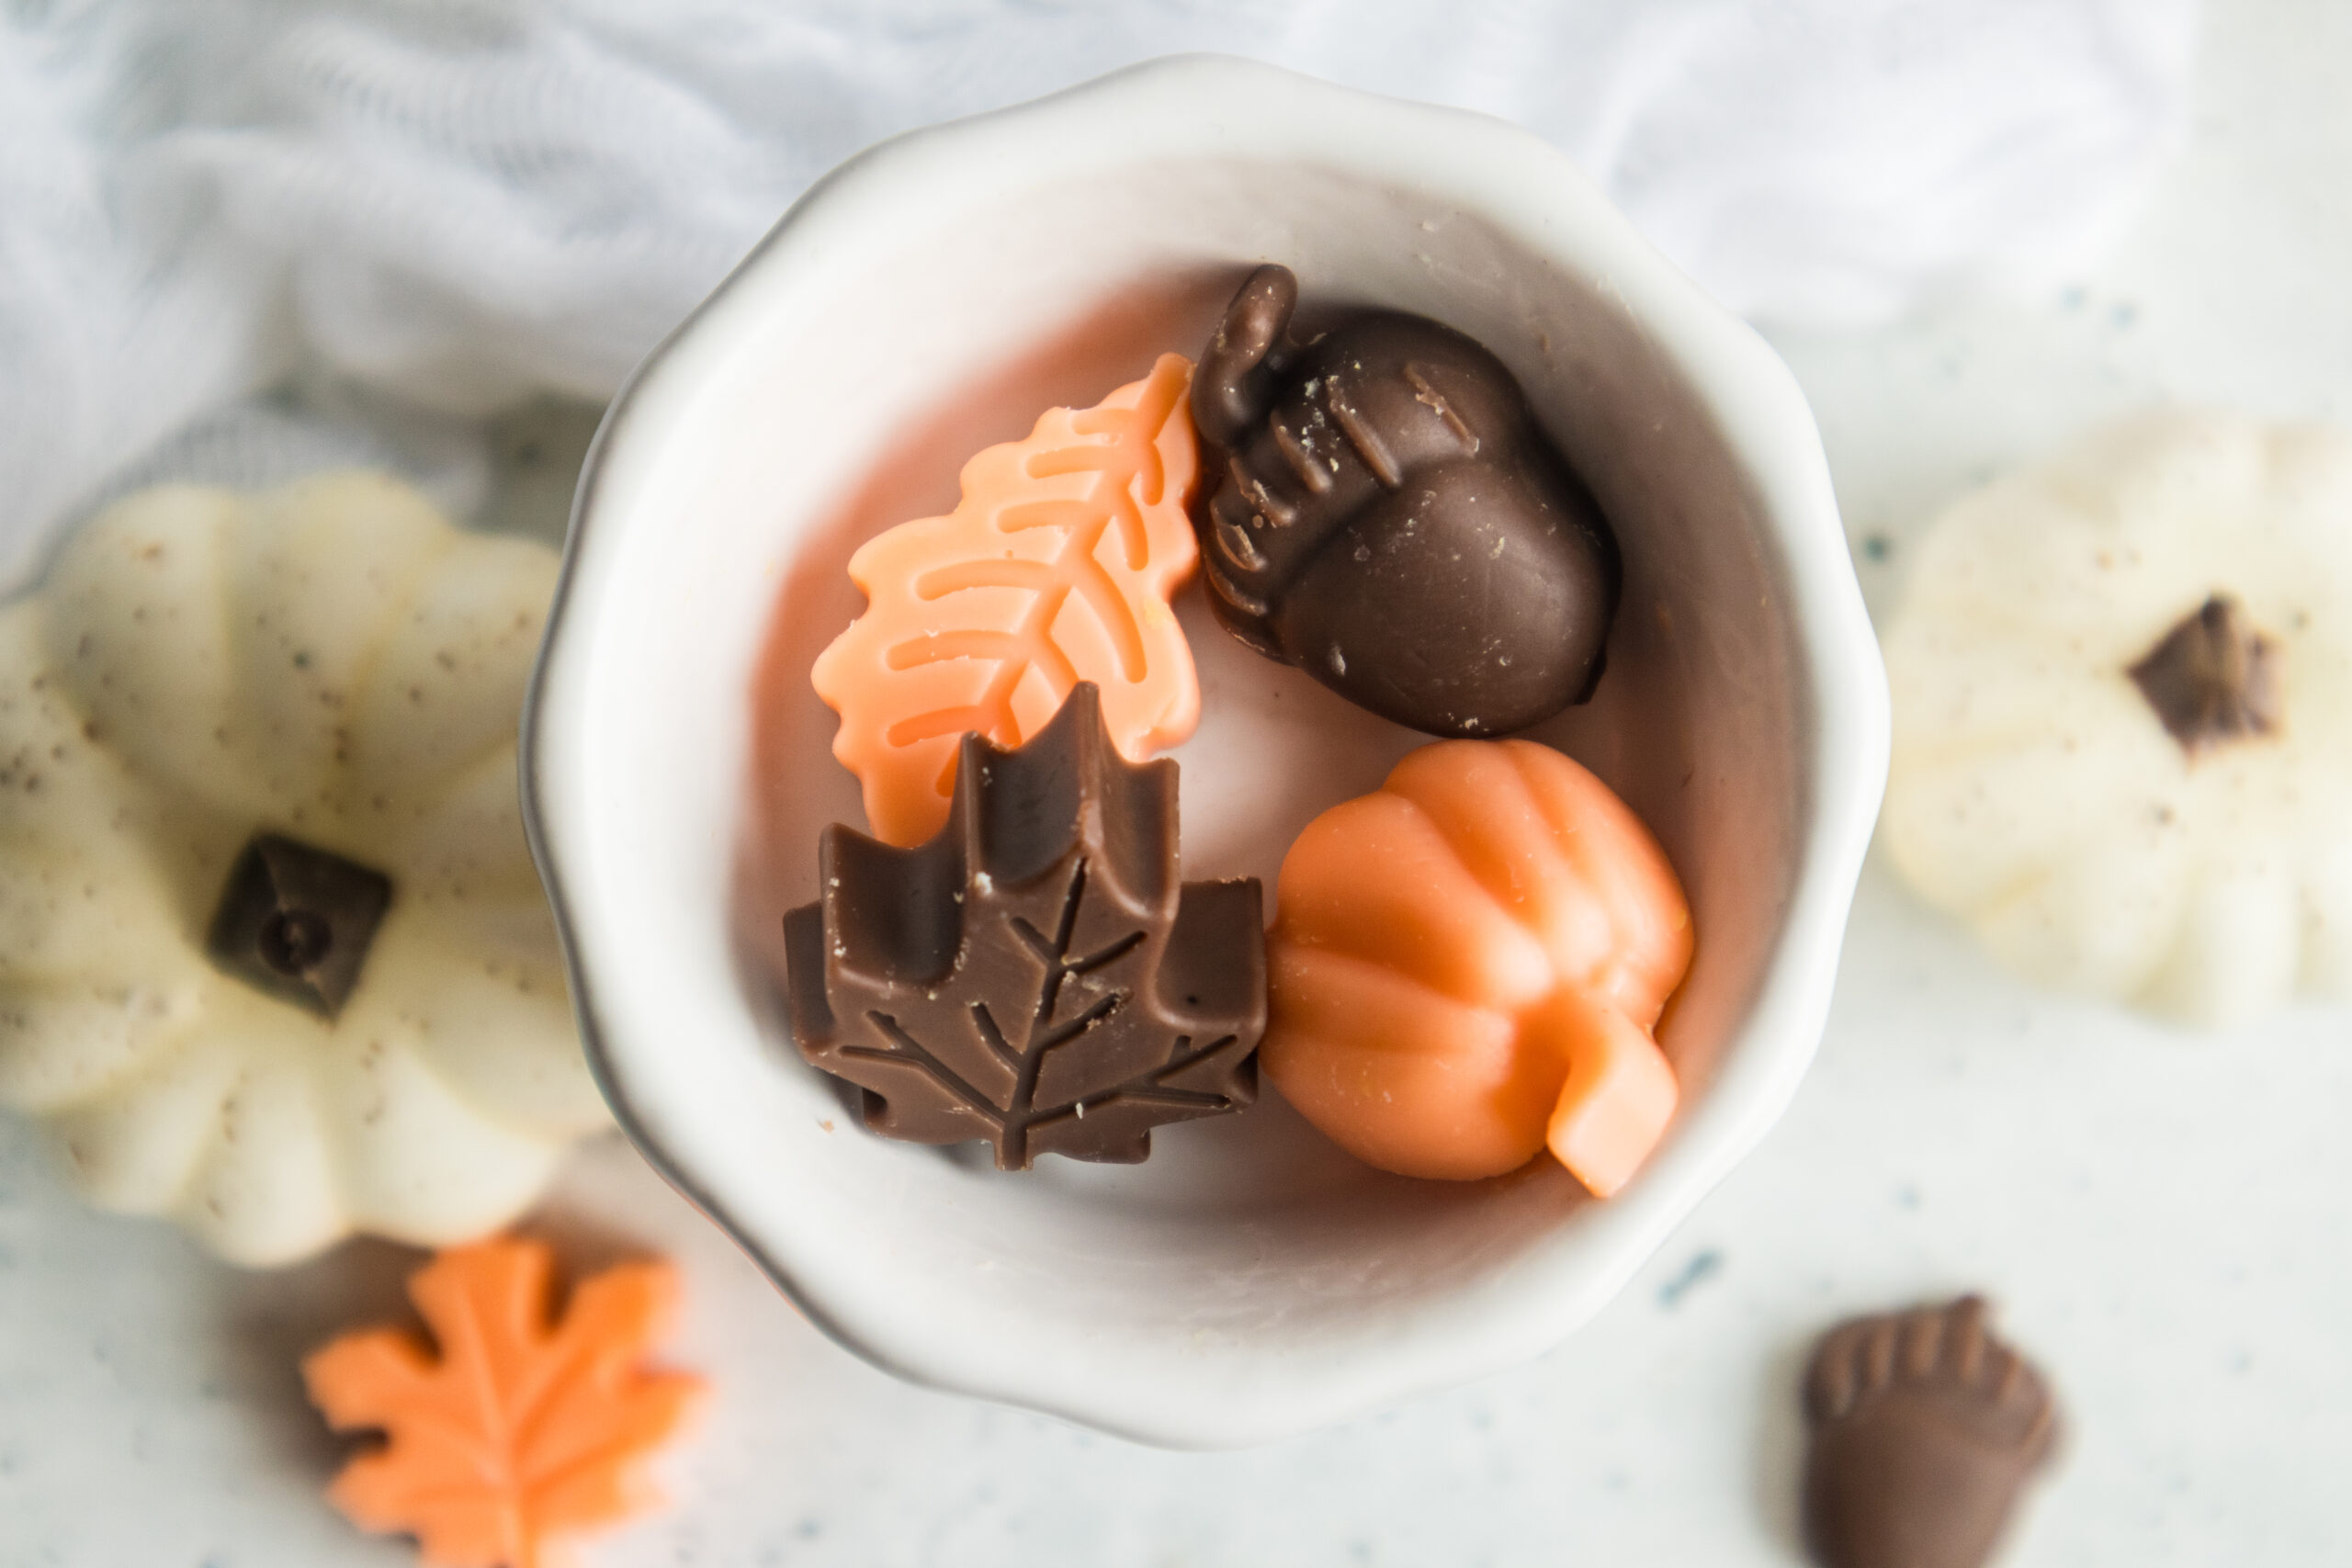
Store your finished melts in an airtight container until you’re ready to use them.
When you want your home to smell extra cozy, place 4–6 melts in your wax warmer, depending on its size, and let them slowly melt.
Notes:
- Don’t add the essential oils while the wax is extremely hot. Letting the wax cool slightly before adding them can help prevent the fragrance from evaporating too quickly.
- Experiment with your colors. You don’t have to make your melts identical. I actually think having slightly different fall shades makes them look even prettier.
- Store them in an airtight container. This helps protect the fragrance while they’re waiting to be used.
- Use about 4–6 melts per wax warmer. You can always adjust the amount depending on the size of your warmer and how strong you want the scent to be.

Fall Wax Melts
Ingredients
- 1 cup soy wax
- 2-3 drops candle dye
- 30 drops cinnamon bark essential oil
- 30 drops clove bud essential oil
- 20 drops sweet orange essential oil
- 20 drops cedarwood essential oil
- Silicone mold
Instructions
- Melt the soy wax in a double boiler until fully melted.
- Once melted, divide the wax evenly between two containers if you want two colors.
- Stir in your candle dye, a drop at a time, until you reach the color you love in each container.
- Let the wax cool slightly, around 120-130°F. This keeps the essential oil scent from burning off.
- Stir in your essential oil blend once the wax has cooled a bit.
- Pour the melted wax into your silicone mold.
- Let the wax melts cool and harden completely at room temperature (this usually takes an hour or two).
- Pop them out of the mold once fully set and store in an airtight container until you’re ready to use them in your wax warmer!
Notes
- Adding essential oils too hot can burn off the scent, so waiting until the wax cools slightly helps the fragrance last once cured.
- Use 4-6 per wax melter.