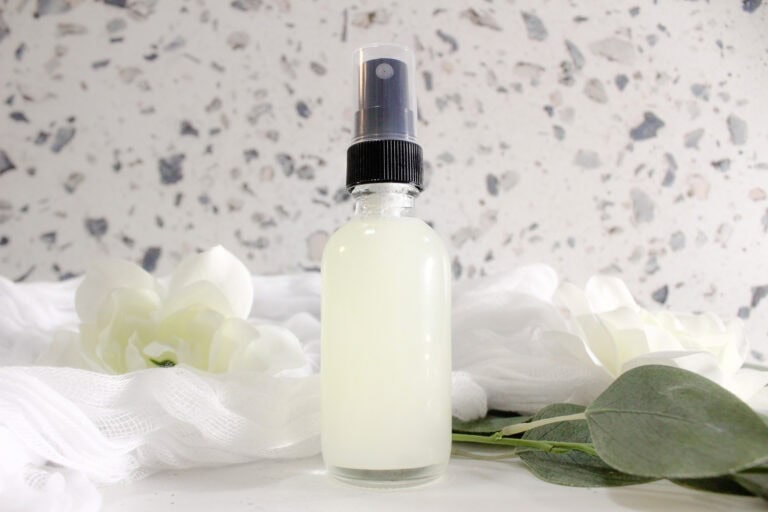
Love candles but want a non-toxic option? I’m going to show you how to make beeswax candles the easy way—no toxic ingredients, just simple stuff you can buy!
Homemade Beeswax Candles with Coconut Oil
Since I started making my own candles—first just for fun and as gifts—I can’t imagine ever going back to buying them! Homemade beeswax candles are such a life changer. You get to make them exactly how you want, with non-toxic ingredients and your favorite scents. Plus, it’s so satisfying to create something completely your own.
I’m pretty sure you’ll love this candle DIY! It’s super easy, fun, and the candles smell amazing!
Why switch to beeswax candles?
In case you are wondering why switch to beeswax candles? the answer is they’re natural, eco-friendly, and burn cleaner than regular candles. Plus, they’re great for your health, as they release fewer toxins into the air.
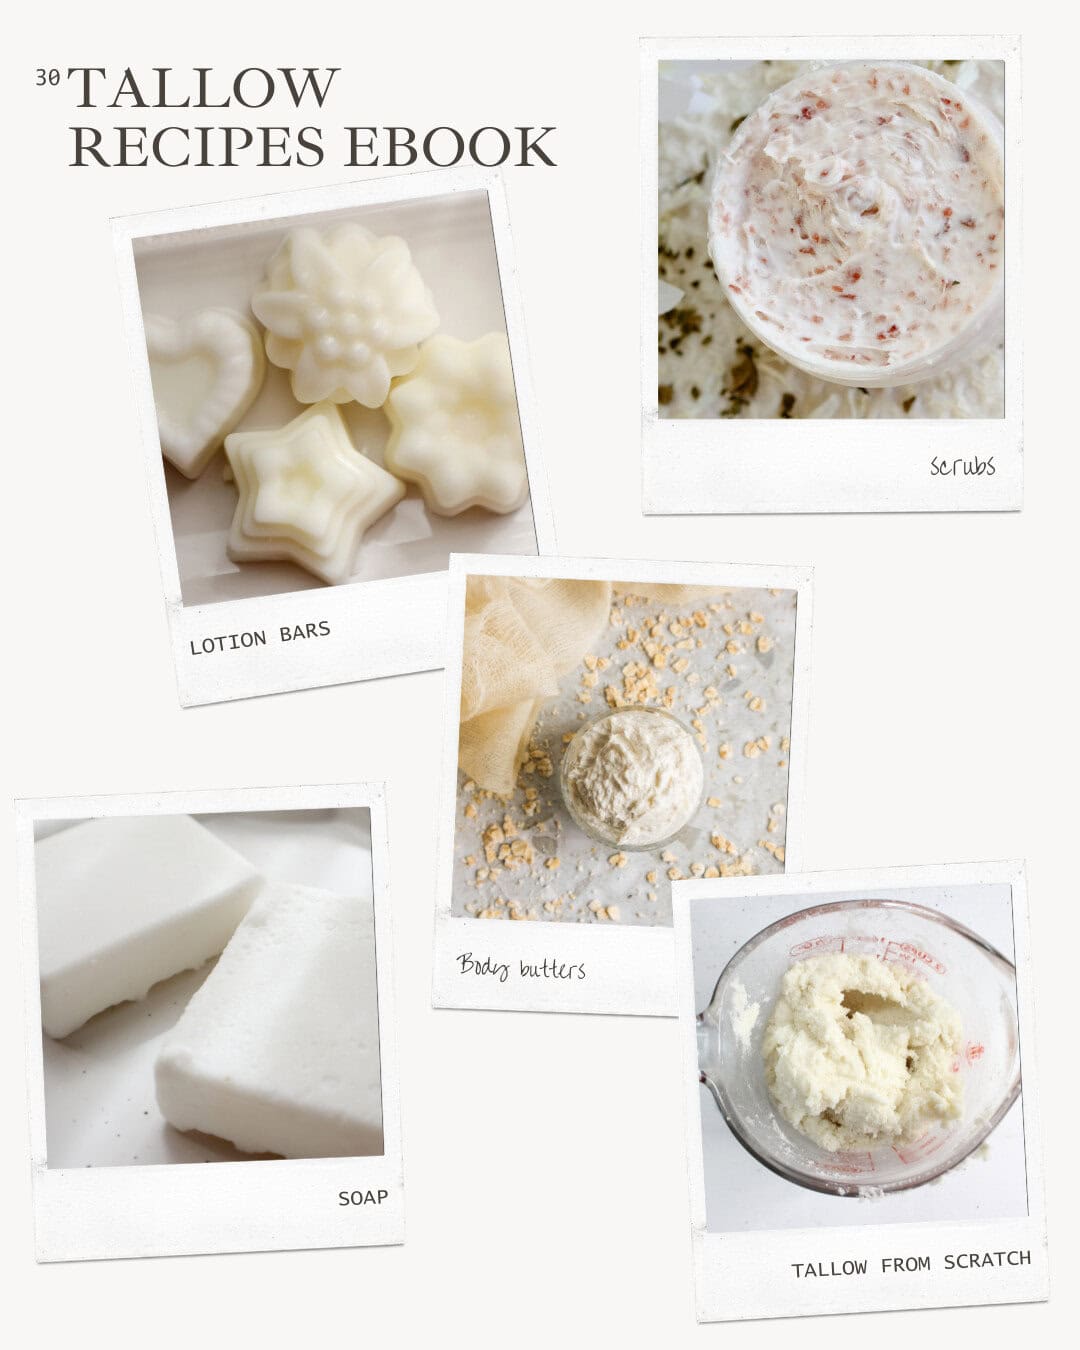
Featured Product
30 Homemade Tallow Recipes Ebook
Discover 30 simple, nourishing recipes designed to help you make beautiful homemade products naturally.
Store-bought candles are often full of toxins, like synthetic fragrances and paraffin wax, which release harmful chemicals when burned. Switching to natural options like beeswax candles is a much cleaner, healthier choice for both you and the air you breathe.
Not to mention, beeswax candles have a lovely, subtle honey scent that adds a cozy vibe to any space!
Plus, these coconut oil candles smell like coconut and are absolutely delicious! They give off this sweet, tropical vibe that’s perfect for any room.
Why make them yourself:
Honestly, making beeswax candles at home is cheaper, and you can customize them however you want! Plus, you can make as many as you need, whenever you need them—and they make great gifts too!
What you will need:
With these measurements, you can make about one 9oz candle. If you break it down, each candle will cost you less than $15 to make—super affordable for a big and high-quality, handmade candle!
Ingredients:
- White Beeswax pellets
- Coconut oil
- Pre-wicked candle jar
- Candle wick centering tool
- Essential oil (optional)
Utensils
- spoon or stir stick
- 1 cup measuring cup
- 1/2 cup measuring cup
- 2 bowls for double boiling (one for water and one for melting wax) or a pot with a heatproof bowl inside
- Oven mitt

Instructions:
1. Set up the Double Boiler:
Fill one of your bowls with water (about 1-2 inches).
Place the second bowl on top of the first, ensuring that the bowl is not touching the water. This will be your double boiler setup for melting the beeswax.

2. Melt the Beeswax:
Add 2 cups of beeswax pellets to the top bowl.
Heat the water beneath and allow the beeswax to slowly melt, stirring occasionally. Keep an eye on it until the beeswax is fully dissolved.

3. Check the Temperature:
Use a thermometer to check the temperature of the melted beeswax. It should reach around 180°F (82°C). This ensures that the wax is properly melted and at the right temperature for adding the coconut oil.
Want to save this for later?

4. Add Coconut Oil:
Once the beeswax is fully melted, carefully add 1/2 cup of coconut oil. Stir well until both ingredients are completely combined and smooth.


5. Add Essential Oil (Optional):
If you’d like to add fragrance to your candles, now is the time. Add a few drops of your preferred essential oil (cedarwood, lavender, eucalyptus, or citrus are great options). Stir the mixture gently to distribute the fragrance evenly.

6. Prepare the Candle Jar:
Secure the wick to the bottom of your chosen container using a small amount of glue or a wick sticker.
While the wax is still melted and hot, position the wick centering tool at the top center of your candle jar. This will help keep the wick in place as the candle sets. I used a spatula and my hands to keep it in place.

7. Pour the Wax into the Jar:
Use an oven mitt to carefully grab the bowl of melted wax. Slowly pour the wax mixture into the candle jar, being mindful to keep the wick centered.
Leave about 1/4 inch of space from the top of the jar to prevent overflow once the candle is lit.


8. Let the Candle Dry:
Allow the candle to cool and set for at least 2 hours at room temperature. This will give the wax time to harden and solidify.


9. Trim the Wick and Decorate with a Bow:
Once the candle has completely set, trim the wick to about 1/4 inch above the surface of the wax. This will ensure a clean burn when lighting the candle.
For an extra touch, you can decorate your candle with a cute bow around the jar.
Enjoy your homemade beeswax coconut candle! 🌿🕯

Tips:
- If you don’t have a thermometer, just wait until the beeswax is completely melted before adding the coconut oil. You’ll know it’s ready when it’s smooth and liquid.
- For an even more customized candle, try experimenting with different essential oils to create unique scents.
- If you prefer the natural coconut scent, skip the essential oils.
- Make sure the wick remains centered while the wax hardens to avoid an uneven burn.
- Always let the candle dry fully before lighting it for the first time.

Beeswax & Coconut Oil Candle
Equipment
- Double boiler setup (one for water and one for melting wax) or a pot with a heatproof bowl inside
- Thermometer (optional, but helpful)
- 9oz Pre-Wicked Candle Jar
- Spatula or stirring utensil
- Oven mitt (for handling hot bowl)
- Wick Centering Tool (optional, but helpful)
Ingredients
- 2cup Beeswax pellets
- 1/2 cup Coconut oil
- 10-15 drops Essential oil (cedarwood, lavender, eucalyptus, citrus, etc. (Optional)
Instructions
- Set Up the Double Boiler:Fill one bowl with 1-2 inches of water.Place a second, smaller bowl on top, ensuring it doesn't touch the water directly.
- Melt the Beeswax:Add 2 cups of beeswax pellets to the top bowl.Heat the water beneath and allow the beeswax to melt slowly. Stir occasionally.
- Check Temperature:Once melted, check the temperature of the beeswax with a thermometer. It should reach 180°F (82°C).
- Add Coconut Oil:Carefully add 1/2 cup coconut oil to the melted beeswax. Stir until fully combined and smooth.
- Add Essential Oil (Optional):If desired, add a few drops of your favorite essential oil. Stir gently to mix.
- Prepare the Candle Jar:Attach the wick to the bottom of the container with a small amount of glue or a wick sticker, or use a pre-wicked candle jar.Use a wick centering tool to ensure the wick stays centered while the wax hardens.
- Pour the Wax:Carefully pour the melted wax into the jar, keeping the wick centered. Leave about 1/4 inch from the top to prevent overflow.
- Let the Candle Dry:Allow the candle to set at room temperature for at least 2 hours.
- Trim the Wick:Once the candle has hardened, trim the wick to 1/4 inch above the wax surface.
Notes
- If you don’t have a thermometer, the beeswax is ready when fully melted and smooth.
- Experiment with different essential oils for a personalized scent.
- If you prefer the natural coconut scent, you can skip the essential oils.
- Keep the wick centered while the wax sets for an even burn.
- Let the candle fully dry before lighting it.