Looking for some realistic and helpful moving downsizing tips? You’re in the right place! I’ve lived in big houses, tiny apartments, and now I’m moving to a smaller apartment after 3+ years living in big houses—so trust me, I’ve got plenty of advice to share.
I know, downsizing can feel totally overwhelming, whether it’s something you have to do or something you’ve decided to do. Believe me, I’ve been through it. Even though I chose to downsize, I won’t sugarcoat it—it’s a lot of work. I’m not here to tell you it’s easy or that it’ll happen overnight. I just want to share what worked for me and maybe give you a little motivation to get through it without all the anger, shame, blame, or fear. You’ve got this!
Moving Downsizing Basic Tips
1. Set a “Guilt-Free” Mindset
It’s easy to feel guilty about getting rid of things that were gifts or expensive purchases. But remember: the goal of downsizing is to create a living space that serves your current needs. Don’t let guilt hold you back—if it’s not serving you now, it’s okay to let it go.
2. The Order Doesn’t Matter
When it comes to downsizing and decluttering, I’m not a fan of following some strict order or sequence. Honestly, the order doesn’t really matter—it’s the act of decluttering that counts. Plus, worrying about doing it “in order” can just make you procrastinate!. The key is to get started and make progress, no matter where you begin.
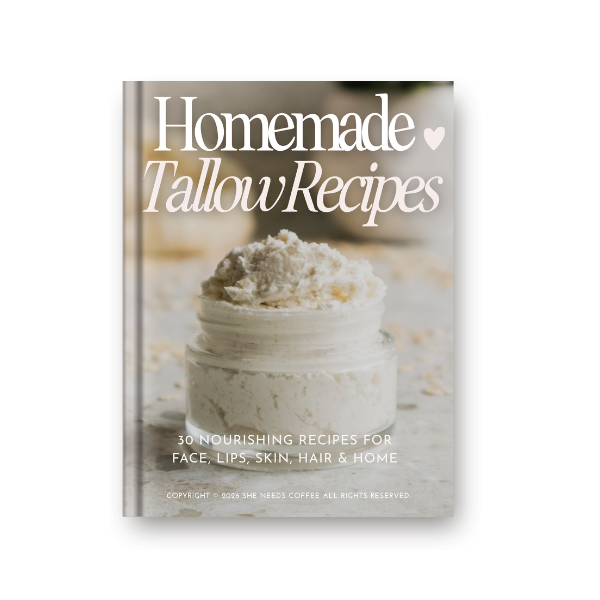
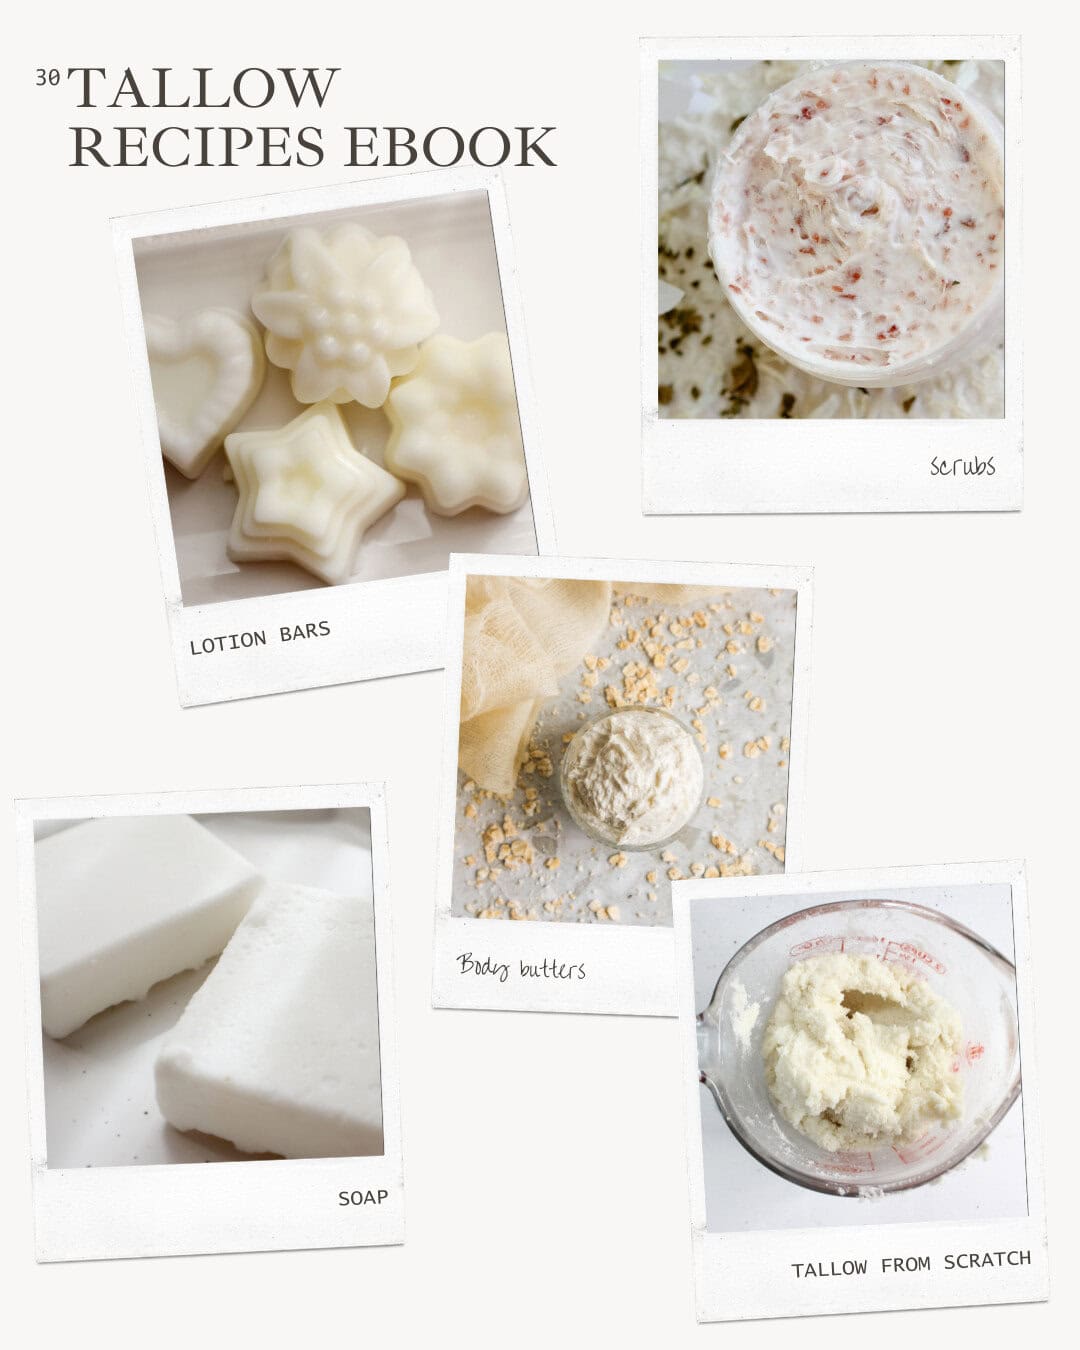
Featured Product
30 Homemade Tallow Recipes Ebook
Discover 30 simple, nourishing recipes designed to help you make beautiful homemade products naturally.
Whether you’re short on time or you want to dive into a specific area, start anywhere that feels most manageable or motivating. It’s all about making progress.
3. Declutter Every Corner—No Space Left Behind
When I’m downsizing and decluttering, my main rule is simple: Nothing gets left behind. Every drawer, closet, and even that messy garage corner has to be tackled!
Here’s a checklist to keep you on track:
- Drawers: All of them. From desk drawers to kitchen utensil drawers, these often become dumping grounds for random items.
- Closets: Every closet in your home, including coat closets, linen closets, and bedroom closets.
- Cabinets and Cupboards: Don’t skip bathroom cabinets, medicine cabinets, kitchen cabinets, or any built-in shelves you have.
- Storage Spaces: Attics, basements, and garages are prime locations where clutter can easily build up.
- Hidden Spaces: Don’t forget about under furniture, under the bed, or even behind doors where things get shoved out of sight.
By focusing on every single corner of your home, you can prevent clutter from sneaking back into spaces that are easy to overlook.
5. Don’t Be Afraid to Skip Around
As you begin decluttering, don’t be afraid to skip around (just remember—you’ll need to deal with it eventually) if you hit a difficult spot or need a break. If a certain area feels too emotionally charged (like sorting through sentimental items), it’s okay to leave that for later. You can come back to it after you’ve built some momentum in other spaces.
Remember, progress is more important than perfection. There’s no wrong order—just make sure to eventually hit every space!
How to Declutter: Simple, Yet Effective Moving Downsizing Tips
Decluttering can often feel overwhelming, especially when you’re faced with piles of stuff and don’t know where to start. But the truth is, simplifying the process makes it much more manageable. I feel like I’ve developed a straightforward method for decluttering every area of my home—one that keeps me from getting bogged down by indecision or guilt. One key approach is tackling smaller items first, saving bigger items like couches, dressers, and other large pieces for the end of my downsizing process. This allows me to build momentum and make clear decisions before facing the more challenging items.
Here’s how it works:
My 3-Box Method: Trash, Donate, and “Figure It Out Later”
My approach to decluttering is incredibly straightforward and uses three simple boxes or bags. The goal is to make the process of deciding whether to keep or part with something as easy as possible. Here’s how I do it:
1. Trash Bag: For items that are broken, expired, or are simply TRASH. This is the “no-brainer” box—anything that’s truly garbage goes here. It helps keep you from holding on to things that have no value.
I use trash bags for TRASH because they make the process quicker and more efficient for me. Once a bag is full, I can easily grab it and walk straight to the trash, keeping the momentum going.2. Donation Box: For items in good condition that you no longer need or use, but could be of value to someone else. This could include clothing, books, kitchen gadgets, or decor. If it’s still in good condition but you don’t want it, give it a new life by donating it.
I donate all my items to Goodwill inside boxes, and I follow their guidelines when deciding what to donate. They are pretty open to accepting a wide variety of things.3. “Figure It Out Later” Box: Let me introduce you to my life-changing “Figure Out Later” box—something I haven’t heard anyone talk about before. First, let me be clear: this is not a “Maybe” box. I don’t keep “Maybe” items. If I’m unsure about something, I just leave it for the moment. When I do a second or third round of decluttering, I’ll revisit it and make a decision then. I don’t force myself to make a choice on items I’m not certain about.
Now, the “Figure Out Later” box is for things that I do want to keep, but don’t have a specific space for yet. Think of it as a temporary holding spot for things like pens, organizers, keychains, wallets, coins, chargers, and other small items that need a designated place but don’t quite fit right now. It lets me put them aside without cluttering up my space while I figure out the best spot for them later. This box has been a game changer in keeping my space organized while still respecting that some things need a little extra thought before they find their permanent home.
By having these three boxes or bags, you simplify the decision-making process and avoid the paralysis that can come from trying to decide on every item at once. It allows you to move quickly through each area while giving yourself permission to delay certain decisions.Step-by-Step Downsizing Process: My Approach to Each Space
Now that I’ve shared with you the basic method, let me share how I apply it to specific areas of my home. I always start with one space or drawer at a time, but I don’t follow any specific order. If I have the time, I try to do as much as I can. Sometimes, I end up touching every single room, and other times, I only focus on one—it honestly depends.
1. Nightstands or Small Tables
Start by removing everything from your nightstands, desks, or side tables. These areas often accumulate random items like receipts, books, chargers, or random little knick-knacks.
- Trash: Get rid of old receipts, broken items, or expired medication.
- Donate: If you have books or small gadgets that you don’t use, put them in the donation box.
- Figure It Out Later: Items that don’t have a current home— can go to the”figure it out later” box.
Repeat this process 2-3 times, and with each round, you’ll find more things to get rid of as you become less attached to stuff. Over time, you’ll see just how little you really need.
For my nightstand, I kept it almost empty because I know it’s easy for me to clutter it up again. I only kept my new planner with pens, a small heater, my alarm clock, and a lamp. My husband’s nightstand is completely empty, with just a lamp and a candle on top.2. Clothing
My clothing is one of the first places I tackle because it can accumulate quickly. Here’s how I declutter my wardrobe:
- Start with one area: It could be your closet, dresser, or a specific drawer.
- Trash: Any worn-out clothing that can no longer be repaired or is beyond donation (e.g., old socks, ripped items, or stained clothes) goes in the trash bag.
- Donate: Items that no longer fit or you haven’t worn in over a year go into the donation box. Be honest with yourself—if you haven’t worn something recently, it’s time to let go.
- Figure It Out Later: Special items that you want to keep but don’t wear regularly (like seasonal pieces or sentimental clothes) can go in the “figure it out later” box.
Repeat this process as needed. Each time you revisit your clothing, you’ll realize there’s even more you can part with—whether it’s that old sweater, those shoes you never wear, or the dress you’ve been holding onto “just in case.”
I have a closet with baskets, a dresser, and a small two-drawer organizer. Honestly, I don't struggle with my clothes as some others do when decluttering. However, I do donate to my family or Goodwill, or toss items I know I won’t use anymore—whether because they no longer fit my style or don’t fit my body anymore.Want to save this for later?
3. Books
Books are another area where it’s easy to accumulate too much. My method for decluttering books is simple:
- Trash: Old, damaged books that you’ll never read again or are falling apart.
- Donate: Books that you’ve read but won’t read again or ones that no longer interest you. Someone else could benefit from them.
- Figure It Out Later: If you don’t have a specific place for the books you want to keep, you can place them in your “Figure Out Later” box. This way, you’re not stressing about where each book will go while you’re decluttering or organizing. Once you’ve tackled the rest of your space, you can go back to the box and find the perfect spot for your remaining books.
I went a little crazy with books over the years, thinking I was building a personal library. But honestly, it's just clutter to me now. I prefer the idea of reading a book and then donating it. I donated most of my books and kept only the ones I truly want to read or care about. I've also decided not to buy any more books until I've finished all the unread ones I currently own.4. Shoes
Shoes take up space quickly, and it’s easy to forget what you actually wear. Use the same strategy here:
- Trash: Shoes that are worn out, with holes or broken straps.
- Donate: Shoes in good condition that you simply don’t wear.
- Figure It Out Later: I don’t think shoes should go in the “Figure Out Later” box unless it’s strictly necessary.
I don’t struggle with shoes—I love them! I admit, I have more than I need, but I love each and every pair.5. Garage
The garage is often a major clutter zone. It’s easy to toss items into the garage without thinking twice. I follow the same basic method here, but it often takes longer since there may be bigger items or more tools to deal with.
- Trash: Broken tools, expired paint cans, or things that are just taking up unnecessary space.
- Donate: Items you no longer use—such as old bikes, sports equipment, or gently used furniture.
- Figure It Out Later: Different items or sentimental things that don’t have a place in the house yet but you want to keep.
My garage was the biggest project for me because I’m planning to move to an apartment without one. I used plastic containers from Target and started labeling boxes by category. First, I made sure everything had a specific place—nothing was left lying around without a box. I donated items that were easy to part with and threw away a lot of trash. Then, I set goals for myself, gradually reducing the number of boxes from seven to four, and so on, until I had the fewest boxes possible. I’ll be storing the remaining boxes at my in-laws’ place, but if you don’t have extra space or someone to store things for you, I’d recommend only keeping what you can actually store in your home.6. Bathroom
Bathrooms can quickly accumulate clutter, especially when it comes to toiletries, old beauty products, or expired medicine.
- Trash: Expired medications, empty shampoo bottles, and old, unused beauty products.
- Donate: Unused toiletries or beauty items in good condition.
- Figure It Out Later: It’s often hard for me to think of “Figure Out Later” things for bathroom items, so just try to be extra mindful when using this box in that area and in general. If you don’t have a designated space for something, take a moment to ask if it’s truly necessary to keep. If you’re unsure, consider donating or discarding it before adding it to the “Figure Out Later” box. Bathrooms tend to be smaller and more functional spaces, so keeping only what you really need can make a big difference in maintaining order and ease of use.
I decluttered all my self-care and bathroom products and kept just one small basket with the essentials I actually use. Let me de-influence you: You don’t need a 10-step skincare routine. Personally, I only use the Rhode glazing milk, a moisturizer from CeraVe, a lip balm, and an oil for my hair. That’s it—simple, effective, and all I need7. Kitchen
The kitchen is often one of the toughest spaces to declutter because it’s filled with gadgets, utensils, and dishes. Here’s how I approach it:
- Trash: Expired food, broken utensils, mismatched lids, and items that you never use (e.g., gadgets that have been sitting in the back of a drawer for years).
- Donate: Any extra kitchen tools, mugs, or dishes that are still in good condition but aren’t necessary for your daily use.
- Figure It Out Later: Special kitchen items like serving dishes or specialty tools that you might only need on rare occasions. These can go in the “figure it out later” box to decide after a bit more reflection.
I’m now trying to cook with everything I’ve got in my pantry and freezer. I’ve also started buying less each week to keep my cabinets from getting cluttered with food I won’t use for months. I went through my kitchen and got rid of all the extra spatulas, dishes, and tools too. It took a whole day, but honestly, it was totally worth it.8. Cleaning Products
I honestly had way more cleaning products than I needed. All you really need are the Branch Basics Essentials Kit and a good floor cleaner, plus some cloth rags for actually cleaning. I don’t use their laundry products anymore because I find them a bit expensive, but I do love their other products.9. Living Room
The living room often collects clutter like magazines, papers, or knick-knacks. Here’s how I tackle it:
- Trash: Old magazines, receipts, broken decor, or anything that doesn’t serve a purpose.
- Donate: Decorative items that no longer match your style or books you’ve already read.
- Figure It Out Later: This might include sentimental items or things you’re not sure where to store.
10. Lining Closet
This is simple, but if you’re obsessed with bedding like I was, you’ll need some mental work to get there.
Trust me, you only need two sets of quality sheets/bedding per bed—max. That’s it! I had to really remind myself of this when I started decluttering, but it made a huge difference.11. The Scary “Junk” Drawer
You know, that drawer that holds everything and anything. It scares me! I just emptied it all out and put the contents into the ‘figure it out later’ box, then cleaned out the drawer completely.
Little by little, I started creating designated spaces for each thing in that box.
For example, I created a space for markers and pens using a small case, and organized important documents in a folder box container from Target. I also kept one small basket in the kitchen just for our keys—nothing else allowed!The Importance of Revisiting Your Space
One of the most important aspects of my decluttering method is repetition. I typically go through each area about 2-3 times because I find that the more I declutter, the less attached I am to things. With each round, I start to see the true value of living with less, and I become more comfortable parting with items.
Share this post