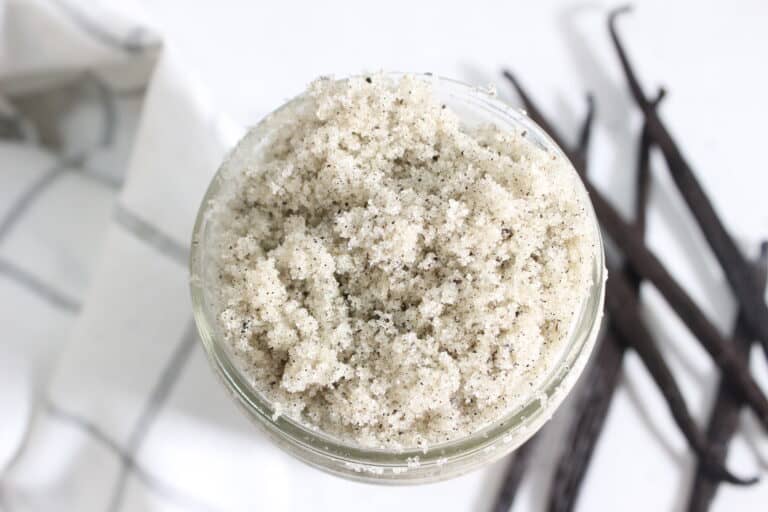
I don’t know about you, but I love homemade vanilla extract. Actually, I love vanilla in general. The smell, the flavor, the versatility, it’s just the best. I use Vanilla extract all the time like in my vanilla-infused honey, vanilla coconut scrubs and vanilla coffee scrubs. It’s a staple in both my kitchen and my DIY skincare routine.
Why Make Your Own Vanilla Extract?
Sure, you can easily buy a bottle from the store, but homemade vanilla extract is so much better. It’s more flavorful, free of additives, and you can customize it to your taste. Plus, it makes a great homemade gift (if you can bear to part with it!).

Homemade Vanilla Extract Recipe
Making homemade vanilla extract is super easy. It takes just two ingredients and patience.
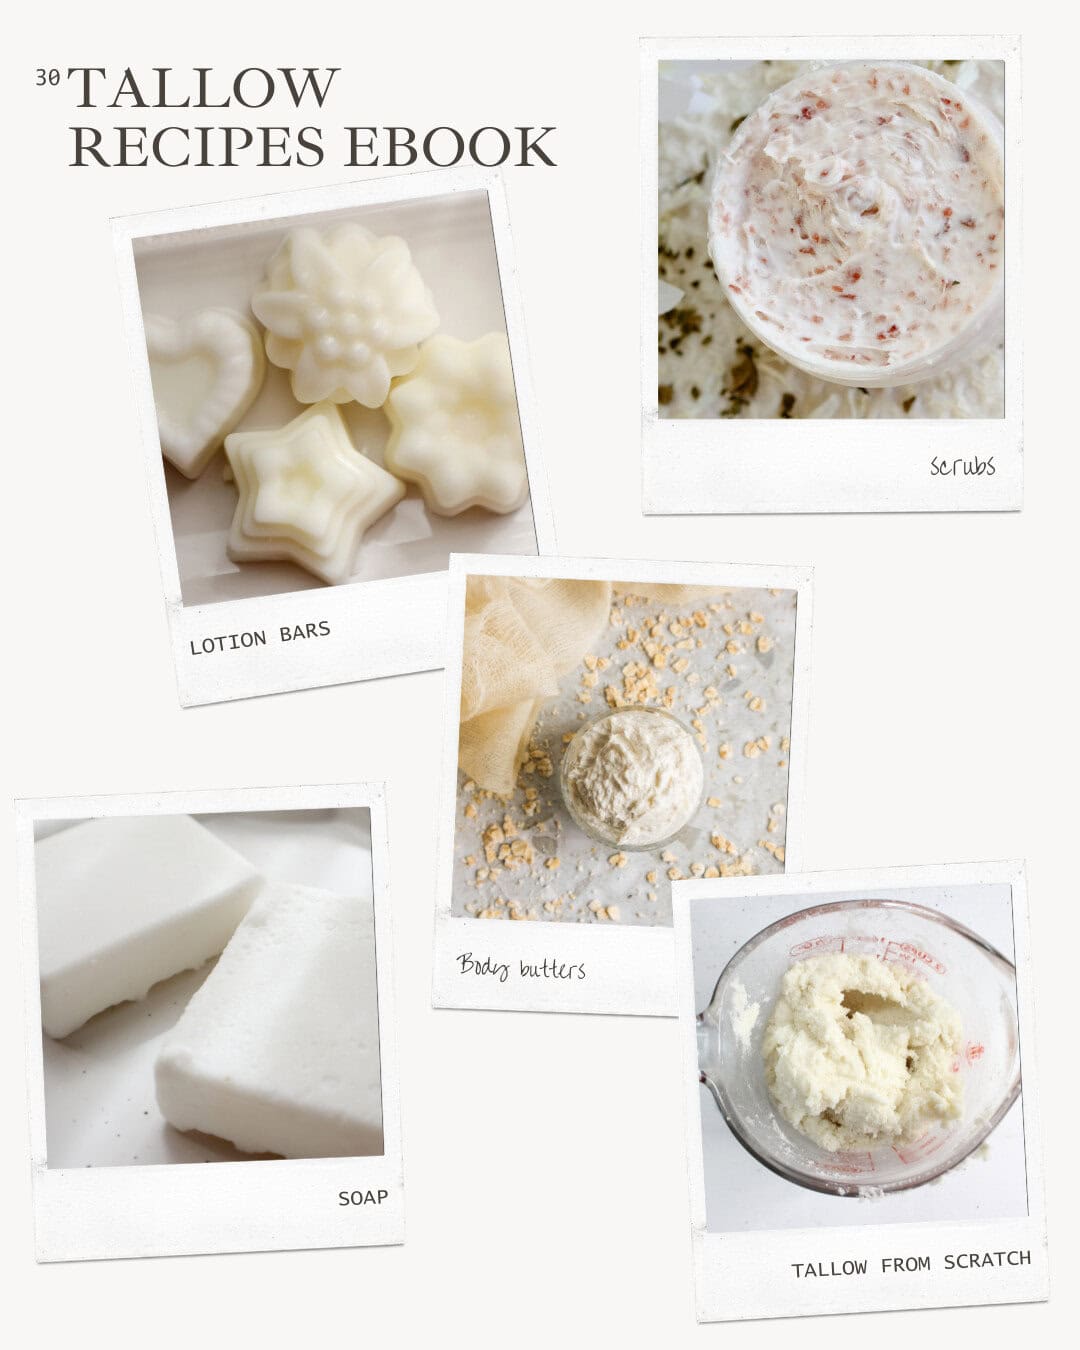
Featured Product
30 Homemade Tallow Recipes Ebook
Discover 30 simple, nourishing recipes designed to help you make beautiful homemade products naturally.
Ingredients
- 1 ounce vanilla beans
- 8 ounces vodka (You can use cheap alcohol for this, since the flavor comes from the vanilla beans.)
- Glass Bottles

Instructions
1. Add Your Vanilla Beans
Grab a clean glass bottle or jar and place your vanilla beans inside. If you want a stronger flavor, slice the beans open to release the vanilla caviar inside. This helps speed up the extraction process and makes the final product even more flavorful.
According to the FDA, a standard vanilla extract requires 0.83 ounces of vanilla beans per 8 ounces of vodka. However, since we’re making this for personal use, you don’t have to be exact. The number of beans you’ll need can vary anywhere from 4 to 14, depending on their size. The good news? The longer your vanilla soaks, the richer the flavor—so don’t stress too much about the perfect ratio!

Want to save this for later?
2. Pour in the Vodka
Next, pour the vodka over the vanilla beans, making sure they’re fully submerged. You can use any vodka, but a mid-range brand works best—no need for top-shelf stuff, but avoid anything too cheap or harsh.

3. Let It Sit (For a Long Time)
Your vanilla extract needs at least three months to develop its rich, deep flavor. I like to let mine sit for six months, so I make multiple batches to ensure it lasts me a while. I know some people let it sit for up to a year for an even bolder taste. Just give the bottle a shake every once in a while and store it in a cool, dark place.


Step 4: Strain & Enjoy!
Once your extract is ready, strain out the vanilla beans (or leave them in for extra flavor).

Notes
- The longer it sits, the better it gets! 2-3 months is the minimum, but if you can wait 6 or a year, you’ll be get the richest vanilla flavor.
- Use your homemade vanilla extract exactly as you would store-bought vanilla. Whether you’re baking cookies, adding it to your latte, or making a body scrub.
- Experiment with different alcohols. While vodka is the most common choice, you can also use bourbon, rum, or brandy for a unique twist.
- Refill your bottle! Once you use some of the extract, you can top it off with more vodka and keep the process going. The vanilla beans will continue to infuse for years. If any vanilla beans are sticking out above the liquid, they may become slimy, so if you’re gifting your vanilla extract, remove those beans first.

Homemade vanilla extract is one of the easiest DIY projects you’ll ever do, and the result is so worth it. Whether you’re adding it to your baked goods, coffee, or even your skincare routine, you’ll love having your own high-quality vanilla extract on hand.

Homemade Vanilla Extract
Ingredients
- 1 ounce Vanilla beans
- 8 ounces Vodka
- Glass bottles
Instructions
- Add your vanilla beans to your glass bottle.
- Pour the vodka over your vanilla beans. Make sure they are fully covered.
- Let sit for 3-6+ months, then strain and enjoy!
Notes
- You can cut open your vanilla beans to get the caviar in your extract.
- It usually takes 3 to 12 months for the vanilla to be fully extracted.
Read more natural homemade recipes in the blog.
Pin for later