I’m so proud of how these Pink Himalayan Salt Soap Bars turned out! They’re so pretty that I almost don’t want to use them, I really enjoyed making these, but you do have to work quickly! Since I was also taking photos to share the recipe here on the blog, I had to work even faster, but It was definitely worth it!.
This recipe is super easy to make and offers plenty of great benefits for your skin.
Even if you’re not a crafty person like me, you’ll still enjoy making this, and there’s really no way to mess it up. If for some reason the mix hardens, you can always melt it again and start over.
This recipe DOESN’T use lye! Personally, I don’t like working with lye, which is why I prefer using soap bases where the saponification process is already done.
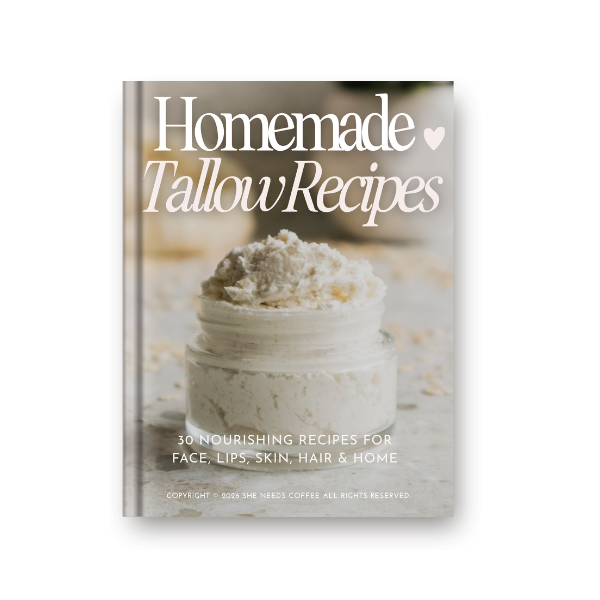
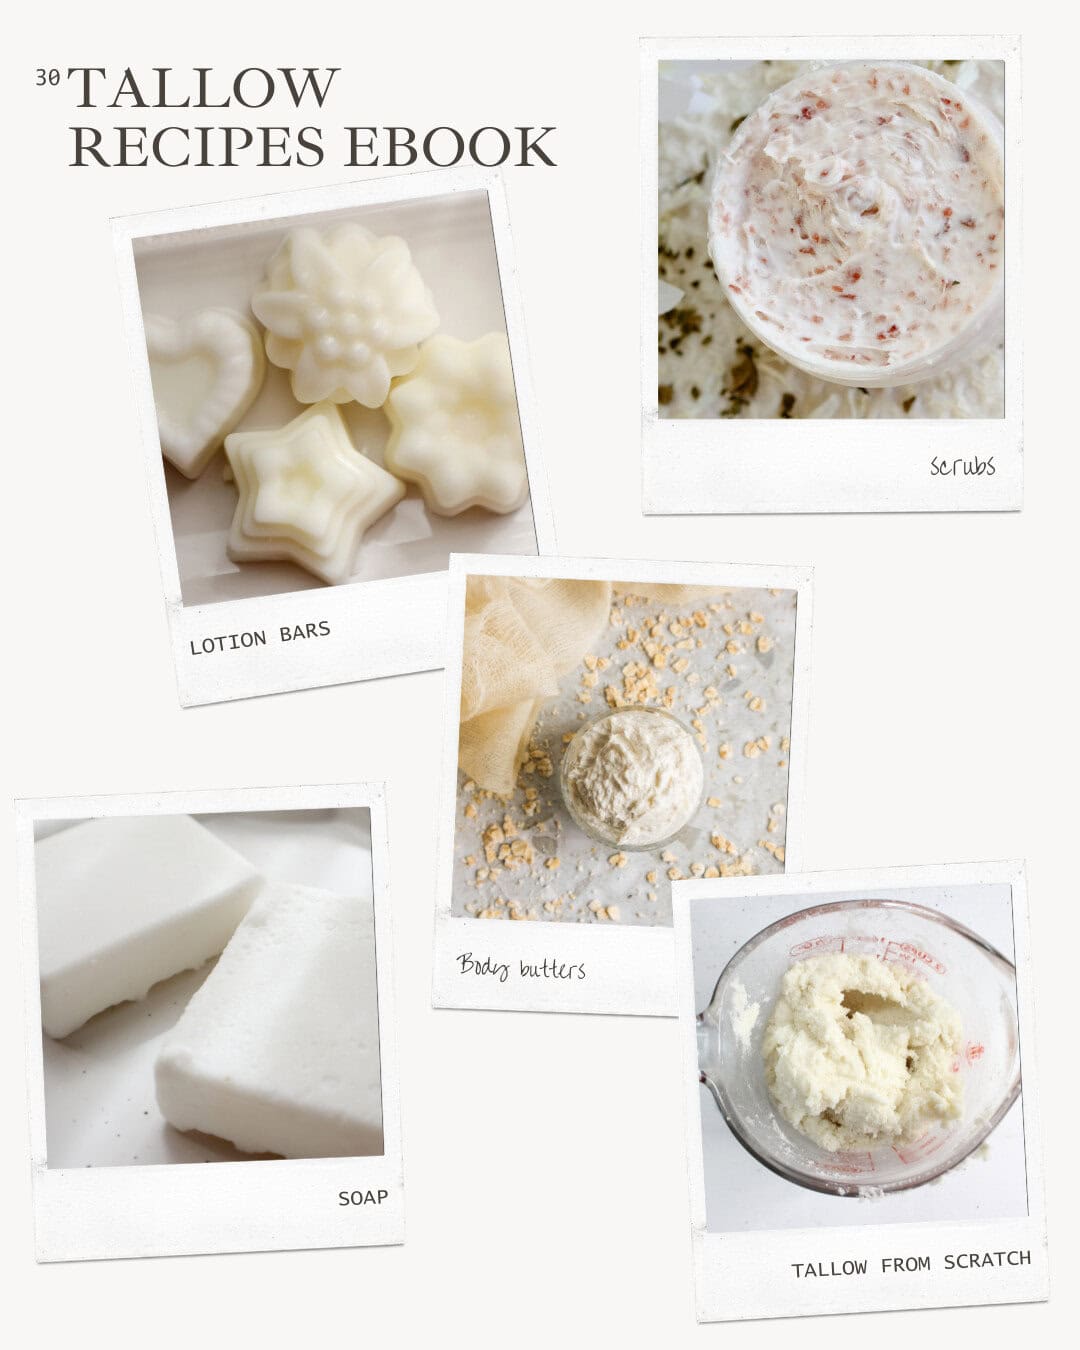
Featured Product
30 Homemade Tallow Recipes Ebook
Discover 30 simple, nourishing recipes designed to help you make beautiful homemade products naturally.
I also like to use all-natural products and avoid toxic soap bases, which is why I chose a shea butter soap base for this recipe. Shea butter is not only natural but also incredibly nourishing for the skin.
Here’s the step-by-step of how I made these soap bars in less than 30 minutes! I did have to let them harden, but they set really quickly. Still, I left them overnight before using them just to be sure.
Pink Himalayan Salt Soap Benefits
- Exfoliation: The natural salt grains gently scrub away dead skin, leaving your skin feeling smooth and refreshed.
- Mineral Boost: Packed with minerals like magnesium and potassium, these bars help nourish and hydrate your skin.
- pH Balance: They can help balance your skin’s pH, giving you a healthier, more radiant complexion.
- Detoxifying: Himalayan salt draws out impurities, helping to cleanse and purify your skin.
- Boosts Circulation: The gentle scrub can actually help improve blood flow, which is great for your skin’s health.
- Soothing: With natural anti-inflammatory properties, they’re perfect for calming irritated skin.
- Fights Bacteria: These soap bars also have antibacterial benefits, making them a good choice for acne-prone skin.
- Relaxing: The minerals in the salt can help you unwind, making your bath feel like a spa experience.
Pink Himalayan Salt Soap Bar Recipe
Ingredients
- Shea butter soap base (or any soap base you have on hand)
- 2 tbsp fine Pink Himalayan salt (for that perfect scrub texture).
- 1 tbsp coarse Pink Himalayan salt (this is for the pretty, textured top layer).
- Square soap molds (or any shape you want).

Instructions
1. Chop the Soap Base
Start by cutting your soap base into small squares. I cut mine into 1-inch cubes (about 10 pieces), which was just enough for making 3 bars.

2. Melt It Down
Toss the cubes into a microwave-safe container and microwave on high for 30 seconds. Give it a stir. Repeat another 30 seconds. Stir again. Then go for 10-second intervals, stirring each time, until your soap base is fully melted.


3. Mix in the Fine Salt
Once melted, stir in the fine salt. You want to move quickly but make sure it’s mixed evenly. The texture will get a bit chunky, but that’s totally normal.
Want to save this for later?


4. Pour Into Molds and Add the Coarse Salt
Pour the mixture into your soap mold right away. While the soap is still hot and a little liquid, sprinkle the coarse Pink Himalayan salt on top. Press gently to make sure the salt sticks. If the soap has already started to harden, the salt won’t stay (been there, done that). You have to work quickly because it hardens very fast.
I don’t mind the coarse salt since it’s only on one side of the soap bar and is mainly for decorative purposes, but you can skip it if you prefer.

5. Let it Sit
Let your soap bars sit for about 4 hours to fully harden before using them.


Optional
I kept this Pink Himalayan Salt Soap Bar batch simple and skipped the essential oils, but feel free to add a few drops of your favorite scent to the melted soap base. Vanilla, coconut, eucalyptus, or even a citrus oil would pair well with the salt.
You can make these Himalayan soap bars even prettier by adding dried rose petals.
Perfect Gifts
These Pink Himalayan salt soap bars are also a perfect DIY gift! I added them to some cute bags and plan on giving them to my family.


How to Use Your DIY Exfoliating Pink Himalayan Salt Soap Bar
- Lather up: Rub the soap bar gently between your hands or directly onto your skin to create a lather.
- Exfoliate: Use the bar in a circular motion on your skin to gently exfoliate, focusing on rough areas like elbows, knees, and feet.
- Rinse off: After scrubbing, rinse your skin thoroughly with warm water.
Enjoy your smooth, glowing skin! 😊

Pink Himalayan Salt Soap Bar
Ingredients
- Shea butter soap base or any soap base you want
- 2 tbsp fine Pink Himalayan salt
- 1 tbsp coarse Pink Himalayan salt
- Square soap molds
Instructions
- Cut the soap base into 1-inch cubes (about 10 pieces for 3 bars).
- Place the cubes in a microwave-safe container. Microwave for 30 seconds, stir, then repeat for another 30 seconds. Continue in 10-second intervals, stirring each time, until fully melted.
- Stir in 2 tbsp of fine Pink Himalayan salt quickly and evenly.
- Pour the mixture into your soap molds immediately.
- Sprinkle 1 tbsp of coarse Pink Himalayan salt on top while the soap is still hot. Press gently to ensure it sticks.
- Let the soap sit for 4 hours to fully harden.
More DIY Beauty & Skincare Recipes
- How to Make an All-Natural Ginger Lemon Sugar Scrub at Home
- Easy Green Tea Face Mask Recipe for Matcha Lovers
- Lavender Purple Brazilian Bentonite Clay Mask Recipe
- DIY Rosemary Water for Hair: A Natural Recipe for Hair Growth
- DIY Peppermint Lip Balm Recipe: All Natural
- Natural DIY Chickweed Salve Recipe
- DIY Natural Armpit Detox Recipe for Switching to Non-Toxic Deodorant
- Natural Homemade Shampoo Recipe for Shiny Hair
- Homemade Tallow Sugar Scrub Recipe