If you’re trying to cut back on plastic wrap and want a cute, eco-friendly alternative, beeswax wraps are the way to go. They’re reusable, natural, and surprisingly easy to make at home. Plus, they look super cute in your kitchen (especially if you buy cute fabric patterns).
This is my second time making these, and honestly they turn out better every single time! If you read my old post, you might remember the photos from my first batch with those cute yellow honeycomb patterns. This new set is my favorite so far, so pretty and perfect for gifting, too!

Benefits of Using Beeswax Wraps
- Eco-Friendly and Non-Toxic: Beeswax wraps are reusable, reducing the need for single-use plastics. Made with natural materials, they’re biodegradable and compostable when they’ve reached the end of their life.
- Cost-Effective: Making your own wraps is way cheaper than buying pre-made ones, especially if you have leftover 100% cotton fabric.
- Customizable: Choose fabrics with cute patterns to brighten your kitchen or match your decor. Cut them in the sizes you need most, from tiny snack wraps to large bowl covers.
- Keeps Food Fresh: The beeswax creates a natural, breathable seal that keeps food fresher for longer without trapping moisture.
DIY Beeswax Wraps:
Ingredients:
- Beeswax
- 100% cotton fabric
- Parchment paper or silicone baking mat
- Baking sheet
- Pinking shears for fabric

100% Cotton Fabric Ideas


Instructions:
1. Prepare Your Fabric:
Start by washing and drying your fabric. Once it’s clean and dry, cut the fabric into your preferred sizes, squares or rectangles for wrapping sandwiches, snacks, or covering bowls (you can also buy pre-cut fabric if you prefer). I like using pinking shears for a cute zigzag edge and to keep the fabric from fraying.
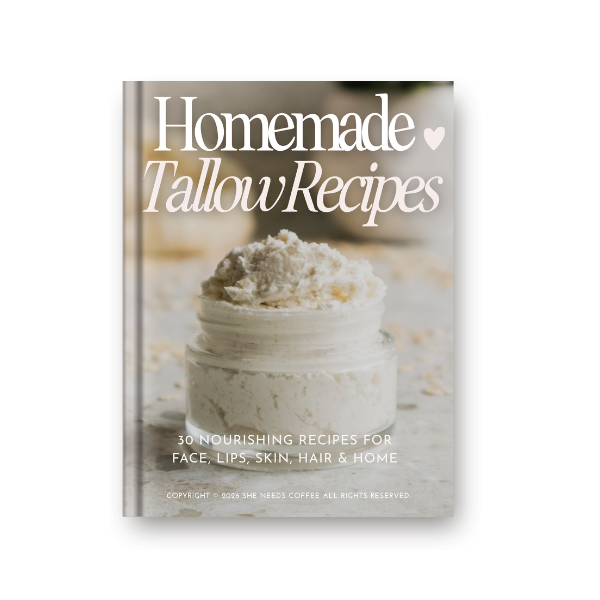
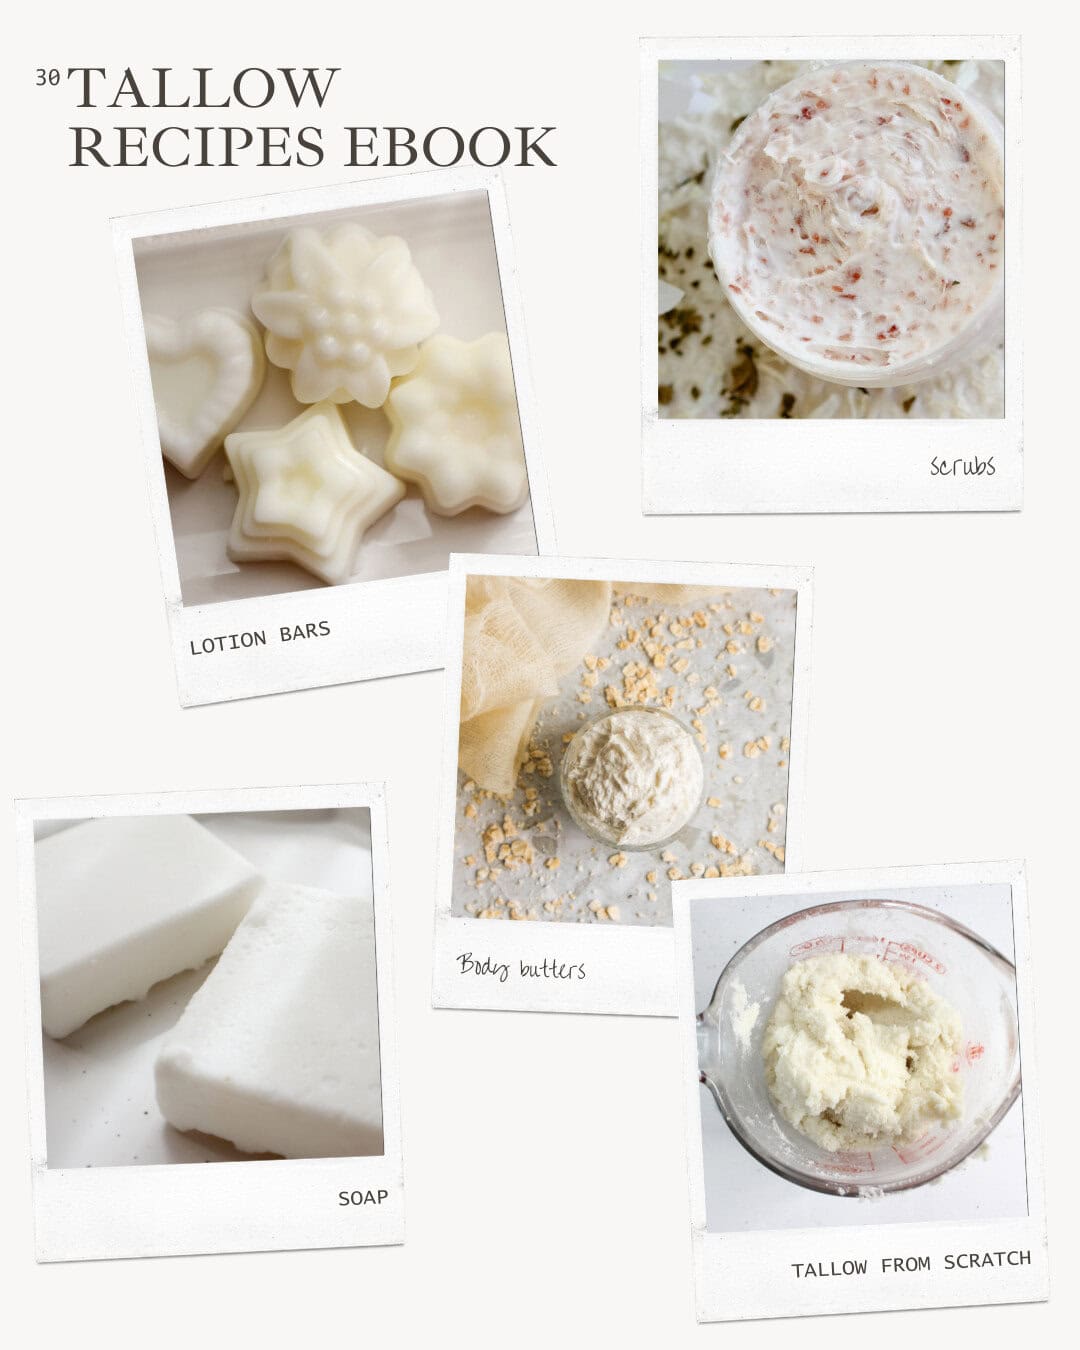
Featured Product
30 Homemade Tallow Recipes Ebook
Discover 30 simple, nourishing recipes designed to help you make beautiful homemade products naturally.
Finish by ironing each piece so it’s smooth and ready for the wax.


2. Preheat the Oven:
Set your oven to 220°F (about 105°C). This is a low, gentle heat that melts the beeswax without scorching the fabric.
Want to save this for later?
3. Apply the Wax and Bake
Place a piece of fabric on a parchment-lined baking sheet (or use a silicone baking mat if you have one). Sprinkle the fabric evenly with beeswax. Then bake for 8–10 minutes, or until the wax is fully melted and soaked into the fabric. If you notice any dry spots or corners, sprinkle on a bit more wax and pop it back in the oven for another minute or two.

5. Dry the Wraps:
Carefully lift the fabric from the tray (tongs help!) and lay it flat on a cooling rack or hang it up to dry. It only takes a minute or two to set.

Repeat the process with all your fabric pieces, and you’ll have a lovely collection of eco-friendly beeswax wraps ready to use!


How to Use Beeswax Wraps
- Cover bowls or plates to store leftovers.
- Wrap sandwiches, snacks, or fresh produce like half an avocado or a cut lemon.
- Use them to bundle dry snacks like nuts or crackers when you’re on the go.

Caring for Your Wraps
- Cleaning: Wash wraps in cold water with a mild soap. Avoid hot water, as it can melt the beeswax.
- Drying: Let them air-dry completely before storing or using again.
- Storing: Keep them in a cool, dry place. Fold them neatly or roll them up to save space.
Once you’ve tried this, you’ll see why I’m completely obsessed with my homemade beeswax wraps. They’re not only practical but also a small step toward a more sustainable lifestyle. Give it a try and let me know how yours turn out!


Beeswax Wraps
Ingredients
- 100% cotton fabric
- Beeswax
- Parchment paper or silicone baking mat
- Baking sheet
- Pinking shears for fabric
Instructions
- Wash, dry, and cut fabric into desired sizes. Iron to flatten.
- Set oven to 220°F.
- Place fabric on a parchment-lined baking sheet. Sprinkle evenly with beeswax.
- Bake for 8-10 minutes, or until beeswax is melted. Add more wax to corners if needed and bake an additional 6 minutes.
- Remove fabric and place on cooling rack to dry.
- Repeat for remaining fabric pieces.
Notes
- Wrap bowls, plates, or food items like sandwiches, fruits, or vegetables.
- Use your hands to mold the wrap around items for a secure seal.
- Wash wraps in cold water with mild soap. Avoid hot water to prevent melting the beeswax.
- Store wraps flat or rolled up in a cool, dry place.
- With proper care, wraps can last up to a year.
- I got my fabric from the discount pile at my local fabric store. Amazon has precut fabric if you don’t want to cut them.
Love DIY recipes? You might also like:
- How to Make an All-Natural Ginger Lemon Sugar Scrub at Home
- How to Make Oregano Oil at Home
- Natural DIY Chickweed Salve Recipe
- Natural Homemade Shampoo Recipe for Shiny Hair
- Homemade Toilet Cleaner: Natural, Easy, and Effective!
- How to Make Your Own Non-Toxic Dishwasher Detergent at Home
- Easy Green Tea Face Mask Recipe for Matcha Lovers
- Lavender Purple Brazilian Bentonite Clay Mask Recipe
- Homemade Tallow Sugar Scrub Recipe
- DIY Rosemary Water for Hair: A Natural Recipe for Hair Growth
- Homemade Beeswax Candles with Coconut Oil
- DIY Natural Armpit Detox Recipe for Switching to Non-Toxic Deodorant
- DIY Peppermint Lip Balm Recipe: All Natural